Solar Pavers: Transforming Driveways into Renewable Energy Generators
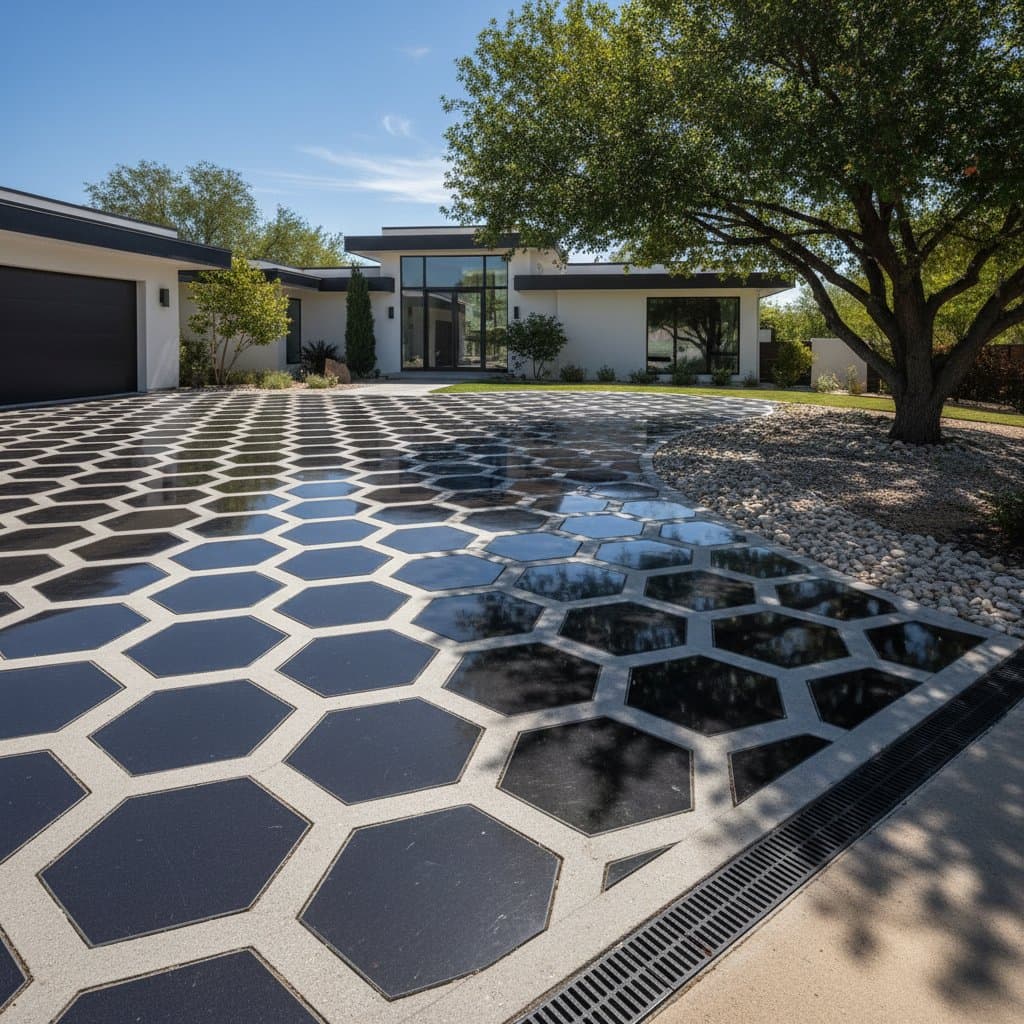
Solar pavers represent an innovative fusion of traditional hardscaping and solar technology. These modular units embed photovoltaic cells within paver blocks, allowing driveways, patios, and walkways to generate electricity while supporting daily vehicle traffic. Homeowners gain a dual-purpose surface that contributes to energy independence, but success hinges on careful planning to address environmental and structural challenges.
The appeal lies in utilizing existing paved areas for power generation without altering rooflines or requiring additional land. Installed correctly, a solar paver system can produce meaningful kilowatt-hours annually, potentially offsetting a portion of household electricity bills. However, factors such as shading from nearby trees or buildings can drastically reduce efficiency, making site-specific assessments essential before commitment.
Essential Site Assessments Before Installation
Before proceeding with solar pavers, conduct a thorough evaluation of the proposed area. Begin by observing sunlight patterns throughout the day and across seasons. Use tools like a solar pathfinder or simple shading analysis apps to map obstructions; any area receiving less than four hours of direct sunlight daily will underperform.
Next, inspect the existing surface for stability. Probe for soft spots, cracks wider than a quarter-inch, or evidence of settling that could compromise the new installation. Uneven bases lead to paver misalignment, which stresses embedded wiring and reduces panel efficiency over time.
Drainage merits close attention as well. Ensure the site slopes at least one percent away from the home's foundation to prevent water pooling, which can infiltrate joints and cause electrical shorts. In regions prone to freeze-thaw cycles, test soil compaction; a sub-base that shifts seasonally demands reinforcement to avoid costly repairs.
Finally, review electrical infrastructure. Trace potential conduit routes from the driveway to the main service panel, noting obstacles like underground utilities or dense landscaping. If the panel operates near capacity, plan for upgrades to accommodate the additional input without overloading circuits.
Identifying Potential Installation Challenges
Certain site conditions signal higher risks and elevated costs for solar paver projects. Chronic water accumulation, for instance, not only erodes the base but also accelerates corrosion in wiring conduits. Address this by installing French drains or permeable underlayment during preparation.
Overhanging trees or adjacent structures that cast prolonged shadows represent the primary threat to return on investment. Pruning or removal may prove necessary, though these steps add upfront expenses. In dense urban settings, neighboring buildings can block southern exposure, limiting viable installation zones to southern-facing sections.
Heavy traffic areas pose structural concerns. Standard solar pavers handle light passenger vehicles but may crack under frequent truck loads exceeding 10,000 pounds. Consult load ratings from manufacturers and reinforce high-traffic zones with thicker base layers or hybrid designs incorporating non-solar pavers.
Electrical limitations further complicate setups. Panels at or above 80 percent capacity require service upgrades, which involve utility coordination and permitting. Poor soil conditions, such as expansive clay, necessitate geotechnical testing to ensure long-term stability.
Cost Breakdown and Budgeting Strategies
Solar paver installations typically range from $60 to $100 per square foot, encompassing site preparation, paver modules, wiring, inverters, and labor. For a standard 400-square-foot two-car driveway, expect total costs between $24,000 and $40,000 before incentives. Federal tax credits, such as the 30 percent solar investment tax credit, can reduce this by thousands, but eligibility depends on system certification.
Site preparation drives much of the expense. Excavation and base compaction add $10 to $20 per square foot, particularly if removing an old asphalt or concrete layer. Trenching for conduits incurs additional fees, often $5 to $15 per linear foot, depending on depth and obstacles encountered.
Inverter integration varies by home setup. Microinverters per paver module cost more upfront but improve shade tolerance through individual optimization. Central inverters suit unshaded sites and lower initial outlay, though they demand consistent full-array performance.
Retrofitting existing driveways inflates budgets by 20 to 50 percent compared to new installations. Partial replacements, where only solar-accessible sections receive pavers, control costs while maximizing output. Always factor in permitting fees, which range from $500 to $2,000 based on local regulations.
Recommended Installation Approaches
Opt for professionals experienced in ground-mounted solar systems rather than rooftop specialists alone. A multidisciplinary team—including solar engineers, electricians, and masons—ensures seamless integration. Begin with detailed site surveys using LiDAR or drone imagery to model sunlight and topography accurately.
The process unfolds in phases. First, excavate to a depth of 8 to 12 inches, installing a compacted gravel base with drainage geotextile. Lay conduit pipes within this layer before placing pavers, securing them with interlocking edges and polymeric sand joints.
Electrical work follows base preparation. Electricians install conduits and pull wires to the inverter location, typically near the service panel. Test all connections for continuity before backfilling to avoid rework.
Hybrid designs enhance flexibility. Combine solar pavers in sunlit areas with conventional pavers in shaded zones, creating a cohesive aesthetic. This approach cuts costs by 15 to 25 percent while preserving output potential.
Prioritizing Key Project Elements
Establish correct grading and drainage as the foundation of any installation. A one-inch drop per 10 feet prevents moisture issues that could void warranties. Verify this with laser levels during prep.
Upgrade electrical capacity proactively if needed. Adding a subpanel or main service increase ensures future-proofing for additional solar inputs. Conduit installation precedes paver placement to minimize disruption.
Incorporate production monitoring from the outset. Systems with app-based trackers allow real-time output views, helping identify issues like partial shading early. Select UV-resistant sealants for joints to block water and debris ingress.
Defer non-essential features, such as integrated lighting or snow-melting cables, until core functionality proves reliable. Prioritize watertight assembly and robust sub-bases to safeguard the investment.
Ensuring Long-Term Performance and Maintenance
Routine care sustains solar paver efficiency for 25 years or more. Sweep joints quarterly to remove sand and debris, preventing weed growth or joint erosion. Annually inspect for settling or cracks, addressing minor shifts with base adjustments.
Clean panels gently each spring using a soft-bristle brush and mild soap solution. Avoid high-pressure washers, which can damage seals. Monitor output via software; dips below expected levels signal shading changes or wiring faults requiring prompt attention.
In harsh climates, apply protective coatings to exposed edges every five years. Professional inspections every two to three years catch subtle degradation, extending system life and maintaining energy yields.
A well-executed solar paver installation delivers reliable power generation alongside enhanced property value. By mitigating shade and drainage risks through expert coordination, homeowners secure a sustainable asset that powers daily life while reducing utility dependence.