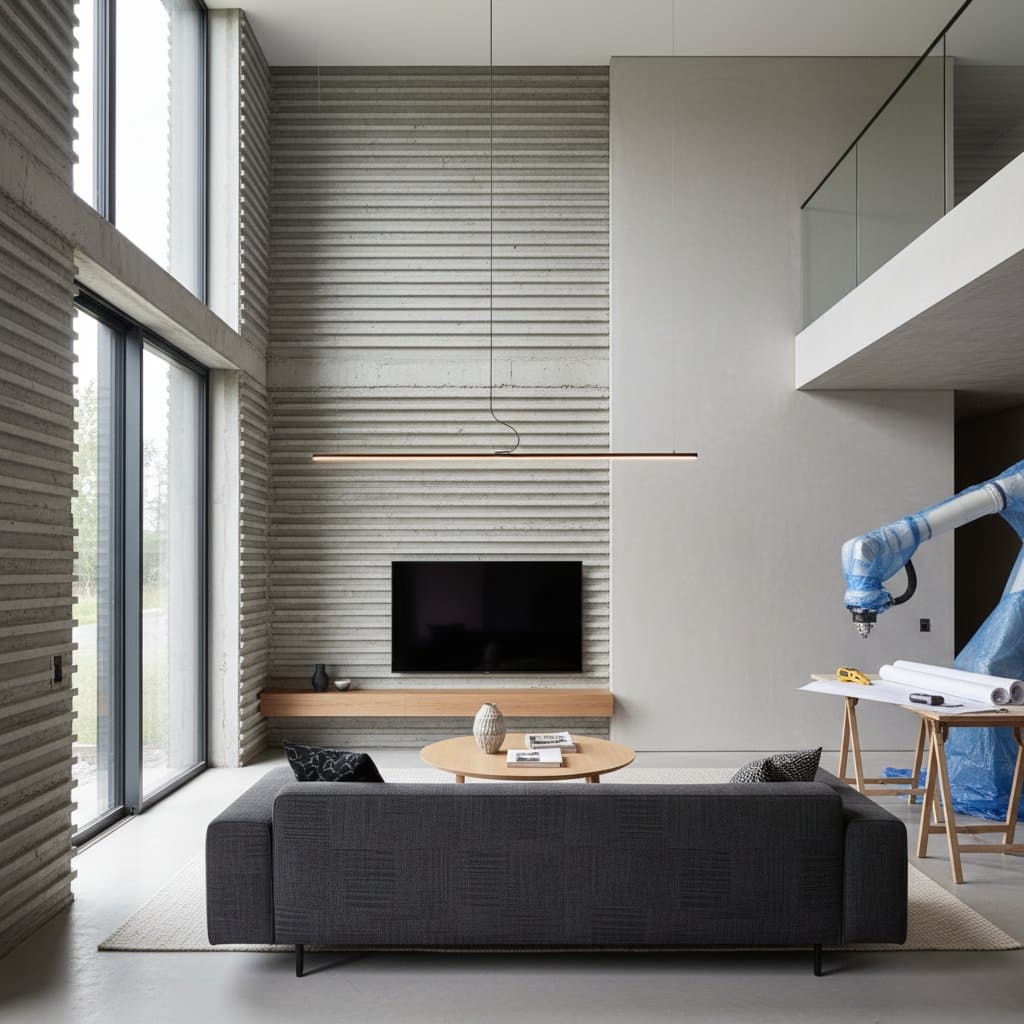
Introduction to 3D-Printed Concrete Homes
3D-printed concrete construction represents a transformative approach to housing. Printers extrude layers of concrete to form walls and structures rapidly, often completing a basic shell in days rather than weeks. Proponents highlight reduced labor and material waste, positioning these homes as a solution for affordable housing in 2025 and beyond.
However, savings depend on meticulous planning. Hidden costs arise from design complexities, material inconsistencies, and post-print modifications. Buyers must evaluate these elements to avoid budget overruns that erode the technology's promise.
Understanding Hidden Cost Drivers
The allure of 3D printing lies in its efficiency, but expenses accumulate in unexpected places. Printer calibration errors can lead to uneven walls requiring extensive repairs. Custom designs that push the printer's limits increase material use and printing time, inflating costs by up to 30 percent.
Material selection plays a critical role. High-quality concrete mixes ensure strength, yet premium additives for durability add to the upfront price. Finishing treatments, such as smoothing or coating the printed surface, further contribute to the total outlay.
Post-construction integration poses another challenge. Traditional trades must adapt to the printed structure, potentially raising labor fees for electrical, plumbing, and roofing installations.
Assembling the Right Team
Success begins with expert collaboration. Engage a structural engineer experienced in 3D-printed concrete at the outset. This professional verifies load-bearing paths, assesses curing times, and ensures compliance with building codes.
A general contractor oversees the project timeline, coordinating the printing vendor with subsequent trades. Select a contractor with a track record in innovative builds to minimize delays.
Involve an architect early to design within the printer's capabilities. Simple geometries reduce printing duration and errors, keeping costs in check. Professional oversight typically increases the budget by 10 to 20 percent, yet it prevents costly rework.
Vetting Vendors and Processes
Treat the printing vendor like any major subcontractor. Request references from at least three completed projects, including owner contacts for direct feedback. Verify comprehensive insurance coverage and bonding to protect against defects or delays.
Examine the vendor's process rigorously. Confirm equipment calibration standards and mix consistency protocols. On-site supervision during printing catches issues like layer adhesion problems before they escalate.
Post-print inspections focus on wall integrity. Measure thicknesses and check for voids using non-destructive testing. Address any discrepancies immediately to avoid structural compromises.
Handling Specific Challenges
Windows and Openings: Precise placement prevents leaks. Use printed bucks or adjustable inserts to align frames. Replace components only if misalignment induces water infiltration or stress concentrations.
Foundation Integration: Build the foundation as a standard concrete slab. Prioritize proper grading, install drain tiles, and seal perimeters to manage water flow. These steps integrate seamlessly with the printed shell.
Roof and Envelope: Secure the roof promptly after printing to shield the structure. Apply moisture barriers at all transitions to prevent degradation.
Prioritizing Scope for Cost Efficiency
Focus on high-impact improvements that enhance performance without excessive expense. Start with the building envelope: seal air gaps and add insulation to printed walls for energy efficiency.
Manage moisture at critical junctions, such as slab edges and roof interfaces. Route electrical and plumbing lines through pre-planned channels to preserve wall integrity, avoiding cuts that weaken the concrete.
Design floor plans that leverage the printer's strengths. Straightforward layouts minimize material and time, contrasting with intricate curves that demand slower, more precise extrusion.
Steer clear of low-value additions. Elaborate decorative elements or textured finishes mask the concrete's natural properties while driving up labor costs.
Budgeting and Sequencing Steps
Effective budgeting requires a phased approach. Allocate funds across preparation, printing, integration, and finishing to track expenditures accurately.
Follow this sequence for optimal results:
-
Verify site drainage and finalize foundation layout to establish a solid base.
-
Execute the shell printing using a tested concrete mix and calibrated equipment.
-
Install the roof and exterior barriers right after printing to protect against weather.
-
Complete electrical and plumbing installations once the structure has cured sufficiently.
-
Apply interior and exterior finishes after confirming stable moisture levels through testing.
This order minimizes exposure risks and ensures each phase builds on a reliable foundation.
Long-Term Maintenance Strategies
Preserve your investment through proactive care. Direct water away from printed surfaces with proper grading and gutters. Reseal the exterior every three to five years or upon noticing discoloration from moisture absorption.
Inspect for cracks annually and repair them promptly with compatible sealants. Monitor initial curing and shrinkage during the first year, documenting changes to inform future maintenance.
With diligent upkeep, 3D-printed concrete homes endure as robustly as traditional masonry structures. Regular attention to moisture control and minor repairs sustains structural integrity over decades.
Securing Value in Your 3D-Printed Home
Investing in a 3D-printed concrete home demands vigilance on costs and quality. By selecting skilled professionals, streamlining designs, and committing to maintenance, buyers realize genuine savings and durability. This approach transforms potential pitfalls into opportunities for innovative, resilient living.
