Introduction to Smart Concrete Systems
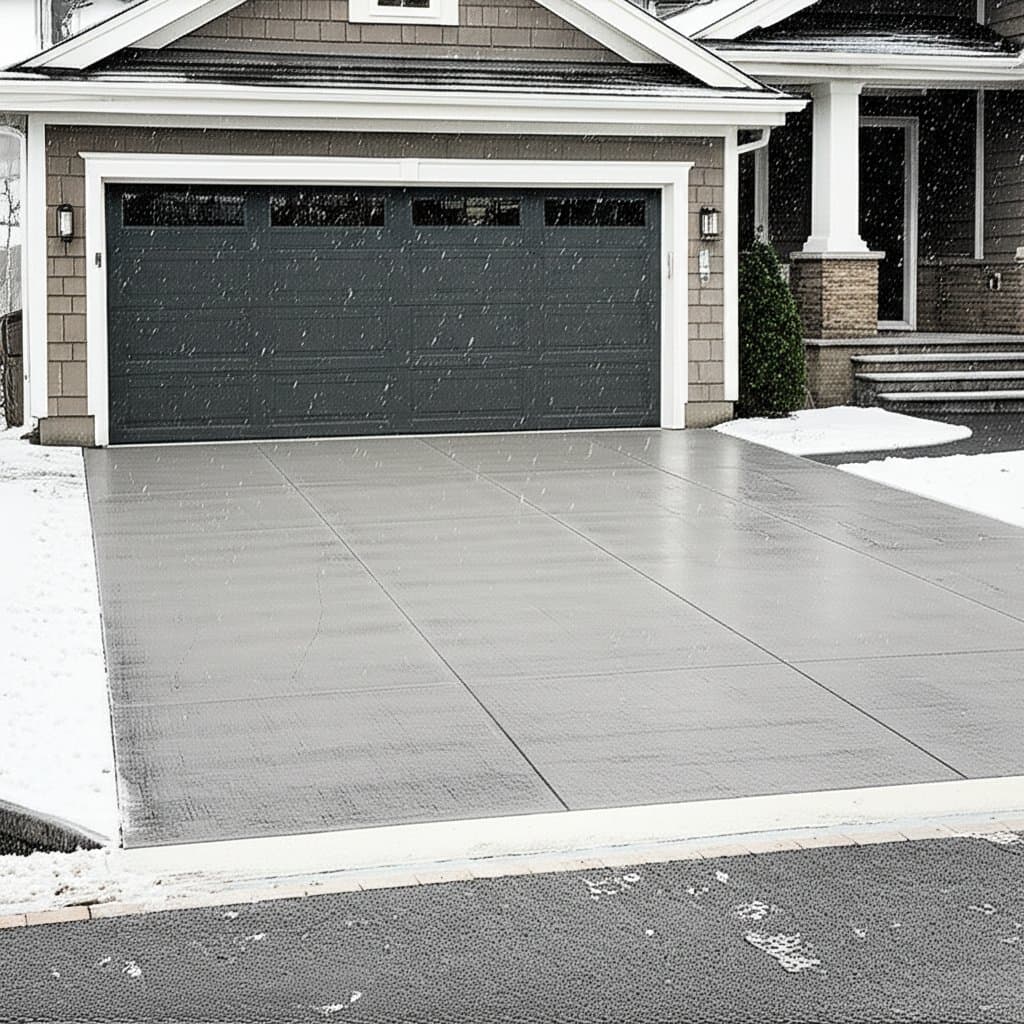
Smart concrete integrates embedded heating elements into driveways, walkways, and other concrete surfaces to melt snow and ice automatically. These systems offer a reliable alternative to traditional methods like salt application or manual clearing, which can harm the environment and infrastructure. By directing heat precisely where needed, smart concrete maintains clear paths during harsh winters while minimizing energy use and operational costs.
Homeowners and property managers appreciate the convenience and safety these installations provide. Reduced slip hazards and preserved structural integrity make them a worthwhile investment in cold climates. Success hinges on meticulous planning from the outset, encompassing site preparation, system selection, and ongoing care.
Key Design Considerations
Proper design forms the foundation of any smart concrete project. Focus on elements that enhance efficiency and durability to avoid common pitfalls.
Drainage Essentials
Effective drainage prevents water accumulation that could undermine the heating system. Begin by evaluating and correcting site grading to ensure water flows away from the slab. Install French drains or extend downspouts if necessary to redirect runoff.
Even advanced heating cannot overcome poor drainage. Standing water or ice from gutter overflow at slab edges leads to refreezing and system strain. Professionals recommend a minimum slope of one-quarter inch per foot to facilitate swift water departure.
Insulation and Heat Direction
Insulation directs heat upward into the concrete rather than downward into the soil, boosting efficiency. Rigid foam boards, typically one to two inches thick, placed beneath the slab serve this purpose effectively. Select materials with high R-values suited to local freeze-thaw cycles.
Without adequate insulation, energy consumption rises significantly, and performance suffers. Combine insulation with vapor barriers to block moisture migration, which could damage heating elements over time.
Heating System Placement
Heating cables or hydronic tubing must embed at consistent depths and spacings for uniform coverage. Electric cables suit smaller areas due to simpler installation, while hydronic systems excel in larger zones with their potential for lower operating costs. Verify all components meet local building codes for safety and reliability.
Secure elements to rebar grids before pouring to prevent shifting. Post-installation resistance tests confirm integrity, catching issues before they escalate.
Assembling the Right Team
A collaborative team ensures seamless execution. Engage specialists early to align expertise with project demands.
Start with an inspector experienced in heated concrete and cold-weather performance. This professional identifies soil instability, structural concerns, or existing drainage flaws that could compromise the build.
Involve an architect or engineer for complex integrations, such as connections to garages or retaining walls. They optimize slopes, expansion joints, and insulation configurations to support long-term functionality.
A general contractor oversees the full sequence: demolition, subgrade preparation, insulation installation, rebar placement, and concrete pouring. Their role includes coordinating trades to position heating elements precisely.
For electrical systems, licensed electricians handle circuit connections, sensor wiring, and safety grounding. Mechanical contractors manage hydronic setups, including boilers, pumps, and fluid circulation loops.
Conduct parallel reviews where contractors and subcontractors examine plans together. This approach minimizes specification conflicts and cuts down on costly revisions. Professional project management, though adding ten to twenty percent to expenses, safeguards against errors that could ruin embedded components through poor timing.
Prioritizing Project Scope
Establish priorities that emphasize performance and endurance over aesthetics.
-
Subgrade and Drainage Preparation. Achieve a stable base with proper compaction of crushed stone. Test for drainage capacity to handle meltwater.
-
Insulation Layering. Install foam boards uniformly to conserve energy and protect against ground frost.
-
Heating Element Integration. Position cables or tubing at optimal depths, typically two to three inches below the surface, and secure firmly.
-
Sensor and Control Setup. Place sensors in exposed areas prone to snow buildup, ensuring they detect real conditions accurately.
-
Concrete Surface Finishing. Apply a broom finish for slip resistance. Postpone decorative elements until core functionality proves reliable.
Defer non-essential features like stamped patterns or integral colors. The primary benefits stem from operational reliability, not visual appeal.
Budgeting and Installation Sequence
Adhere to a structured timeline to control costs and prevent disruptions.
-
Address Drainage First. Regrade the site and reroute downspouts to eliminate water pooling risks.
-
Subgrade and Insulation Work. Compact the base thoroughly and check moisture levels before adding insulation.
-
Heating System Deployment. Conduct continuity tests on all circuits or loops prior to encasement.
-
Concrete Pouring and Curing. Control temperatures during the pour to avoid thermal cracking; allow full curing before loading.
-
Final Connections and Testing. Electricians or technicians activate and calibrate controls under supervised conditions.
Complete foundational steps before tackling peripherals like borders or plantings. Deviating from this order often results in concealed defects requiring expensive excavation.
Initial costs range from ten to twenty dollars per square foot, depending on system type and site challenges. Factor in potential savings from avoided salt damage and labor over decades.
Ongoing Maintenance Practices
Regular upkeep preserves system efficiency and extends lifespan.
Conduct pre-winter inspections of sensors and control units. Remove debris and verify operational lights to ensure readiness.
Monitor for irregular melting, such as streaks or unmelted patches, which indicate cable failures or hydronic air pockets. Address promptly to prevent widespread issues.
Seal expansion joints annually to block water ingress, which expands upon freezing and stresses components.
Schedule yearly checks on breakers, boilers, or panels to clear dust and corrosion that trigger malfunctions.
Use rubber-edged tools for any necessary clearing to avoid surface scratches. Most systems endure twenty years or longer with diligent care.
Energy expenses vary by climate, insulation, and controls. Adaptive smart controllers, which respond to temperature and moisture, halve runtime compared to constant-operation models.
Troubleshooting Common Issues
If melting falters despite intact slabs, inspect sensors or wiring for faults. Corrosion from moisture often disrupts controls, leading to inconsistent performance.
Replace damaged controls swiftly. Upgraded units with adaptive algorithms optimize power by activating only when conditions demand it, unlike continuous cycles.
Insights from Seasoned Professionals
Installers with years in cold regions share proven strategies.
-
Prioritize Drainage in Design. A concrete foreman from northern Minnesota notes, “Design around drainage.” Melted water must exit quickly to prevent energy loss from refreezing.
-
Rigorous Pre-Pour Testing. An electrical contractor from Vermont advises, “Test before pour.” Resistance checks on each circuit before and after placement reveal damage early.
-
Tailor Controls to Needs. A heating technician from Colorado explains, “Match controls to lifestyle.” Options range from constant readiness for busy households to sensor-driven activation for efficiency-focused users.
Adopting these practices distinguishes robust installations from those prone to early failure.
Realizing the Benefits of Smart Concrete
Implementing smart concrete transforms winter maintenance into a seamless process. Homeowners gain peace of mind from clear, safe surfaces without environmental harm or physical effort. Over time, the investment yields returns through lower repair bills, reduced energy use, and enhanced property value. Consult local experts to customize a system that aligns with your site and preferences, ensuring years of reliable performance.