Understanding Zero-Cement Bricks
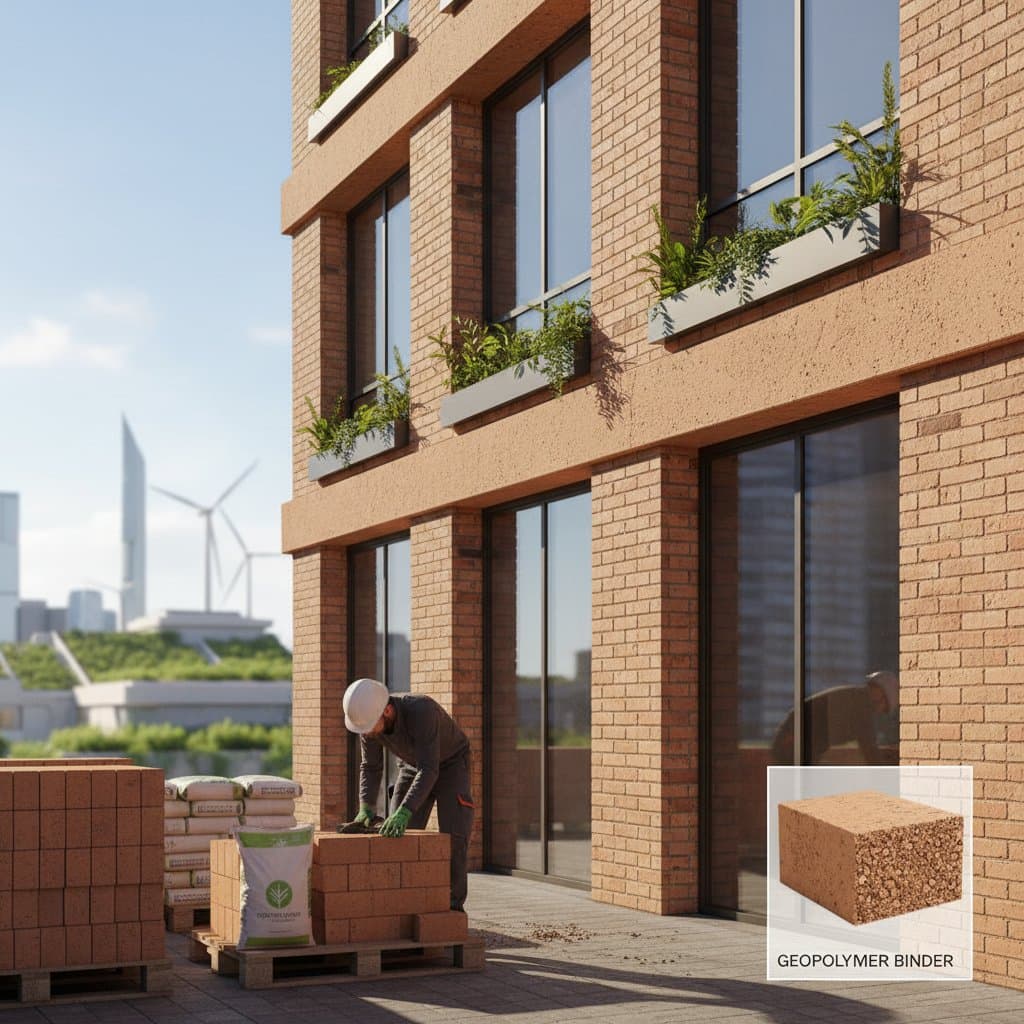
Zero-cement bricks introduce a fundamental change in masonry material production and application. Conventional bricks depend on Portland cement, a process that generates substantial carbon dioxide emissions. Zero-cement bricks, however, employ geopolymer binders crafted from industrial byproducts like fly ash, slag, or natural pozzolans. These components activate with alkaline solutions to create a durable, stone-like matrix without cement involvement.
These bricks achieve strength levels equivalent to or surpassing traditional concrete units while significantly lowering emissions and energy consumption. Professionals in building and design appreciate their performance alongside contributions to environmental objectives. Molding, curing, and assembly processes align closely with established concrete block methods, allowing adaptation of current practices with minimal disruption.
The Significance of This Innovation
Cement manufacturing demands vast energy resources and emits potent greenhouse gases. Geopolymer technology mitigates this impact by repurposing industrial waste that might otherwise accumulate in landfills. This method addresses the rising demand for materials that balance environmental responsibility with rigorous structural requirements, without compromising visual appeal or dependability.
For contractors, adopting zero-cement bricks facilitates adherence to increasingly stringent sustainability mandates in commercial developments. Projects benefit from reduced material costs over time and enhanced market appeal through green certifications. As standards evolve, these bricks position builders ahead in eco-conscious construction trends.
Planning Your Zero-Cement Brick Project
Thorough planning forms the foundation of any successful masonry endeavor. Consider the scope, whether constructing a retaining wall, garden border, or modest outbuilding, to determine the suitability of zero-cement bricks. These materials excel in non-structural or low-to-moderate load applications, pending broader standardization of load-bearing approvals.
Site Assessment Essentials
Begin by inspecting the construction area for key conditions. Stable soil supports the structure; address loose or sandy conditions with a compacted gravel foundation at least four inches thick. Proper drainage prevents moisture buildup that could compromise mortar integrity; install French drains if necessary in wetter zones.
Evaluate terrain slope carefully. Mild inclines work well with straightforward laying, but steeper areas demand stepped designs or reinforcement. Confirm adequate access for delivering bricks and setting up mixing stations, ideally with a clear path at least ten feet wide. For walls facing soil pressure, such as retaining features, consult a structural engineer to validate load calculations and safety margins.
Selecting Appropriate Materials
Zero-cement bricks vary by composition, each suited to specific needs. Evaluate based on project demands, local availability, and performance metrics.
- Fly ash-based bricks, derived from coal power plant residues, offer lightweight construction with smooth surfaces and consistent dimensions. They provide excellent longevity at a reasonable price point, though quality control during sourcing ensures uniformity in ash composition.
- Slag-based bricks, sourced from steel mill operations, deliver high density and superior compressive strength, often exceeding 3,000 psi. Their moisture resistance suits humid environments, but increased weight necessitates sturdy handling equipment during transport.
- Natural pozzolan-based bricks, incorporating volcanic ash or calcined clay, exhibit exceptional thermal stability across temperature fluctuations. While premium pricing and narrower color palettes limit some uses, their natural aesthetics appeal to heritage or eco-focused designs.
Match the brick type to environmental factors. Slag or pozzolan variants withstand outdoor exposure in rainy or freeze-thaw climates effectively. Fly ash options suit indoor partitions or ornamental exteriors where texture and ease of finishing matter most.
Essential Tools and Supplies
Assemble a comprehensive kit to streamline the build. Basic hand tools include a pointing trowel for mortar application, a four-foot spirit level for accuracy, a jointer for finishing edges, and a mason's line stretched between stakes for straight runs.
Power tools facilitate efficiency: use a portable cement mixer for larger batches or a drill with paddle mixer for smaller quantities. Rent a wet saw with a diamond blade for clean cuts on curved or intricate patterns. Stock materials encompass the bricks themselves, a compatible geopolymer mortar formulated for zero-cement systems, coarse sand for base layers, and clean water. Plan for a 10 percent surplus in bricks to account for damage, trimming, and unexpected needs.
Step-by-Step Installation Guide
Follow these precise steps to ensure a robust and lasting installation.
-
Establish the foundation. Dig a trench to a depth of eight inches, wider than the wall by six inches on each side. Backfill with three inches of gravel, compact it using a plate tamper to 95 percent density, then add a one-inch sand leveling course.
-
Place the initial course. Spread a one-quarter-inch mortar bed across the base. Position bricks end to end, tapping gently with a rubber mallet for secure seating. Verify levelness in all directions using a spirit level; adjust with thin shims if needed to avoid compounding errors.
-
Construct subsequent courses. Apply mortar to brick ends and beds, staggering vertical joints by half a brick for interlocking strength. Keep joint thickness uniform at three-eighths inch to distribute loads evenly.
-
Monitor alignment regularly. Every two courses, stretch the mason's line parallel to the wall face and plumb with a level. Correct deviations immediately by removing and resetting bricks before mortar sets.
-
Complete the joints. Once mortar thumbs into place, strike joints with the tool for a concave profile that sheds water effectively. Remove excess with a brush for a neat appearance.
-
Allow for curing. Adhere to manufacturer guidelines, typically 24 to 48 hours initial set, with full strength in seven days. Cover with plastic sheeting in dry conditions to retain moisture and promote even hardening.
Safety Precautions: Always don nitrile gloves, safety goggles, and a dust mask when mixing or handling alkaline activators. Mix in well-ventilated spaces, and rinse any skin contact with vinegar followed by water to neutralize residues.
Expert Recommendations
- Purchase 10 percent additional bricks to handle cuts, breaks, and layout adjustments without delays.
- Maintain a bucket of water and sponges nearby to clean mortar smears promptly, preserving the brick face.
- In arid or high-heat conditions, pre-wet bricks for 10 minutes to slow surface drying and improve adhesion.
Advancing Sustainable Masonry Practices
Integrating zero-cement bricks advances the shift toward responsible construction methods. These materials diminish cement dependency, expand creative possibilities in design, and foster structures that endure with minimal environmental cost. Builders who adopt them contribute to broader goals of resource efficiency and climate resilience, setting a standard for future projects.