Understanding Zero-Cement Bricks
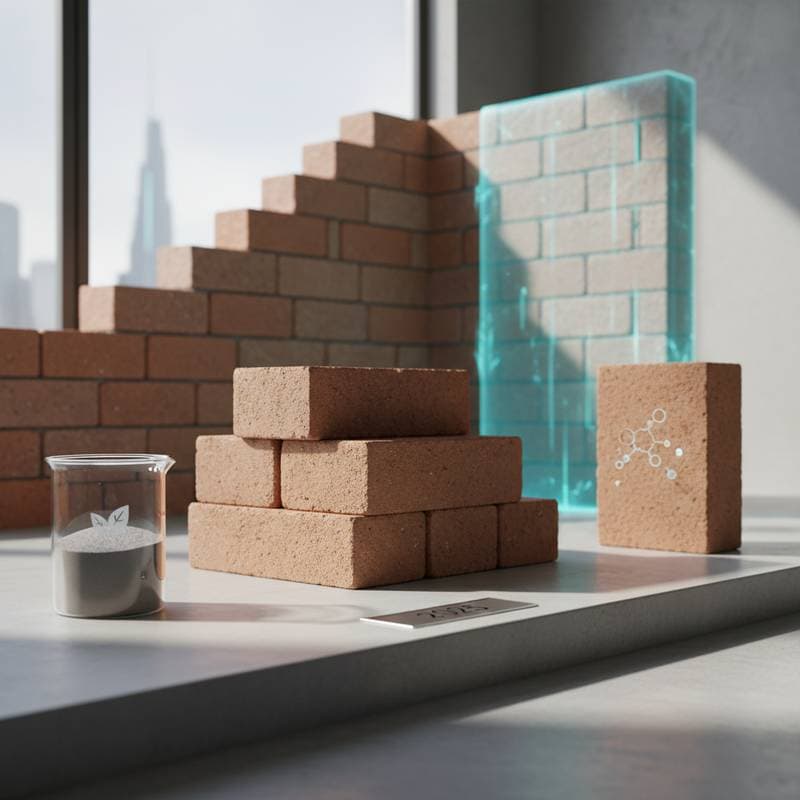
Zero-cement bricks, known as geopolymer bricks, mark a significant advancement in masonry materials. These bricks form through a chemical reaction involving industrial byproducts like fly ash, slag, or calcined clay combined with an alkaline solution, eliminating the need for Portland cement as a binder. The outcome yields a hardened structure that matches or exceeds the strength of conventional cement-based bricks.
Cement production generates substantial carbon dioxide emissions and demands high energy inputs. Geopolymer bricks address these issues by repurposing waste materials that might otherwise fill landfills, thereby reducing environmental impact. Builders, architects, and homeowners seeking sustainable options find these bricks reliable for long-term use.
Why the Shift Matters
Environmental benefits drive adoption, yet performance remains crucial. Geopolymer bricks withstand heat, water, and chemical exposure more effectively than standard concrete units. They exhibit stability across temperature changes and experience minimal shrinkage, minimizing the risk of cracks. Such attributes position these bricks as ideal for walls, pavements, and structural elements in residential and commercial settings.
Typical Composition
Geopolymer bricks incorporate three core elements:
- Source material, rich in silica and alumina, such as fly ash or slag.
- Activator solution, comprising sodium or potassium silicate and hydroxide to initiate the polymerization process.
- Aggregates and fillers, like sand or crushed stone, which provide volume and texture.
Fine-tuning these proportions allows control over strength, color, and finish. Producers shape them into standard sizes or bespoke forms, enabling creative design while upholding structural integrity.
The Path from Concept to Construction
How the Reaction Works
Traditional cement relies on calcium silicate hydrates for binding. Geopolymers, however, create an aluminosilicate gel network where aluminum and silicon atoms form a robust three-dimensional framework. This process occurs at room temperature or with gentle heat, conserving energy compared to cement curing. The cured product resembles ceramic in properties, delivering high compressive strength alongside superior fire and salt resistance.
Quality Verification
Manufacturers assess the reaction's success by measuring compressive strength post-curing. A dense, uniform texture without efflorescence or weak areas signals an effective formulation. Inadequate mixing or insufficient curing might result in powdery exteriors or uneven density. For commercial production, sourcing consistent raw materials proves essential, as fluctuations in fly ash quality can influence outcomes.
Comparing to Portland Cement Bricks
| Property | Portland Cement Brick | Geopolymer (Zero-Cement) Brick |
|---|---|---|
| Binder | Calcium silicate hydrate | Aluminosilicate gel |
| Carbon footprint | High | Low |
| Curing energy | Moderate to high | Low |
| Strength development | Gradual | Rapid |
| Chemical resistance | Moderate | Excellent |
| Fire resistance | Good | Excellent |
| Lifespan | Long | Very long |
This table highlights the advantages prompting industry interest. Reduced emissions, quicker curing, and enhanced durability render geopolymer bricks viable for cost-effective, green projects.
Planning Your Use of Zero-Cement Bricks
Transitioning to geopolymer bricks requires careful consideration of project specifics.
Assessing the Site
Evaluate environmental factors thoroughly:
- Climate and moisture: These bricks handle humidity well, but verify ratings for freeze-thaw cycles in cold regions.
- Soil and foundation: Ensure the subgrade supports loads akin to those of concrete masonry for substantial builds.
- Drainage: Implement proper site grading to prevent water accumulation around walls, protecting mortar joints over time.
- Exposure: Opt for UV- and corrosion-resistant variants if bricks encounter intense sun or coastal conditions.
Choosing Materials
Select based on project needs:
- Fly ash-based bricks
- Pros: Readily available, smooth surface, quick initial strength gain.
- Cons: Potential color inconsistencies from varying ash sources.
- Cost: Comparable to or below standard bricks.
- Skill level: Moderate; focus on precise curing.
- Slag-based bricks
- Pros: Exceptional density and strength for load-bearing applications.
- Cons: Supply limitations in certain areas.
- Cost: Higher due to quality-controlled inputs.
- Skill level: Intermediate to advanced.
- Calcined clay-based bricks
- Pros: Derived from natural sources, consistent hue, reduced alkali.
- Cons: Involves pre-firing clay, adding a preparation step.
- Cost: Moderate, influenced by regional processing.
- Skill level: Moderate.
Gathering Tools and Materials
For initial projects or prototypes:
- Hand tools: Trowel for mortar application, jointer for edge finishing, spirit level for straight lines.
- Power tools: Mechanical mixer for uniform paste, drill with mixing paddle for smaller quantities.
- Rental equipment: Vibration table or press for on-site block forming.
- Safety gear: Protective gloves, safety glasses, and dust mask when working with activators.
Prepare ten percent more mix than estimated to account for testing and minor losses.
Compliance and Preparation
Review local codes for structural and fire safety certifications. Contact utility services via 811 prior to excavation. Obtain homeowners association consent for exterior modifications if applicable.
Building with Zero-Cement Bricks
Step-by-Step Overview
Follow these stages for reliable results:
- Prepare the foundation: Compact and level the surface; add a damp-proof membrane as needed to avoid settlement issues.
- Lay the first course: Spread a slim geopolymer mortar bed; align bricks meticulously with level and plumb tools.
- Build upward: Offset joints by half a brick for reinforcement; maintain uniform three-eighths-inch mortar thickness.
- Check alignment frequently: Employ a string line and level every third course; adjust promptly for accuracy.
- Cure gradually: Shield new work from quick evaporation using wet coverings for the initial 24 hours.
- Finish joints: Tool edges once set for evenness; concave profiles promote water runoff.
- Inspect for quality: Gently tap surfaces; resonant tones confirm solidity, while dull echoes indicate voids.
In arid or breezy environments, lightly moisten bricks beforehand to regulate mortar hydration.
DIY Versus Professional Installation
Standard masonry techniques apply, allowing skilled amateurs to tackle non-load-bearing features like partitions or borders. Consult engineers and licensed professionals for bearing walls, elevated structures, or reinforced designs to ensure safety and code adherence.
Beyond Construction
Finishing Touches
Apply permeable finishes such as lime-based washes or vapor-permeable paints to preserve breathability. Sealers enhance protection without moisture entrapment. Embrace the bricks' inherent tones for rustic appeal, or integrate landscape elements like integrated lighting to accentuate textures.
Maintenance and Longevity
Routine care suffices: Annually examine joints and cleanse with neutral soap solutions. Steer clear of acidic agents that might etch surfaces. Address joint deterioration promptly through repointing to sustain weatherproofing and stability.
Enhancements and Integration
Incorporate geopolymer bricks into hybrid systems with recycled aggregates or energy-efficient insulation for amplified sustainability. Pair with solar-compatible facades or green roofs to optimize building performance. These integrations not only lower operational costs but also elevate property value through eco-certifications.
Advancing Sustainable Building Practices
Geopolymer bricks pave the way for reduced-impact construction without compromising quality. By adopting these materials, projects achieve measurable emission cuts and enhanced resilience, fostering a legacy of responsible development.