Understanding Zero-Cement Bricks
Zero-cement bricks mark a significant advancement in sustainable masonry practices. These bricks replace traditional Portland cement with geopolymer binders derived from aluminosilicate sources, such as fly ash, slag, or calcined clays. The outcome yields masonry units that match the compressive strength of conventional concrete bricks while slashing carbon emissions and enhancing resistance to chemical degradation.
Portland cement production demands intense energy from fossil fuels and liberates carbon dioxide through both combustion and limestone calcination. Zero-cement bricks circumvent this process by activating industrial by-products via alkaline solutions, which solidify into a durable, stone-like matrix at reduced temperatures. This approach minimizes embodied energy, repurposes waste materials, and promotes a circular economy in construction.
These bricks serve diverse roles in structural and aesthetic applications, including load-bearing walls, pavers, garden edging, and low-rise buildings. Formulations with reinforced properties enable their use in demanding scenarios. The adoption of geopolymer technology underscores a commitment to environmentally responsible building that aligns with resource conservation goals.
Project Overview
Constructing with zero-cement bricks delivers enduring, moisture-resistant masonry alongside a reduced environmental footprint. Homeowners and contractors benefit from decreased reliance on cement production, enhanced recycling of industrial waste, and distinctive visual appeal from the natural hues of source materials.
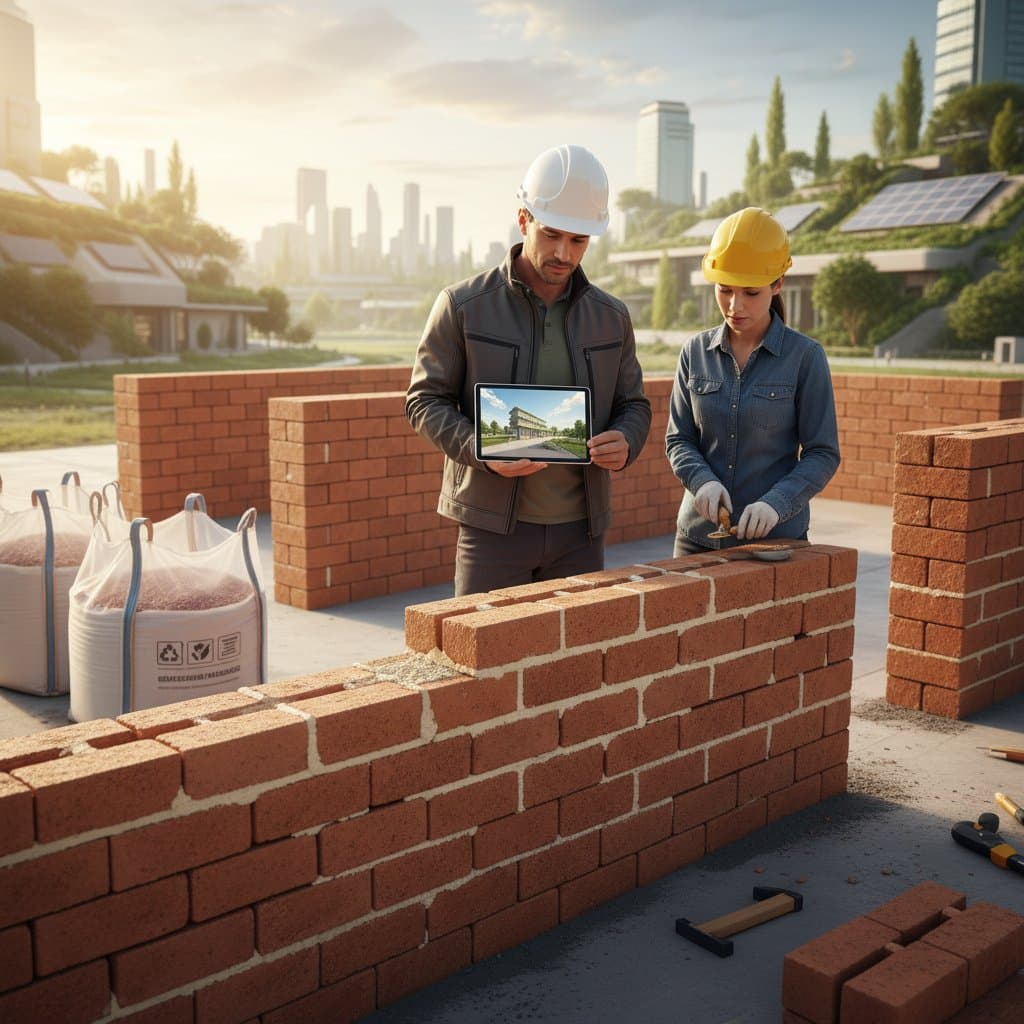
This endeavor requires intermediate expertise. Installation mirrors standard bricklaying techniques, with adjustments for mortar selection and curing protocols. Participants should anticipate moderate exertion from handling substantial units; enlisting assistance streamlines mixing, placement, and ensures adherence to safety measures.
Deciding Between DIY and Professional Installation
Confident DIY enthusiasts with prior masonry experience can tackle non-structural elements, such as garden walls or edging, using familiar tools and layout strategies. However, load-bearing walls, integrations with structural framing, or projects demanding precise engineering warrant professional involvement. Variations in geopolymer formulations across suppliers necessitate consultation of technical data sheets to address curing specifics and handling precautions.
Planning Your Zero-Cement Brick Project
Site Assessment
Examine soil composition and drainage capabilities prior to material procurement. Retentive soils heighten risks of efflorescence and surface staining, despite the inherent resilience of geopolymer bricks. Evaluate terrain slopes to determine foundation depths and ensure proper alignment; steer clear of areas prone to water accumulation.
Essential Measurements
Document the project's linear dimensions, including length, height, and thickness. Calculate required bricks by multiplying coverage rates per square foot by the total surface area, then incorporate a 10 percent allowance for cuts and breakage. This margin safeguards against delays from inaccuracies or material defects.
Environmental Considerations
Ambient temperature and humidity influence the curing process. Geopolymer bricks achieve optimal strength with managed moisture levels, accommodating broader ranges than cement alternatives. Schedule installations to evade subfreezing conditions or intense solar exposure.
Anticipated Challenges
Account for obstructions like buried utilities, root systems, or adjacent structures. Initiate contact with local utility providers well in advance of excavation. For projects interfacing with load-sharing elements, such as neighboring walls, secure engineering advice to maintain stability.
Selecting Materials
Fly Ash-Based Geopolymer Bricks
These bricks derive from finely milled fly ash combined with alkaline activators.
- Advantages: Superior compressive strength, consistent surface finish, and robust fire resistance.
- Drawbacks: Regional supply inconsistencies.
- Pricing: Marginally above clay bricks.
- Required Expertise: Intermediate.
- Upkeep: Minimal; periodic surface cleaning suffices.
- Ideal Applications: Structural walls or ornamental features in temperate zones.
Slag-Based Geopolymer Bricks
Ground granulated blast furnace slag forms the primary binder in this variant.
- Advantages: Exceptional density and resilience to salts and corrosive agents.
- Drawbacks: Increased weight and extended curing times.
- Pricing: Mid-range to elevated.
- Required Expertise: Intermediate to advanced.
- Upkeep: Low; inspect joints routinely.
- Ideal Applications: Paving surfaces or retaining structures outdoors.
Calcined Clay Geopolymer Bricks
Thermally processed clay minerals provide the base for these units.
- Advantages: Readily available local sourcing and appealing earthy tones.
- Drawbacks: Gradual initial strength gain, demanding vigilant curing.
- Pricing: Moderate.
- Required Expertise: Beginner to intermediate.
- Upkeep: Apply sealant periodically in humid environments.
- Ideal Applications: Exterior facades, garden partitions, or decorative accents.
Assembling Tools and Supplies
Manual Implements
- Trowel: Spreads mortar uniformly across brick interfaces.
- Brick Hammer: Shapes and adjusts edges for precise fits.
- Level and Plumb Bob: Maintains horizontal and vertical accuracy in courses.
- Jointing Tool: Profiles mortar seams for aesthetic and protective finishes.
- Stiff Brush: Clears debris prior to placement.
Powered Equipment
- Masonry Saw or Angle Grinder: Produces precise cuts; consider rentals for occasional use.
- Drill with Mixing Attachment: Ensures homogeneous mortar preparation.
- Wet/Dry Vacuum: Facilitates cleanup, particularly in moisture-controlled settings.
Rented Gear
- Mortar Mixer: Achieves consistent blends for extensive undertakings.
- Wheelbarrow and Scaffolding: Supports material transport and elevated access safely.
- Safety Equipment: Includes gloves, goggles, and respirators for chemical handling.
Required Materials
- Zero-cement bricks, with a 10 percent surplus.
- Matching geopolymer or minimal-cement mortar.
- Gravel for foundational compaction.
- Potable water for mixing and hydration.
- Manufacturer-recommended sealants.
Installation Process
- Establish the Foundation. Dig to a firm subgrade and layer with at least 4 inches of compacted gravel to promote stability and drainage.
- Position the Base Course. Apply a complete mortar bed and align each brick meticulously, as this layer sets the project's alignment.
- Erect Subsequent Courses. Distribute mortar evenly, offset joints by half a brick for structural integrity, and verify levelness periodically.
- Manage Curing Conditions. Retain slight dampness for the prescribed duration; employ plastic coverings to regulate humidity.
- Profile the Joints. Once mortar firms slightly, compress and shape seams to enhance weatherproofing and visual appeal.
- Verify Overall Alignment. Employ levels on faces and tops; adjust discrepancies with light taps while material remains pliable.
- Surface Cleanup. Remove excess mortar with a brush before full set; refrain from acidic solutions that may compromise binders.
Practical Advice: Procure an additional 10 percent of bricks to accommodate unforeseen breaks or design modifications.
Applying Finishing Touches
Apply penetrating sealants to weather-exposed faces to mitigate rain penetration and splash erosion. Select vapor-permeable products formulated for geopolymer compatibility. Incorporate capstones or coping to direct runoff away from vertical joints, prolonging the assembly's integrity.
Sustaining Long-Term Performance
Conduct annual inspections for joint erosion or surface wear, particularly in high-exposure areas. Reapply sealants as needed based on environmental demands. Address minor cracks promptly with compatible repair compounds to prevent escalation.
Expanding Design Possibilities
Integrate zero-cement bricks with native plantings for permeable landscapes that manage stormwater effectively. Experiment with mixed geopolymer types to achieve textured patterns or color gradients in facades. Pair with recycled aggregates in pathways to amplify sustainability credentials.
Steering Clear of Installation Errors
- Pairing geopolymer bricks with traditional cement mortar, which undermines joint adhesion.
- Neglecting a robust drainage layer, inviting subsurface moisture accumulation.
- Disregarding manufacturer curing guidelines, leading to inconsistent strength or aesthetic flaws.
Embracing Sustainable Construction Outcomes
Transitioning to zero-cement bricks fosters resilient builds that harmonize strength with ecological stewardship. This choice not only curtails emissions but also innovates material reuse, paving the way for future-proofed infrastructure. Builders who adopt these solutions contribute to a legacy of durable, planet-friendly architecture.