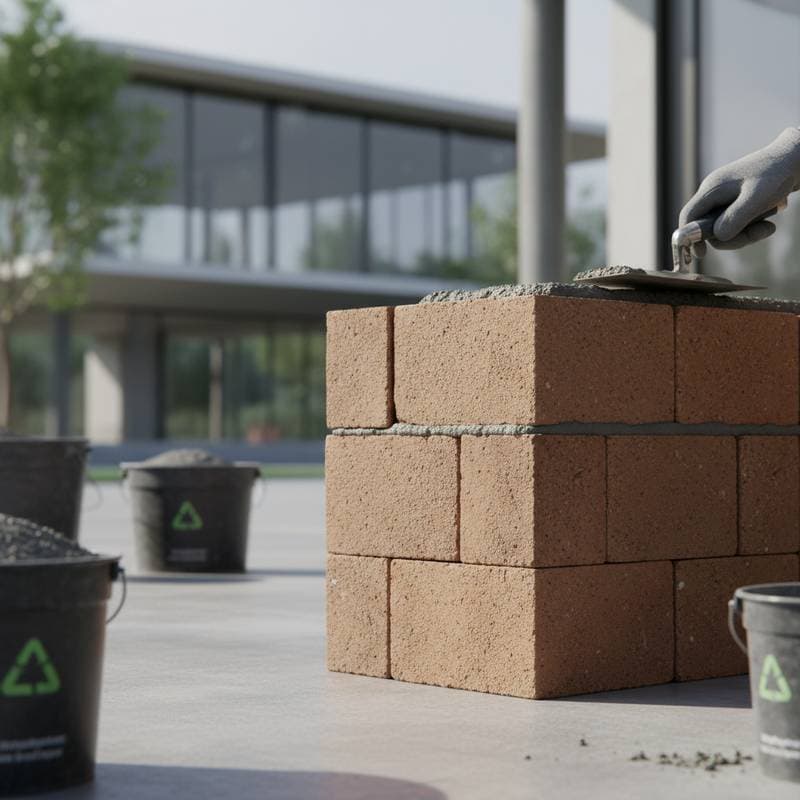
Understanding Zero-Cement Bricks
Zero-cement bricks, typicallybinders, transform traditional masonry practices by removing the need for Portland cement. These bricks incorporate industrial byproducts like fly ash, ground granulated blast furnace slag, or natural pozzolans. These materials react with alkaline activators to create a solid, rock-like matrix that provides robust strength and extended durability.
The production process of zero-cement bricks avoids the energy-intensive calcination of limestone clinker required for conventional cement. Geopolymer binders solidify at ambient or moderately elevated temperatures, leveraging waste streams that would otherwise burden landfills. This approach appeals to construction professionals seeking materials that balance superior mechanical properties with reduced ecological footprints.
Beyond laboratory settings, geopolymer bricks find practical applications in load-bearing walls, pavements, and retaining structures for landscapes. Professionals appreciate their uniform dimensions, high resistance to fracture under stress, and capacity to retain aesthetic appeal amid exposure to weather extremes, chemicals, or abrasion.
The Significance of Zero-Cement Bricks
Zero-cement bricks hold value through their enhanced performance characteristics and positive environmental contributions. They diminish reliance on resource-intensive limestone quarrying and emit fewer volatile organic compounds, thereby improving indoor air quality in enclosed spaces. Additionally, these bricks demonstrate superior resilience against water infiltration and temperature fluctuations over decades.
Strength and Durability
The geopolymer matrix forms a compact structure that minimizes volumetric changes during setting, thereby preventing fissures. This chemical inertness suits deployment in coastal regions or high-humidity zones, where standard cement-based products often suffer from sulfate attack or efflorescence.
For instance, compressive strengths in geopolymer bricks frequently exceed 20 megapascals, comparable to or surpassing traditional clay bricks. Long-term exposure tests reveal minimal degradation, ensuring structural integrity for applications like foundation walls or seismic-prone areas.
Thermal Efficiency
The inherent microstructure of zero-cement bricks, featuring controlled porosity, enhances thermal insulation properties. In wall assemblies, this feature moderates indoor temperatures, potentially lowering heating and cooling demands by up to 15 percent in moderate climates.
Builders can optimize this benefit by incorporating insulation layers or selecting brick formulations with expanded aggregates. Such designs support energy-efficient building envelopes that comply with stringent green building codes.
Environmental Benefits
Utilizing byproducts from coal combustion or steel production, each zero-cement brick sequesters approximately 0.8 kilograms of waste material and avoids the release of 0.9 kilograms of CO2 equivalent compared to Portland cement alternatives. This practice aligns with certifications such as LEED or BREEAM, where material credits reward low embodied carbon.
Over a typical residential project, adopting these bricks can reduce the overall carbon footprint by 40 percent. Moreover, local sourcing of byproducts shortens supply chains, further conserving transportation-related emissions.
Preparing for a Zero-Cement Masonry Project
Site Assessment
Begin by examining the construction site for adequate drainage patterns, terrain gradients, and underlying soil composition. Although geopolymer bricks exhibit low water absorption, a well-prepared foundation mitigates risks of differential settlement or lateral shifting.
Install a base layer of compacted aggregate or reinforced concrete slab, sloped at least 1 percent to facilitate runoff. Test soil for expansive properties; in areas with high clay content, incorporate stabilization techniques like lime treatment to prevent seasonal heaving.
Essential Measurements
Determine the precise dimensions of the intended wall, including length, height, and desired thickness, often 4 inches for non-load-bearing elements. Calculate the required number of bricks by dividing the total surface area by the face area of a single brick, then incorporate an additional 10 percent allowance for breakage and precise fittings.
Account for mortar joint dimensions, standardizing at 3/8 inch for both horizontal and vertical spacing. Use a detailed sketch or digital modeling software to visualize openings for doors, windows, or vents, adjusting brick quantities accordingly.
Accounting for Environmental Conditions
Ambient temperature and relative humidity directly affect the geopolymer activation process, which proceeds more slowly below 50 degrees Fahrenheit. Consult manufacturer guidelines for optimal mixing ratios and exposure limits, typically recommending operations between 68 and 86 degrees Fahrenheit for best results.
Protect newly laid masonry with moisture-retentive coverings like polyethylene sheets during the initial 24 to 48 hours. In arid conditions, periodic misting ensures uniform hydration without excessive evaporation.
Anticipating Project Challenges
Brick sizes may vary slightly due to manufacturing tolerances, up to 1/8 inch. Employ adjustable spacers or wooden shims to achieve consistent joint alignment and prevent cumulative deviations over long runs.
For junctions such as corners or reveals, pre-cut bricks using a wet saw fitted with a diamond-impregnated blade, maintaining a 45-degree angle for soldier courses or returns. Practice cuts on spare units to refine technique and minimize material waste.
Essential Tools and Materials
Manual Tools
Select a pointed brick trowel with a 5-inch blade for precise application and tooling of geopolymer mortar. A jointer tool, available in concave or V-shaped profiles, finishes joints for weather resistance and visual appeal.
Maintain alignment with a 4-foot spirit level and mason's line stretched taut between corner stakes. A soft-faced rubber mallet gently positions bricks, avoiding chips or surface damage during adjustments.
Powered Tools
A circular masonry saw with water cooling delivers clean, dust-free cuts for custom shapes. Pair a variable-speed drill equipped with a mixing paddle to achieve homogeneous geopolymer slurries, operating at 300 to 500 RPM to prevent air entrapment.
Equipment for Rent
Rent a vibrating plate compactor to achieve 95 percent soil density in base preparations, reducing voids that could lead to instability. A sturdy wheelbarrow with pneumatic tires facilitates transport of bulk mixes across uneven terrain.
Required Materials
Procure geopolymer bricks sufficient for the project plus a 10 percent buffer. Complement with pre-blended geopolymer mortar, ensuring compatibility with the brick composition.
Source potable water free of contaminants for mixing. Prepare plastic sheeting or damp burlap for curing protection, sized to overlap edges by at least 6 inches.
Long-Term Project Management
Applying Finishing Techniques
After full curing, apply a silane- or siloxane-based sealer to exposed faces, penetrating without forming a film to allow vapor transmission. This treatment wards off efflorescence and preserves natural textures while promoting even patina development.
Test sealers on inconspicuous areas to verify adhesion and color fastness. For colored bricks, select UV-stable formulations to maintain vibrancy under sunlight exposure.
Ongoing Maintenance Practices
Conduct yearly inspections focusing on joint integrity and surface integrity, repairing minor fissures with compatible geopolymer patching compounds. Routine cleaning involves low-pressure rinsing and non-abrasive brushes with pH-neutral solutions to remove accumulated grime.
In regions with heavy precipitation, refresh protective sealants every three to five years, monitoring for water repellency through simple spray tests. Document maintenance activities to track performance trends over time.
Creative Integration Options
Embed low-voltage LED fixtures within wall cavities for illuminated accents, wiring through pre-drilled channels. Incorporate modular planters at base levels, securing with galvanized anchors to enhance biodiversity and visual interest.
Experiment with modular patterns by alternating brick orientations or blending textures, such as smooth-faced with wire-cut varieties. These elements elevate functional walls into architectural features that complement surrounding landscapes.
Pitfalls to Sidestep
Allow full curing periods, often 7 days for initial strength gain, before subjecting structures to loads. Neglecting this step compromises adhesion and load distribution.
Prioritize thorough base compaction to at least the specified Proctor density, as inadequate preparation invites progressive settling. Regularly verify line and level at every third course to correct misalignments early, preserving overall plumb and stability.
Zero-cement bricks integrate formidable strength, aesthetic versatility, and planetary conservation into a cohesive building solution. Through meticulous preparation and execution, masonry projects yield enduring results that advance sustainable development goals.