Understanding Geopolymer Bricks
Building with geopolymer bricks reduces reliance on cement, enhances durability, and promotes sustainable masonry structures. These bricks form through a chemical reaction between aluminosilicate materials and alkaline activators, creating a hardened binder that matches the performance of traditional cement while minimizing environmental impact.
Geopolymer technology, developed decades ago, now transitions from research labs to widespread construction applications. Builders, designers, and homeowners increasingly select these bricks for their role as a leading zero-cement masonry solution.
What Makes Geopolymer Bricks Different
Traditional bricks and concrete blocks rely on Portland cement, whose production emits significant carbon dioxide and demands high temperatures. Geopolymer bricks utilize industrial by-products such as fly ash, metakaolin, or slag, combined with alkaline solutions like sodium or potassium silicates. This mixture produces a dense, stone-like geopolymer matrix.
The resulting structure provides key benefits:
- High compressive strength that equals or surpasses fired clay or concrete units
- Low carbon footprint from avoiding cement and incorporating recycled materials
- Superior resistance to heat and chemicals, suitable for demanding conditions
- Minimal shrinkage and cracking during curing, ensuring stable assemblies
These attributes position geopolymer bricks for use in energy-efficient buildings, retaining walls, and load-bearing projects that demand both strength and sustainability.
Why This Technology Matters
Cement contributes substantially to global carbon emissions. Substituting geopolymer alternatives decreases greenhouse gases and repurposes industrial waste that might otherwise fill landfills. Structurally, these bricks deliver extended service life with less maintenance. Their dense microstructure repels moisture and prevents efflorescence, addressing prevalent masonry issues.
Critical Decision Point: DIY Feasibility and Professional Involvement
Pre-cast geopolymer bricks from manufacturers enable advanced DIY projects. However, mixing and casting the binders demands handling chemicals and maintaining precise temperatures, which necessitate professional expertise. Individuals without chemical safety training or experience with alkaline activators should purchase ready-made bricks from certified suppliers.
For homeowners, DIY efforts focus on laying the bricks rather than producing them. Mortar selection, leveling, and alignment follow standard masonry methods. Professionals handle the chemical formulation and curing processes.
Planning Your Geopolymer Masonry Project
Careful planning ensures the project's success and maximizes the material's benefits. This preparation stage influences the final quality and long-term performance.
Assessing the Site
Evaluate these elements:
- Soil type and drainage: Confirm firm, well-drained soil to avoid settlement. Clay-rich soils benefit from a gravel base or reinforced footing.
- Slope and terrain: Steep areas require stepped foundations or retaining structures engineered by experts.
- Moisture exposure: Map water runoff routes to prevent joint saturation.
Measurements to Take
Determine the wall or structure's footprint. Calculate total area by multiplying length by height. Estimate brick quantity by dividing the area by the face area of one brick plus joint thickness. Include a 10 percent buffer for waste and cuts to avoid shortages during construction.
Environmental Factors to Consider
Temperature fluctuations influence mortar curing, even with geopolymer bricks. Schedule work in moderate weather. Shield fresh joints from direct sunlight or heavy rain for the initial days.
Obstacles to Expect
Some geopolymer bricks weigh more than lightweight concrete blocks. Enlist a helper or use a lifting aid for handling. Establish a stable nearby surface for safe brick storage.
Choosing Materials
Option 1: Fly Ash-Based Geopolymer Bricks
These bricks derive from low-calcium fly ash activated with sodium silicate and sodium hydroxide.
Pros: Strong compressive performance, smooth finish, low water absorption.
Cons: Needs controlled curing temperatures.
Cost: Affordable, thanks to recycled inputs.
Skill Level: Fits standard masonry installation.
Best Use: Exterior and load-bearing walls in dry or temperate regions.
Option 2: Slag-Based Geopolymer Bricks
These combine ground granulated blast furnace slag with alkaline activators.
Pros: Quick setting, early high strength, enhanced chemical resistance.
Cons: Higher cost and weight.
Cost: Moderate to premium.
Skill Level: Comparable to traditional bricklaying.
Best Use: Industrial or coastal settings requiring corrosion protection.
Option 3: Metakaolin-Based Geopolymer Bricks
These employ calcined kaolin clay as the aluminosilicate base.
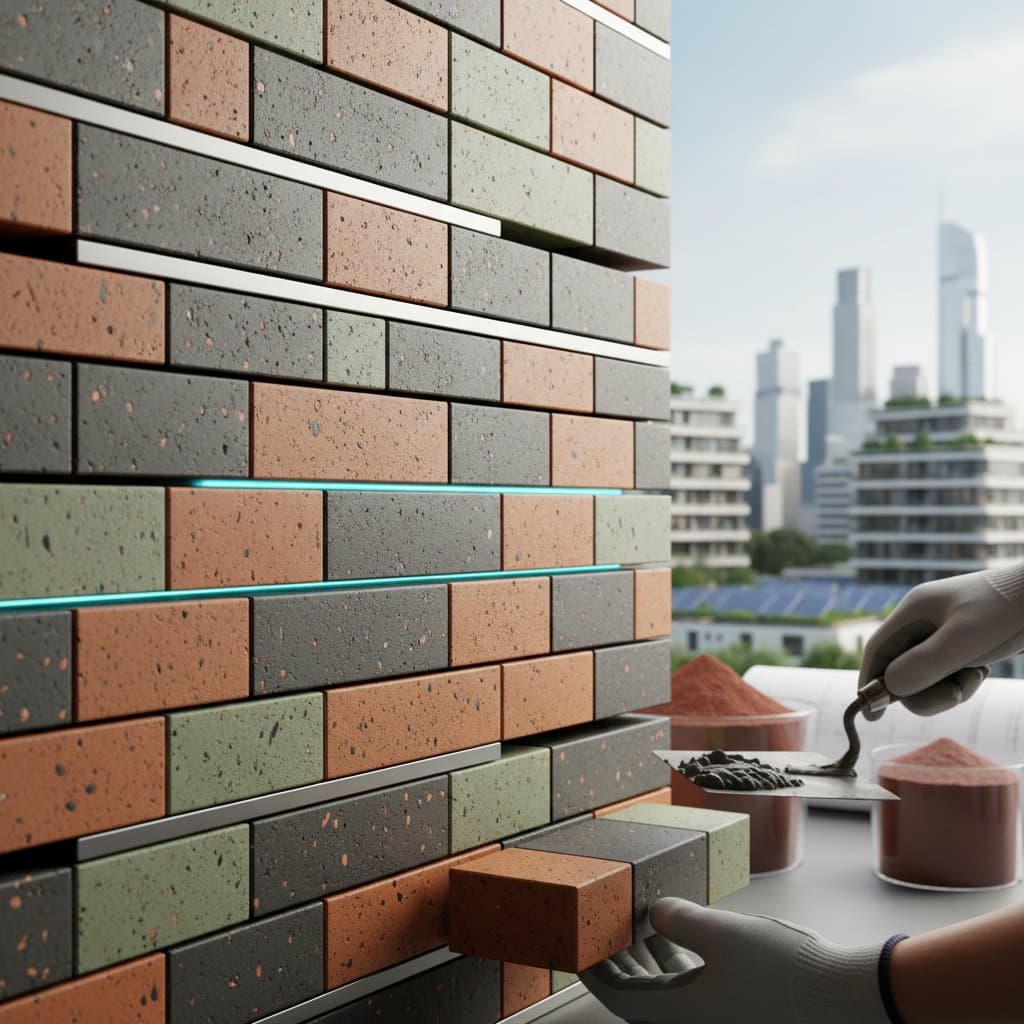
Pros: Uniform quality, refined texture, varied lighter colors.
Cons: Greater energy in raw processing.
Cost: Premium.
Skill Level: Matches conventional methods.
Best Use: Architectural elements prioritizing aesthetics alongside durability.
Gathering Tools and Materials
Hand Tools
- Brick trowel for even mortar application
- Masonry hammer for accurate brick trimming
- Spirit level to maintain level and plumb courses
- Jointing tool for clean mortar joint finishes
- Measuring tape and chalk line for precise layouts
Power Tools
- Masonry saw or angle grinder for cuts around openings
- Drill with mixing paddle for uniform mortar blending
- Plate compactor for gravel base preparation
Rental Equipment
For walls exceeding shoulder height, rent scaffolding with safety rails and secure footing. A small cement mixer ensures consistent mortar batches when working solo.
Materials List with Buffer
- Geopolymer bricks, plus 10 percent extra
- Compatible low-cement or geopolymer mortar
- Clean mixing water
- Plastic sheeting for curing coverage
- Reinforcement ties or mesh as design requires
Step-by-Step Instructions
- Prepare the base: Excavate to stable soil and lay a 4-inch compacted gravel bed. Verify levelness across the entire width.
- Set the first course: Snap a chalk line guide. Apply a 0.5-inch mortar bed and position the initial brick at the corner. Tap lightly to achieve level.
- Continue along the line: Keep joints at 3/8 inch thickness. Check level and plumb often.
- Stagger joints: Offset subsequent courses by half a brick to build strength.
- Fill vertical joints: Compress mortar completely between bricks to eliminate voids.
- Check alignment: Run a string line along each course's top edge. Address deviations promptly.
- Cure properly: Drape plastic sheeting over new masonry to preserve moisture for several days.
- Finish joints: Tool the joints after mortar firms for a smooth, water-resistant surface.
Quality Checkpoint: After every few courses, confirm plumb in both planes with a level. Early adjustments avert major issues.
Pro Tips
- Purchase 10 percent additional bricks to account for waste and cuts.
- In humid areas, store bricks under cover to prevent premature moisture uptake.
- Adhere to the manufacturer's mortar mix ratios for optimal bonding.
Beyond the Build
Finishing Touches
Apply sealants to exposed surfaces for extra protection against weathering. Consider integrating decorative elements like capstones or lighting fixtures to elevate the aesthetic appeal of the structure.
Maintenance and Care
Inspect joints annually for cracks and reseal as needed. Clean with mild solutions to avoid chemical damage. These practices extend the lifespan of geopolymer masonry in various climates.
Enhancement Ideas
Pair geopolymer bricks with green roofs or solar integrations for comprehensive sustainability. Experiment with mixed textures in non-load-bearing areas to add visual interest without sacrificing integrity.
Common Mistakes to Avoid
- Neglecting level checks in initial courses results in uneven walls.
- Selecting mismatched mortar leads to weak bonds; align chemistries carefully.
- Permitting fast drying without protection diminishes mortar durability; maintain moisture in early stages.
Geopolymer bricks enable construction that honors environmental goals while delivering robust, enduring results. Projects built this way contribute to a greener future without forgoing reliability or style.