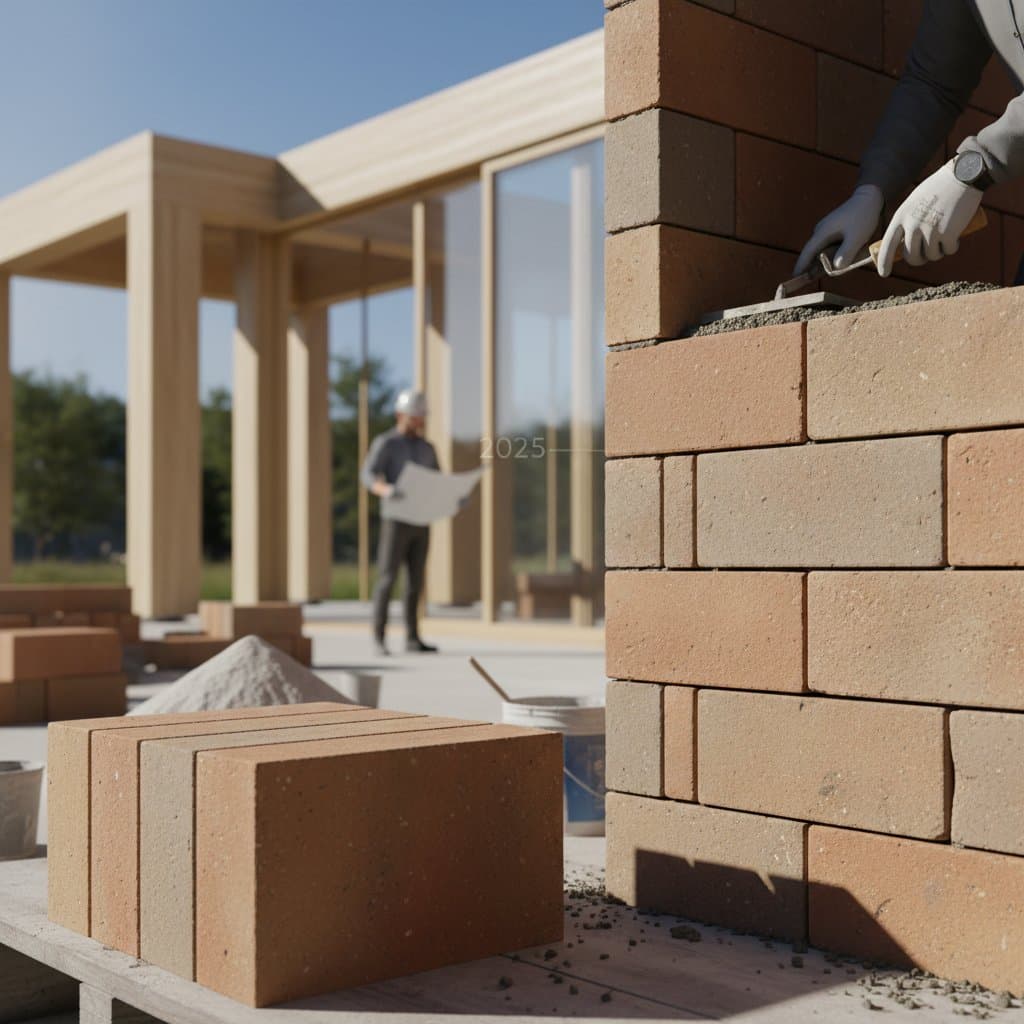
Geopolymer Bricks: Masonry's Sustainable Future
Geopolymer bricks represent an innovative masonry unit that eliminates the need for traditional Portland cement. These bricks form through a chemical reaction between industrial byproducts, such as fly ash or slag, and alkaline activators. This process creates a robust, stone-like material that delivers superior strength and durability while significantly reducing the carbon footprint compared to conventional clay or concrete bricks.
Builders and homeowners increasingly turn to geopolymer bricks for projects that prioritize environmental responsibility without compromising performance. The material binds waste products into a solid structure, minimizing landfill contributions and energy-intensive manufacturing. As sustainable construction gains momentum, these bricks emerge as a practical solution for walls, pavers, and facades.
Pros and Cons
Pros
- Low carbon footprint. Manufacturing emits substantially less carbon dioxide than cement production or fired clay processes, aligning with global sustainability goals.
- High strength. These bricks achieve compressive strengths equivalent to or exceeding those of concrete units, supporting heavy loads in structural applications.
- Excellent fire and chemical resistance. They withstand extreme heat, acids, and salts, making them ideal for industrial sites, coastal areas, or fire-prone regions.
- Fast curing. Bricks gain sufficient strength for use in mere hours, accelerating project timelines and reducing labor downtime.
- Good thermal stability. The material maintains integrity during temperature fluctuations, including freeze-thaw cycles and high-heat exposure.
Cons
- Limited availability. Production remains concentrated in select regions, which may require shipping and increase lead times.
- Higher initial cost. Specialized materials and activators elevate upfront expenses compared to standard bricks.
- Color variation. Shades vary based on source materials and production batches, potentially affecting aesthetic uniformity.
- Learning curve for installation. Workers must adapt to unique mortar mixes and curing requirements distinct from traditional masonry.
- Code acceptance. Local regulations sometimes demand extra testing or engineering certifications before approval.
Cost Range
Expect material costs to range from $1.50 to $2.50 per brick, influenced by dimensions, surface finishes, and regional sourcing. For installed walls, budgets typically span $12 to $20 per square foot, covering labor and basic preparation. Factors like custom textures, intricate patterns, or transportation to remote sites can push prices higher. Over time, savings materialize through quicker installation, energy-efficient production, and reduced waste disposal fees.
To optimize expenses, source bricks from nearby facilities and bundle orders to lower shipping costs. Compare quotes from multiple suppliers, factoring in bulk discounts or incentives for eco-friendly projects. Long-term benefits, such as lower maintenance needs, often offset the premium within the first decade.
Lifespan and Maintenance
Geopolymer bricks endure for fifty years or longer under normal conditions, exhibiting minimal degradation. Their inherent resistance to salts, acids, and flames surpasses that of standard concrete, extending service life in challenging environments. Routine checks focus on mortar joints for signs of cracks or separation every three to five years.
Maintenance involves simple cleaning with mild detergent and water to remove surface dirt. Steer clear of abrasive acids or high-pressure washers, which might erode protective layers. In humid areas, optional sealing with a breathable coating prevents moisture ingress and staining, preserving appearance without trapping vapor.
Specs to Check
Select bricks that meet these key specifications for reliability:
- Compressive strength: Target at least 8,000 psi to ensure suitability for load-bearing walls.
- Water absorption: Limit to under 10 percent to prevent issues in exterior exposures.
- Freeze-thaw rating: Confirm durability through standardized tests for your local climate.
- Size tolerance: Verify alignment with standard modular sizes, such as 8x4x2.25 inches, for seamless integration.
- Alkaline activator type: Opt for consistent sodium- or potassium-based formulas to avoid batch inconsistencies.
Request detailed test reports from accredited labs and ensure adherence to regional building codes or green standards like LEED. These documents provide assurance of performance and compliance.
Planning and Prep
Begin projects with a stable foundation engineered to support the intended wall height and load. Assess site drainage to direct water away from bases, preventing erosion or hydrostatic pressure. For pavers or retaining structures, prepare a compacted sub-base of 4 to 6 inches of crushed stone, topped with sand for leveling.
Evaluate soil conditions to avoid moisture-retaining types that could undermine stability. Mark underground utilities well in advance of digging to comply with safety protocols. Consult local permits or homeowners association guidelines early, especially for novel materials like geopolymer bricks.
Installation Overview
Follow these steps for a successful build:
-
Establish layout using string lines for straight courses and dry-lay initial rows to visualize the pattern.
-
Prepare mortar by mixing geopolymer-compatible formulas per manufacturer guidelines, or apply pre-approved adhesives for thin joints.
-
Start laying from corners, progressing inward while using levels to maintain plumb and even heights.
-
Keep joint thickness uniform at 3/8 to 1/2 inch and wipe away excess mortar immediately to avoid hardened stains.
-
Tool joints with a concave or struck finish as the mortar firms up, enhancing weather resistance.
-
Shield the fresh wall from precipitation for a minimum of 24 hours to allow proper curing.
-
Proceed with backfilling or surface treatments only after achieving full design strength, typically within 48 hours.
When cutting bricks, employ wet saws or tools with dust extraction to control airborne particles. Always equip workers with safety glasses, masks, and gloves to mitigate health risks.
Patterns and Options
Select bond patterns based on function and style: running bond for optimal structural integrity and efficiency, stack bond for sleek, contemporary aesthetics, or Flemish bond for ornate, historical appeal. Surface textures vary from polished smooth to rugged split-face, replicating limestone or granite for design flexibility.
Many manufacturers incorporate pigments during production for consistent coloration, eliminating the need for paints or stains. Experiment with modular sizes to create curved or angled features, expanding creative possibilities in landscaping or architecture.
DIY or Hire a Pro
Experienced DIY enthusiasts can tackle modest projects like garden borders or low pathways, provided they possess precise leveling instruments, a masonry cutting tool, and full protective equipment. Practice on scrap pieces to master mortar application and joint finishing.
For structural elements, multi-level constructions, or installations needing official inspections, engage certified masons. Professionals excel in coordinating curing schedules, ensuring precise alignments, and handling heavy materials to uphold safety and quality standards.
Common Failures and Fixes
Address these issues promptly to maintain integrity:
-
Surface chalking: Results from activator imbalances; gently rinse affected areas with a dilute detergent solution and allow to dry.
-
Joint cracking: Stems from foundation shifts or inadequate support; repair by removing loose material and repointing with fresh geopolymer mortar.
-
Efflorescence: Manifests as white mineral deposits in moist conditions; remove by dry brushing and improve ventilation to prevent recurrence.
-
Color fading: Occurs under prolonged UV exposure; mitigate with a penetrating, UV-resistant sealer applied annually in high-sun areas.
Regular monitoring catches problems early, preserving the wall's longevity and appearance.
Regional and Climate Notes
In areas prone to freezing and thawing, pair low-absorption bricks with enhanced drainage systems to avert spalling. Coastal or industrial settings benefit from the material's superior corrosion resistance, reducing replacement frequency. Arid, sun-baked regions favor lighter hues to reflect heat, lowering cooling demands in adjacent structures.
Adapt specifications to local conditions, such as specifying sulfate-resistant activators in polluted environments. Consult climate data to select variants that optimize performance and energy efficiency.
Alternatives
When geopolymer bricks prove inaccessible, explore compressed stabilized earth blocks for earthen aesthetics with reduced cement use. High-fly-ash concrete units incorporate similar waste materials for moderate carbon savings. Reclaimed or recycled clay bricks repurpose existing stock, cutting new production emissions while supporting circular economy principles.
Each option balances environmental impact with availability, allowing flexibility in eco-conscious builds.
Steps to Integrate Geopolymer Bricks
Transition to geopolymer bricks by identifying regional suppliers through industry directories or trade associations. Review independent test data to validate claims and simulate small-scale applications, such as accent features, to build familiarity. This approach empowers builders to achieve resilient, low-emission structures that enhance property value and environmental stewardship.