Zero-Cement Bricks: Revolutionizing Sustainable Masonry
Zero-cement bricks represent an innovative masonry solution that eliminates traditional Portland cement. Instead, they rely on geopolymer binders formed from industrial byproducts such as fly ash and slag, activated by alkalis. This approach delivers robust strength and durability while drastically reducing the carbon emissions associated with cement manufacturing. Builders and homeowners seeking environmentally responsible options find these bricks a viable path to more sustainable construction practices.
Pros and Cons
Pros
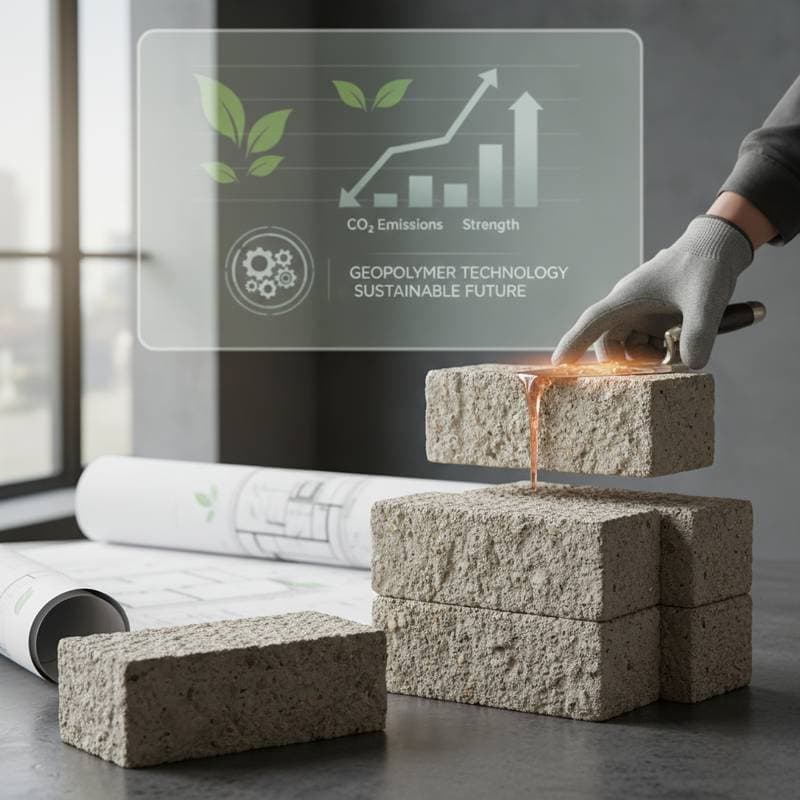
- Carbon emissions drop by up to 80 percent compared to traditional cement bricks.
- Achieve compressive strengths of 4,000 to 8,000 psi after proper curing, often exceeding standard bricks.
- Exhibit high resistance to fire, acids, and sulfates, ideal for harsh environments.
- Repurpose waste materials like fly ash from power plants, diverting them from landfills.
- Offer thermal insulation properties that lower energy use in buildings by reducing heat transfer.
Cons
- Availability remains limited in rural or non-industrial areas.
- Initial costs exceed those of conventional bricks by 15 to 25 percent due to emerging supply chains.
- Demand precise moisture and temperature control during the 7- to 28-day curing period.
- Long-term data in extreme climates, such as high seismic zones, is still accumulating.
- Alkali activators require safe handling to avoid skin or respiratory irritation during mixing.
Costs
Geopolymer bricks typically cost 15 to 25 percent more than standard concrete bricks per unit. Installed pricing ranges from 70 to 100 dollars per square meter, influenced by location, surface treatments, and labor. Factors like intricate designs or custom colors can increase expenses by an additional 10 to 20 percent. As production expands, economies of scale should lower prices, particularly when sourcing binders from nearby industrial sites.
Key expenses include the binder type, raw material transport, and extended curing facilities. Opt for fly ash or slag from local sources to minimize shipping fees. Standard sizes keep costs down, while specialty options demand higher investments.
Lifespan and Maintenance
Properly constructed zero-cement brick structures endure for 50 years or longer with routine upkeep. These bricks withstand weathering, salt exposure, and freeze-thaw cycles effectively when cured correctly. Schedule joint inspections every two to three years to detect cracks or water penetration early.
Maintenance involves gentle cleaning with a mild detergent and low-pressure rinse. Avoid abrasive tools that could damage the surface. Sealants prove unnecessary in most cases, but apply a breathable coating if the wall faces constant moisture or pollutants.
Specs to Check
Verify essential specifications from manufacturer data sheets prior to purchase:
- Compressive strength: Minimum 3,000 psi for non-load-bearing walls; 5,000 psi or higher for structural applications.
- Water absorption: No more than 8 to 10 percent to ensure weather resistance.
- Freeze-thaw rating: F50 or better for cold climates, indicating 50 cycles without degradation.
- Dimensional tolerance: Variations limited to 1.5 millimeters for uniform stacking.
- Surface texture: Options like smooth, textured, or split-face to suit aesthetic and safety needs.
Planning and Prep
Account for the density of geopolymer bricks, which weighs about 120 to 150 pounds per cubic foot, when designing foundations. Ensure the base supports this load with reinforced concrete or compacted gravel. Implement drainage systems to direct water away from walls, preventing erosion.
For outdoor features like patios, grade the ground with a 1-inch drop per 8 feet of run. Contact utility services for underground line locates before excavation. In frost zones, extend footings 24 to 48 inches below grade. Consult local codes for approvals on non-traditional materials.
Installation Overview
Installation mirrors conventional bricklaying with adjustments for mortar compatibility and curing.
- Plan and mark layout. Use string lines or laser levels to align courses precisely.
- Prepare base or foundation. Level and compact the subgrade, adding 4 to 6 inches of gravel for stability.
- Mix compatible mortar. Prepare geopolymer or low-cement mortar to ensure chemical harmony with the bricks.
- Set bricks. Apply a thin mortar bed, position each brick, and gently tap for alignment; target 3/8-inch joints.
- Tool joints. Compress and shape joints concave for optimal water shedding.
- Cure. Mist the wall daily and cover with plastic sheeting for 3 to 7 days to promote bonding.
- Clean up. Brush away excess mortar promptly to avoid permanent stains.
Standard cement mortar risks weak bonds and aesthetic inconsistencies with geopolymer bricks.
Patterns and Options
These bricks match standard dimensions of 8 by 4 by 2.25 inches, facilitating familiar layouts. Popular configurations include:
- Running bond: Overlapping joints for traditional strength and appearance.
- Stack bond: Aligned edges for sleek, contemporary facades.
- Herringbone: Zigzag pattern that enhances stability in pathways.
- Basket weave: Interlocking design suited to horizontal surfaces like borders.
Select patterns according to structural demands and visual goals. Load-bearing walls benefit from offset bonds to distribute forces evenly.
DIY vs Pro
DIY suits modest projects such as raised planters or low retaining walls, provided you possess trowels, levels, and mixing tools. Practice on a test section to master the curing process. Engage professionals for:
- Load-bearing or multi-story constructions.
- Extensive areas demanding flawless alignment.
- Elaborate designs involving curves or angles.
- Challenging sites with slopes or limited access.
- Permitted builds subject to inspections.
Expert knowledge ensures optimal setting times and avoids issues like differential shrinkage.
Common Failures and Fixes
Cracking: Stems from foundation shifts or hasty drying; stabilize the base and extend curing under controlled humidity.
Efflorescence: Salt blooms from moisture migration; enhance joint sealing and site drainage to mitigate.
Color variation: Arises from uneven batch mixing; intermix units from various pallets during installation.
Soft joints: Indicates improper mortar ratios; remove and repoint with a verified geopolymer mix.
Regional and Climate Notes
In temperate zones, prioritize freeze-thaw certified bricks and insulate against thermal swings. Coastal installations leverage their superior salt resistance over cement alternatives. Arid regions necessitate shaded curing to avert shrinkage cracks, extending the process to 14 days. Humid environments require ventilation during setup to deter fungal development on fresh surfaces.
Alternatives
When zero-cement options prove scarce, evaluate:
- Fly ash concrete blocks: Incorporate 20 to 50 percent fly ash for reduced cement use.
- Stabilized earth blocks: Compress local soil with minimal lime stabilizers.
- Recycled aggregate bricks: Integrate waste like demolished concrete for filler.
- Fired clay bricks: Rely on natural clay with energy-intensive kiln processes.
Assess each by local sourcing, performance metrics, and environmental impact for your specific needs.
Implementing Sustainable Builds
Zero-cement bricks empower eco-friendly projects with proven durability and emission reductions. Focus on meticulous preparation, from material selection to post-installation care, for optimal results. Begin with a pilot application to gain confidence, or collaborate with specialists versed in geopolymer techniques, to construct resilient structures that endure.