Zero-Cement Bricks Set to Dominate Masonry
Zero-cement bricks are reshaping the landscape of masonry construction. These innovative blocks rely on geopolymer binders rather than traditional Portland cement. Geopolymers form through the activation of industrial byproducts like fly ash, ground granulated blast-furnace slag, or calcined clay using alkaline solutions. This process yields a material that matches the performance of conventional concrete while significantly reducing the carbon footprint associated with production.
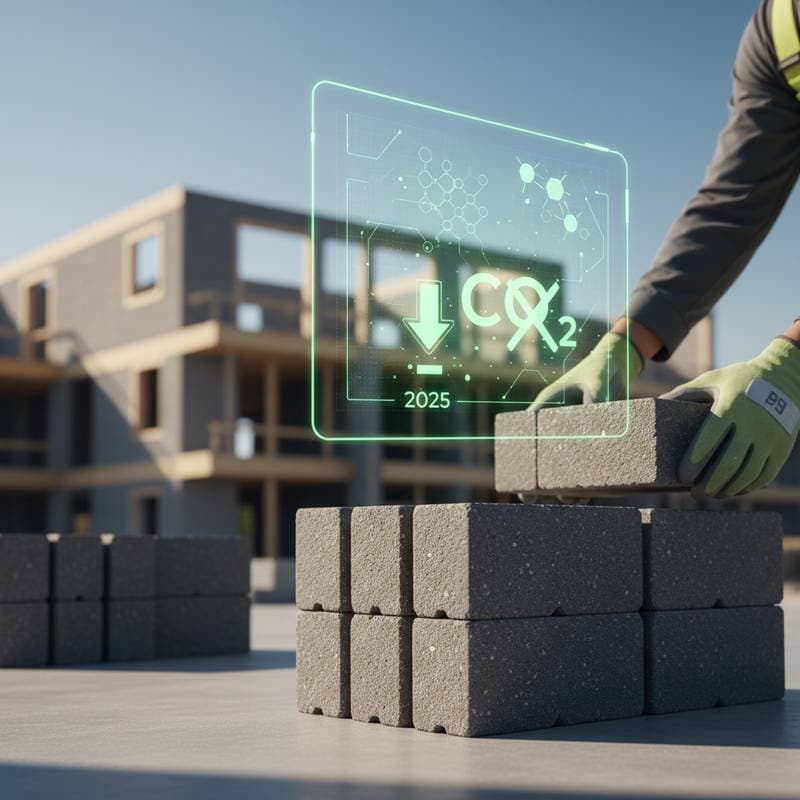
The environmental benefits stem from avoiding the high-energy calcination required for Portland cement, which accounts for approximately eight percent of global carbon dioxide emissions. Geopolymer bricks incorporate waste materials that would otherwise contribute to landfill accumulation. As construction industries face increasing pressure to adopt sustainable practices, these bricks emerge as a viable alternative that aligns with global efforts to combat climate change.
Pros and Cons
Pros
- Low carbon output: Production emits up to 80 percent less carbon dioxide than traditional cement-based bricks, making them ideal for green building certifications.
- High early strength: Bricks achieve substantial compressive strength within hours, enabling accelerated construction timelines and reduced labor costs on site.
- Superior chemical resistance: They withstand exposure to salts, acids, and sulfates better than standard masonry, extending service life in harsh environments.
- Reduced heat generation during curing: The exothermic reaction produces minimal heat, which minimizes the risk of thermal cracking and warping in large structures.
- Utilization of industrial waste: Sourcing fly ash and slag diverts millions of tons of byproducts from landfills annually, promoting a circular economy in construction.
Cons
- Higher upfront material cost: Specialized activators and processing can increase prices by 20 to 30 percent compared to conventional options.
- Limited supply chain: Availability remains constrained in rural or developing regions, potentially delaying projects.
- Need for controlled curing conditions: Optimal performance requires specific temperature and humidity levels, which may necessitate additional equipment.
- Limited field experience: While lab-tested, widespread adoption demands more on-site data and builder familiarization through targeted training programs.
Costs
The material cost for zero-cement bricks generally ranges from 80 cents to 1.20 dollars per unit, depending on the scale of production and proximity of raw material sources. Installed costs typically span 10 to 14 dollars per square foot, influenced by factors such as labor rates and site accessibility. Projects involving custom molds, intricate shapes, or small-batch manufacturing tend toward the upper end of this spectrum.
Economies of scale play a crucial role in cost reduction. Large-scale production from local suppliers can lower per-unit prices by leveraging bulk sourcing of fly ash and slag. For instance, facilities near coal-fired power plants or steel mills benefit from reduced transportation expenses. Over the long term, savings accrue from decreased maintenance and the avoidance of carbon taxes or penalties in regulated markets.
Lifespan and Maintenance
A properly constructed wall using geopolymer bricks can endure for 75 years or longer, rivaling or surpassing traditional masonry in durability. These bricks exhibit exceptional resistance to chemical degradation, salt intrusion, and repeated freeze-thaw cycles, which are common causes of failure in conventional materials.
Routine maintenance involves visual inspections every two to three years for signs of joint erosion or surface scaling. Cleaning requires only mild detergent and low-pressure water rinsing to remove dirt or efflorescence. Resealing proves unnecessary in most cases, except where bricks face constant moisture exposure, such as in splash zones near water features.
Specifications to Verify
Prior to procurement, evaluate these key attributes to ensure suitability for your project:
- Compressive strength: Target at least 6,000 pounds per square inch for exterior load-bearing applications to meet structural codes.
- Water absorption rate: Select options below 10 percent to prevent moisture ingress and associated deterioration.
- Freeze-thaw durability: Confirm a rating that withstands at least 50 cycles without significant mass loss, essential for temperate climates.
- Dimensional tolerance: Ensure variations stay within 1 millimeter to facilitate precise stacking and minimize mortar usage.
- Color consistency: Verify uniformity across batches to maintain aesthetic integrity in visible installations.
Planning and Preparation
Effective installation begins with a stable foundation. Establish a level base using compacted soil or concrete footings to distribute loads evenly. Direct surface drainage away from the structure to avoid water pooling, which could undermine stability over time.
Prepare a sub-base of compacted gravel at a minimum depth of 4 inches for non-load-bearing elements like garden walls; increase to 8 inches or more for structural walls supporting roofs or upper stories. Carefully mark layout lines with string or chalk, accounting for mortar joint thickness, typically 3/8 inch. Store bricks in a covered area to shield them from rain or excessive humidity, preserving their dry state until placement.
Installation Overview
Follow these steps for a reliable geopolymer brick installation:
- Establish layout lines and reference points at corners using a level and plumb line.
- Prepare geopolymer mortar by mixing activators and aggregates per the manufacturer's specified ratios, aiming for a workable consistency.
- Apply a thin, uniform bed of mortar, approximately 3/8 inch thick, across the foundation or previous course.
- Position each brick with gentle tapping to achieve full contact, ensuring joints remain pliable during placement.
- Verify alignment and level every three to five courses using a spirit level and story pole.
- Tool the joints once the mortar achieves initial set, creating a concave or weathered profile for water shedding.
- Protect the fresh work with damp burlap or plastic sheeting to regulate curing temperature between 50 and 80 degrees Fahrenheit and maintain humidity above 80 percent.
Patterns and Design Options
Geopolymer bricks offer versatility in form and finish to suit diverse applications. Modular sizes fit standard wall systems, while hollow cores reduce weight for interior partitions or non-structural uses. Solid variants provide enhanced load capacity for foundations or retaining walls.
Surface treatments vary from polished smooth for contemporary aesthetics to rugged textures that emulate natural stone. Color options, achieved through mineral pigments, replicate the warmth of clay bricks or the subtlety of limestone, allowing seamless integration with existing architecture.
DIY Projects Versus Professional Installation
For modest endeavors such as a garden border or pedestrian pathway, individuals with basic masonry skills can manage the work using trowels, levels, and jointers. These projects demand attention to mortar mixing and simple curing protocols.
Engage certified professionals for load-bearing walls, retaining structures, or installations requiring engineering oversight. Experts ensure adherence to building codes, conduct necessary strength tests, and handle complex curing environments. Their involvement mitigates risks and often qualifies projects for insurance and warranty coverage.
Addressing Common Failures
Issues like soft mortar pockets or joint separation frequently arise from inadequate mixing ratios or inconsistent curing. Address these by repointing affected areas with freshly prepared geopolymer mortar, applied after removing loose material.
Cracked bricks warrant targeted replacement: Cut out surrounding joints with a grinder, extract the damaged unit, and bed a new one in place with alignment checks. Maintain clear drainage channels around the base to avert hydrostatic pressure buildup, a primary cause of wall failure in wet conditions.
Considerations for Regional Climates
In regions with severe winters, prioritize bricks with proven freeze-thaw resistance to endure expansion and contraction without fracturing. Coastal installations benefit from formulations tested against saline corrosion and high humidity.
For arid or tropical areas, shade mixing and placement activities to counteract rapid setting times induced by heat. Consult local material suppliers for climate-adapted variants that optimize performance under specific environmental stresses.
Implementing Sustainable Masonry Solutions
Zero-cement bricks deliver a robust, eco-conscious alternative for walls that stand the test of time with minimal environmental impact. As production scales and expertise grows, builders gain access to cost-effective, high-performance options. Evaluate suppliers, align with project needs, and integrate these materials to advance sustainable construction practices today.