Heated Driveways: Reducing Winter Damage and Maintenance Expenses
Heated driveways represent an innovative solution for homeowners in cold climates. These systems embed heating elements within concrete slabs to melt snow and ice automatically. By preventing accumulation, they minimize the risks associated with winter weather, including surface damage and physical labor.
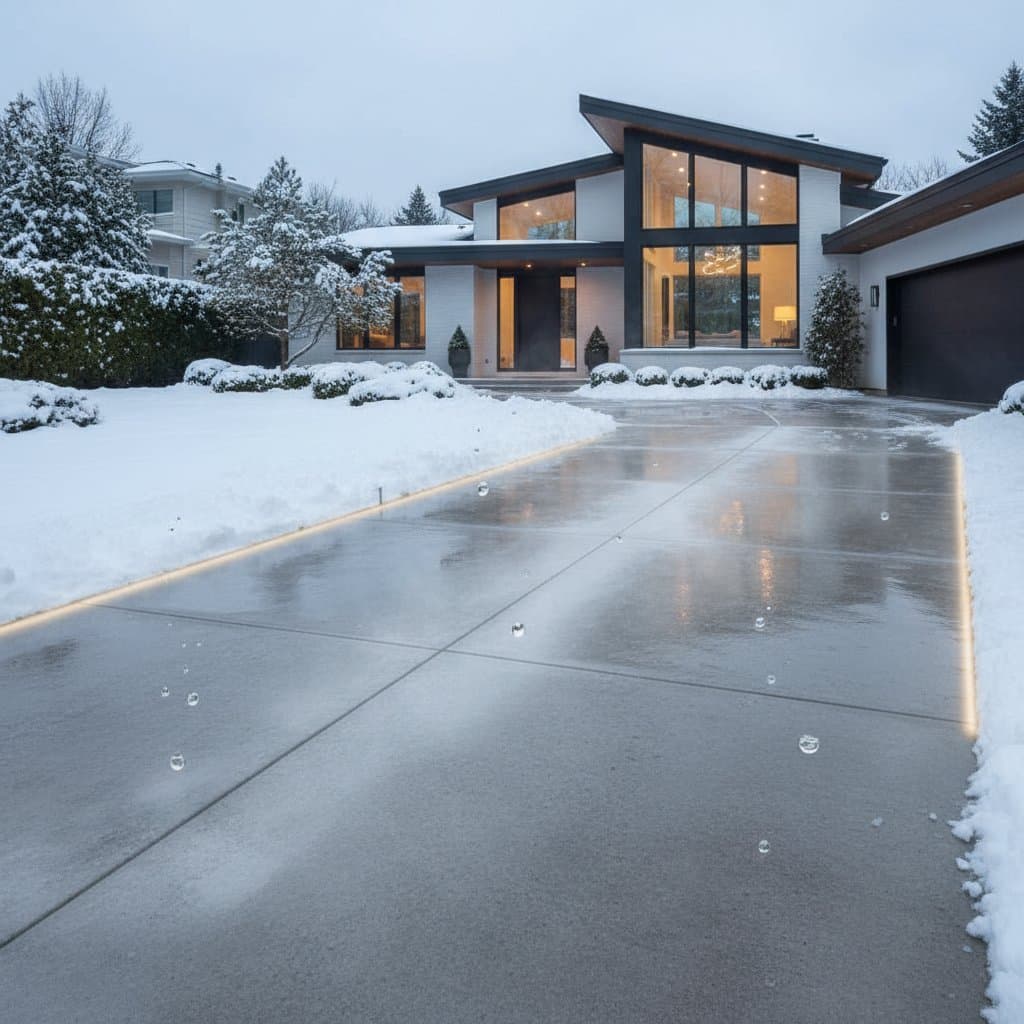
Property owners often face challenges from freeze-thaw cycles, which cause cracks and deterioration in driveways. Heated systems address this issue directly by maintaining consistent temperatures. In addition, they enhance safety by eliminating slippery conditions, reducing the likelihood of falls or vehicle accidents.
Initial installation requires significant investment, yet the long-term savings justify the expense. Maintenance costs decrease substantially, as shoveling and plowing become unnecessary. Over time, these systems also preserve the structural integrity of the driveway, potentially increasing property value.
How Heated Driveway Systems Function
Heated driveways operate through two primary methods: electric and hydronic. Electric systems use cables or mats that generate heat when powered. Hydronic systems circulate warm fluid through embedded tubing connected to a boiler or water heater.
Both types integrate with control mechanisms to optimize performance. Sensors detect moisture and temperature, activating the system only when necessary. This approach conserves energy while ensuring reliable operation during storms.
The heating elements distribute warmth evenly across the slab, typically raising the surface temperature to 35 to 40 degrees Fahrenheit. Snow melts upon contact, and ice forms no bonds with the ground. As a result, driveways remain clear without manual intervention.
Essential Concrete Specifications for Heated Driveways
Selecting the right concrete mix proves crucial for the longevity and efficiency of heated driveways. The material must withstand heavy loads and harsh weather conditions.
- Compressive strength: Specify concrete with a minimum rating of 4000 psi to support vehicular traffic and environmental stresses.
- Freeze-thaw durability: Incorporate an air-entrained mix, which introduces microscopic air bubbles to accommodate water expansion during freezing.
- Slip resistance: Apply a broom finish or textured surface to provide traction, even when wet.
- Control options: Equip the system with a manual switch, programmable timer, or automatic sensors that respond to moisture and temperature changes.
Adhering to these specifications guarantees safe and effective performance under winter conditions. Consult local building codes to confirm compliance with regional requirements.
Step-by-Step Installation Process
Professional installation follows a systematic approach to integrate heating elements seamlessly into the concrete. Proper execution prevents future issues such as uneven heating or structural failures.
- Layout planning: Outline the slab boundaries, position control joints, and designate locations for sensors to ensure optimal coverage.
- Base preparation: Excavate the site and install a compacted layer of crushed stone to the required depth, promoting drainage and stability.
- Insulation layer: Place rigid thermal insulation boards beneath the heating elements in areas prone to heat loss, such as unheated garages.
- Heating element placement: Lay out electric cables or hydronic tubing according to manufacturer guidelines, maintaining consistent spacing for uniform heat distribution.
- Sensor and wiring installation: Run protective conduits for sensors and electrical lines to the control panel or manifold, avoiding future disruptions.
- Concrete pouring: Pour the mix carefully over the elements, using vibrators to eliminate voids without displacing the components, then finish the surface smoothly.
- Curing and system testing: Allow the concrete to cure for the recommended period, typically 28 days, before conducting thorough tests to verify functionality ahead of winter.
For hydronic setups, connect the tubing to a reliable heat source like a high-efficiency boiler. Electric variants require a weatherproof control box equipped with ground-fault circuit interrupter protection. Always involve certified professionals for electrical and plumbing connections.
DIY Projects Versus Professional Services
Homeowners with basic skills may tackle smaller heated installations, such as sidewalks or entryways. Pre-fabricated electric mats simplify the process for these areas. However, hire a licensed electrician to inspect all electrical work for safety and code adherence.
Professional assistance becomes essential for larger projects. Driveways demand precise engineering to handle weight and expansion. Hydronic systems involve complex plumbing and boiler integration, which require specialized expertise.
Other scenarios warranting experts include sites with inadequate drainage or those needing structural modifications. Power upgrades or intricate control wiring also necessitate professional oversight. Faulty installation risks include inconsistent heating, electrical hazards, or premature cracking of the slab.
Considerations for Different Climates and Regions
Climate variations influence the design and efficiency of heated driveways. Tailor systems to local conditions for maximum benefit.
In regions prone to frequent freeze-thaw cycles, prioritize air-entrained concrete and enhanced drainage to mitigate expansion stresses. Coastal areas exposed to salt from de-icing agents benefit from heated slabs, as they limit chemical penetration and corrosion.
High-snowfall zones gain the most from automated controls with moisture sensors, which activate only during precipitation to minimize energy use. In milder climates, target heating to problem spots like steep inclines or shaded sections where ice persists longer.
Evaluate local energy costs and available utilities when choosing between electric and hydronic options. In areas with affordable natural gas, hydronic systems often prove more economical over time.
Implementing Your Heated Driveway Project
Embarking on a heated driveway project begins with thorough planning. Develop a detailed design that accounts for slab size, heating capacity, and integration with existing infrastructure. Size the power supply or boiler accurately to match the area's demands.
Review local building codes and obtain necessary permits early in the process. Compare electric and hydronic systems based on your energy sources, budget, and climate specifics. Gather quotes from reputable contractors experienced in radiant heating installations.
The rewards extend beyond convenience. Homeowners enjoy crack-free surfaces, reduced winter chores, and enhanced safety for family and guests. This upgrade transforms challenging winters into manageable seasons, delivering lasting value to the property.