Building with Geopolymer Blocks: Three Times the Longevity of Traditional Brick
Skill level: Intermediate
Physical demand: Moderate
Helpers needed: At least one for lifting and alignment
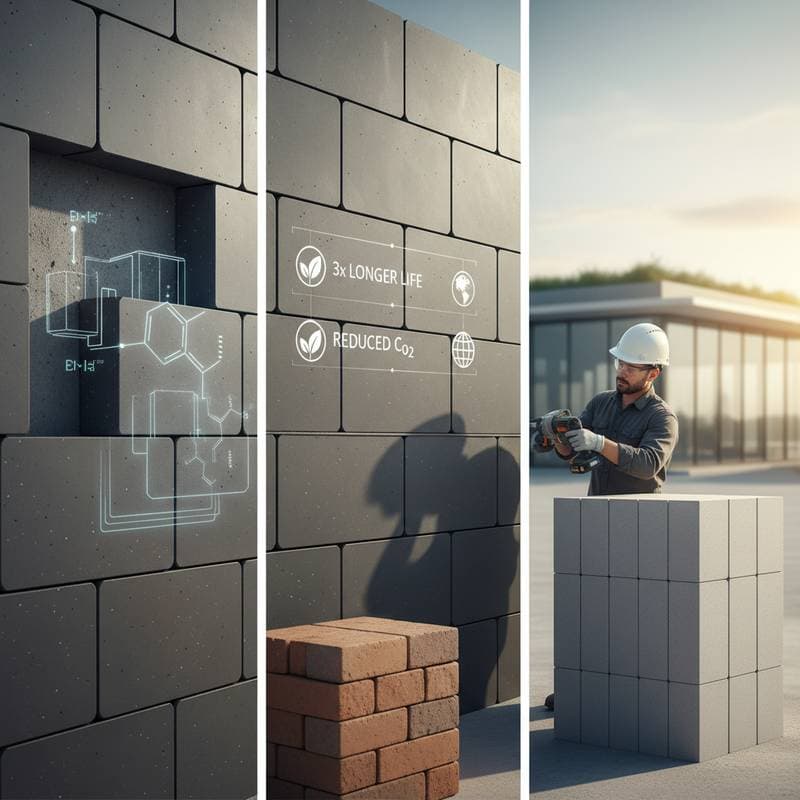
Building with geopolymer blocks provides strength, durability, and sustainability for various structures. These blocks serve as a modern alternative to traditional fired brick for projects such as retaining walls, garden features, or small outbuildings. Their unique chemistry delivers up to three times the lifespan of standard clay masonry, along with lower maintenance needs and greater resistance to environmental damage.
Geopolymer blocks demand precise mixing and curing. Experienced DIY builders can manage the process, but professionals should handle large or structural projects. This guide details the advantages of geopolymer blocks, project planning, and safe building techniques.
Understanding Geopolymer Blocks
Geopolymer blocks consist of aluminosilicate materials like fly ash, slag, or metakaolin, activated by alkaline solutions. They harden through a chemical reaction at room temperature, unlike traditional bricks that require high-temperature kiln firing. This reaction creates a dense, stone-like structure resistant to moisture, salts, and chemicals.
Types and Composition
-
Fly ash-based blocks
These incorporate fly ash from coal combustion, mixed with an alkali activator. They offer lightweight properties, making them suitable for non-load-bearing walls. -
Slag-based blocks
Ground granulated blast furnace slag forms the base, resulting in denser, stronger blocks ideal for structural applications. -
Hybrid geopolymer blocks
A blend of fly ash, slag, and metakaolin provides balanced strength, durability, and ease of handling.
Advantages of Geopolymer Blocks
Traditional bricks suffer from freeze-thaw cycles, salt damage, and moisture uptake, leading to cracks and efflorescence. Geopolymer blocks feature a low-porosity matrix that minimizes these issues. Their high compressive strength and chemical stability enable a lifespan approximately three times that of standard brick when installed and maintained correctly. Production also generates fewer carbon emissions, supporting environmental goals.
DIY Versus Professional Applications
DIY projects suit small garden walls, planters, and decorative elements. For structural walls, retaining systems, or foundations, professional design is essential due to load-bearing and soil dynamics. Consult a licensed engineer for any weight-supporting or ground-interacting build unless you possess structural expertise.
Planning Your Geopolymer Block Project
Site Assessment
Evaluate the terrain for slope, drainage, and soil composition. Clay-rich soils retain water, potentially stressing the masonry, while sandy soils drain well but may settle under pressure. Level and compact the site prior to block placement. Check adjacent structures for drainage interference.
Key Measurements
- Wall length and height
- Block sizes, accounting for mortar joints
- Foundation dimensions for width and depth
- Elevation changes on sloped areas
Use stakes and string lines to outline the footprint, ensuring square corners. Confirm alignment by measuring diagonals.
Environmental Considerations
Geopolymer blocks thrive in consistent moisture environments. Steer clear of zones with pooling water or intense runoff. In cooler regions, apply insulation and coatings to mitigate temperature fluctuations during curing and service life.
Potential Challenges
Anticipate disruptions from tree roots, underground utilities, or irregular ground. Contact utility services via 811 before excavation to locate lines. Clear roots and debris, then compact the base to avoid future settling.
Selecting Materials
Fly Ash Geopolymer Blocks
Description: Lightweight with a fine texture, simple to cut.
Advantages: Eco-friendly, smooth surface, budget-friendly.
Drawbacks: Reduced compressive strength.
Cost: Lower than alternatives.
Skill level: Moderate; best for decorative or partition walls.
Slag-Based Geopolymer Blocks
Description: Dense and heavy, offering superior structural performance.
Advantages: High durability, low water absorption.
Drawbacks: Demands heavy lifting and exact leveling.
Cost: Higher than fly ash options.
Skill level: Intermediate to advanced for load-bearing uses.
Hybrid Geopolymer Blocks
Description: Balanced mix for optimal strength and handling.
Advantages: Versatile, reliable curing, varied aesthetics.
Drawbacks: Less readily available, more complex on-site mixing.
Cost: Moderate.
Skill level: Intermediate; fits most projects.
Tools and Materials Checklist
Essential Hand Tools
- Masonry trowel for uniform mortar application
- Level and plumb line to maintain straight courses and vertical alignment
- Jointing tool to finish mortar seams
- Rubber mallet for gentle block adjustments
Power Tools
- Masonry saw or angle grinder for precise cuts
- Mixing drill with paddle for geopolymer mortar preparation
- Cordless drill for securing guides or braces
Rental Options
- Plate compactor to firm up the base
- Wheelbarrow mixer for bulk mortar batches
Alternatively, employ a robust tub and paddle for manual mixing, though this slows progress.
Required Materials
- Geopolymer blocks, plus a 10 percent excess for cuts and breakage
- Compatible geopolymer mortar
- Gravel or crushed stone base layer
- Leveling sand
- Reinforcement mesh as per project specifications
- Breathable sealer for protection
Purchase an additional 10 percent of blocks and mortar to cover unexpected losses.
Step-by-Step Building Guide
-
Foundation Preparation
Dig to a minimum of eight inches or below the frost line if relevant. Layer four inches of compacted gravel followed by one inch of sand. This setup promotes stability and water drainage. -
First Course Placement
Begin at the site's lowest elevation. Apply a one-inch mortar bed and position the initial block. Verify level and plumb across all axes. Accuracy here sets the foundation for the full structure. -
Subsequent Courses
Offset vertical joints by half a block to enhance stability. Keep joint thickness uniform at three-eighths inch. Check level on each course. -
Reinforcement Integration
Insert steel rods or mesh into structural walls as designed. This measure boosts tensile strength and prevents movement. -
Joint Finishing
Tool the joints once mortar firms up to create smooth, sealed edges. This technique yields a professional appearance. -
Curing Process
Mist the blocks lightly for several days to retain moisture. Thorough curing activates the chemical bonds responsible for extended durability. -
Surface Sealing
Coat with a breathable sealer post-curing. This shields against UV rays and stains.
Inspect each course for level, alignment, and squareness. Address discrepancies promptly to prevent escalation.
Maintenance and Enhancements
Annual inspections of joints for cracks or gaps prolong the structure's life. Reapply sealer according to product guidelines. Clean with water and mild detergent, avoiding harsh acids that may affect the surface.
Incorporate features like integrated lighting, planters, or benches to elevate the design. Geopolymer blocks support finishes such as paint, limewash, or mineral pigments. Their uniform texture complements contemporary and traditional styles alike.
Avoid errors like inadequate base compaction, mismatched mortar, or abbreviated curing. If shifts or openings occur, dismantle and reinstall affected areas with new mortar. Refrain from using ordinary cement patches, which may fail to adhere.
Achieving Enduring Structures Through Advanced Materials
Geopolymer blocks combine remarkable longevity, design versatility, and reduced environmental impact. Their sophisticated composition withstands water, weather, and erosion more effectively than conventional brick, enabling robust, sustainable builds for diverse applications.