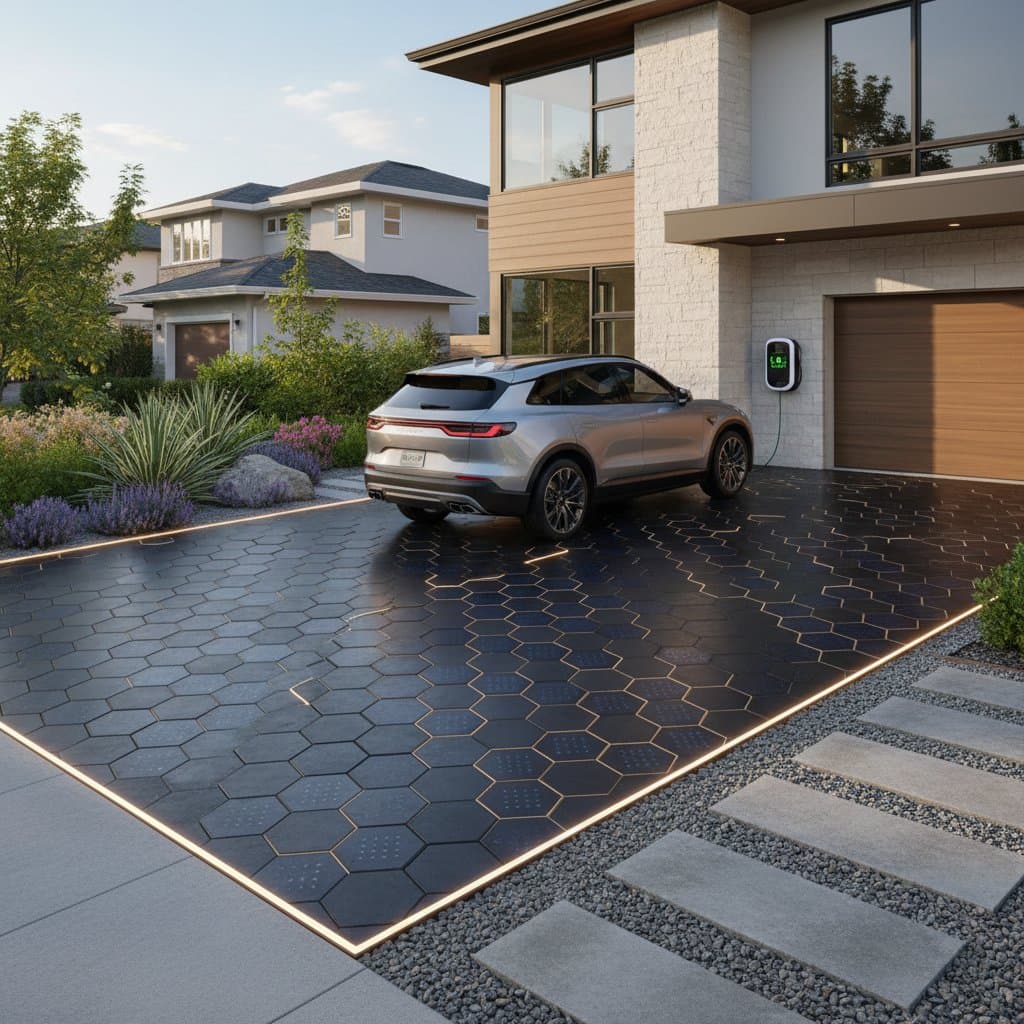
Driveways That Generate Solar Power for Your Home
Creating a driveway that produces clean electricity represents an innovative fusion of functionality, sustainability, and aesthetic design. These solar power driveways incorporate photovoltaic materials directly into the hardscape, enabling renewable energy generation without relying on roof space. This guide details how such systems operate, outlines planning essentials for a solar driveway project, examines materials and associated costs, and provides strategies for long-term maintenance to ensure optimal performance.
Key Takeaways
- Average cost: $18 to $30 per square foot, allocated as approximately 60 percent to materials, 30 percent to labor, and 10 percent to equipment.
- Installation timeframe: Three to seven days, based on driveway dimensions, with typical sizes ranging from 400 to 800 square feet.
- Power generation: Eight to 14 watts per square foot across the photovoltaic surface.
- Critical requirements: Access to electrical conduit, a proper slope for drainage, and a frost-stable base.
- Decision factors: Local climate, potential shading, budget constraints, intensity of driveway usage, and desired aesthetic outcomes.
Planning Requirements Before Installation
Prior to commencing work, verify that your property satisfies both technical and regulatory standards.
Permits and Building Codes
Municipalities generally classify solar driveways as a combination of electrical installations and paving projects. Obtain the following permits:
- An electrical permit for photovoltaic system connections.
- A driveway or paving permit for surface reconstruction.
- Inspections covering conduit trenching and grounding.
Consult local zoning regulations and electrical codes. Confirm that your contractor holds appropriate licensing and insurance coverage.
Site and Design Considerations
The driveway requires direct sunlight exposure for at least four to six hours daily. Eliminate shading from trees, fences, or adjacent structures. Incorporate a minimum 1 percent slope to facilitate water runoff, and compact the subgrade to withstand loads exceeding 4,000 pounds per square inch.
Step-by-Step Installation Process
1. Prepare the Site and Base
Excavate eight to 12 inches below the finished grade, adjusting for soil composition and frost line depth. Establish a compacted gravel base of at least six inches thickness. Achieve uniform compaction throughout the area to minimize future settlement.
2. Lay Conduit and Wiring Channels
Install electrical conduit within protective sleeves designed for outdoor environments before positioning the pavers. Place junction boxes at convenient edge locations along the driveway. These pathways will link individual pavers to the central inverter.
3. Set and Connect Solar Pavers
Arrange the pavers according to the selected pattern, aligning wiring from each unit with adjacent ones. Employ manufacturer-specified connectors to form circuits. Ensure every paver remains level and fully engages with the bedding material.
4. Connect the Electrical System
Direct wiring through the conduit to the inverter, then to the main electrical panel or an energy storage unit. A licensed electrician must handle this phase. Test grounding integrity and seal all junctions against weather exposure.
5. Seal and Test the Surface
Apply a non-glare sealant to enhance traction and prevent moisture penetration. Following electrical verification, energize the system and observe power output over a 24-hour period to validate consistent operation.
Troubleshooting Common Challenges
- Uneven power output: Remove accumulated dirt or leaves from impacted pavers and inspect connections for security.
- Moisture intrusion: Examine seals and replace any cracked or deteriorated joints.
- Snow or ice accumulation: Employ plastic shovels for removal. Refrain from using salt, as it may erode protective coatings.
- Surface cracking: Assess base compaction levels and re-level affected areas as required.
Maintenance and Long-Term Care
Prevent oil stains, debris buildup, and exposure to harsh chemical cleaners. Clean the surface using a mild detergent solution and water. Conduct biannual inspections of junction boxes for signs of corrosion or loose components. Photovoltaic pavers typically endure 20 to 25 years under routine upkeep. Opt for replacing individual units when efficiency wanes, rather than undertaking a full resurface.
A well-maintained installation retains about 80 percent of its initial power output after 20 years. Consistent cleaning and prompt repairs safeguard both energy production and visual appeal.
DIY Versus Professional Installation
Attempting a do-it-yourself approach suits those with experience in paving and basic electrical work, but solar driveways demand specialized knowledge due to integrated photovoltaic components. DIY projects may reduce costs by 20 to 30 percent, yet risks include improper wiring that could void warranties or pose safety hazards. Professionals ensure compliance with codes, handle complex electrical integrations, and provide guarantees on workmanship. For most homeowners, engaging certified installers proves the wiser investment, particularly for systems exceeding 400 square feet, to achieve reliable performance and longevity.
Maximizing Benefits Through Solar Driveways
Solar power driveways merge advanced technology with skilled construction, delivering a viable method to generate renewable energy while elevating property value. Whether integrating photovoltaic pavers into an existing layout or casting new photovoltaic concrete, outcomes hinge on meticulous planning, accurate execution, and ongoing care. Homeowners gain reduced electricity bills, enhanced sustainability, and a distinctive feature that underscores commitment to green living.