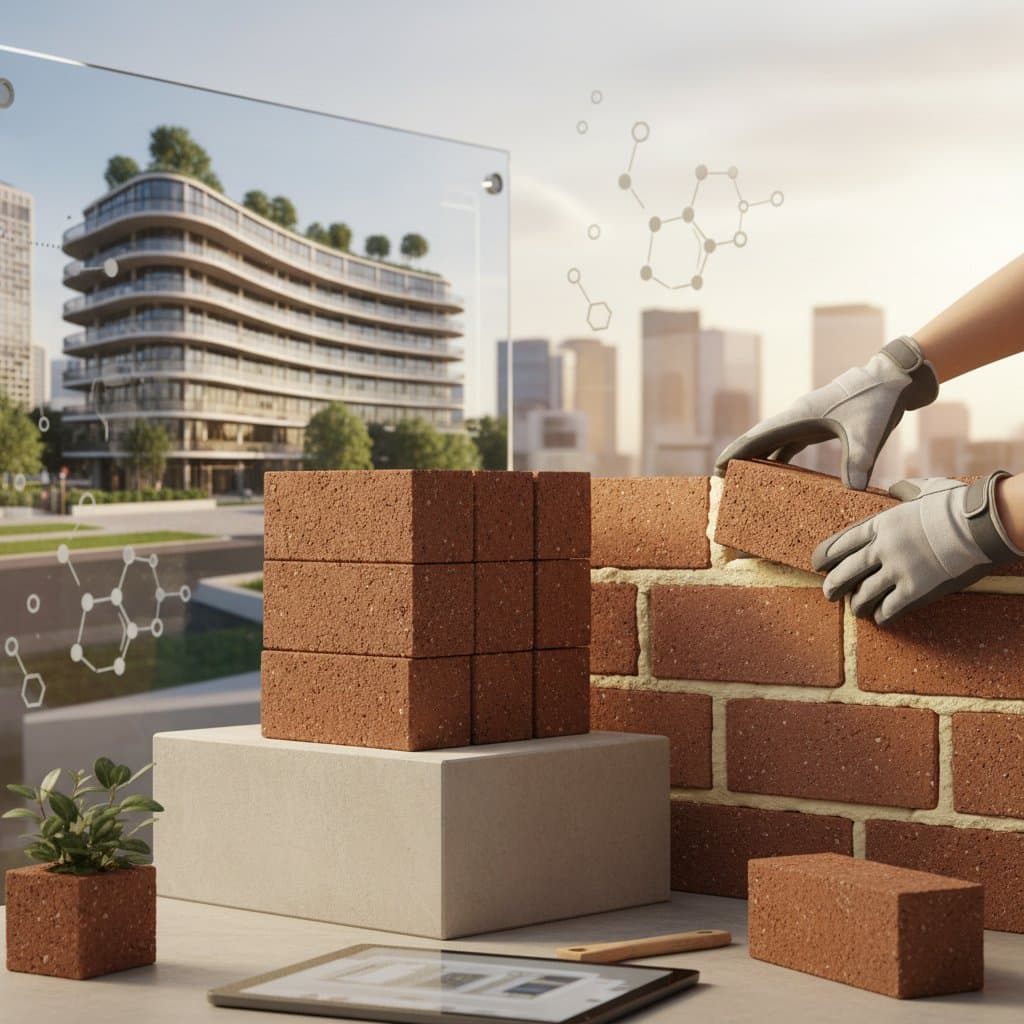
Zero-Cement Bricks: Revolutionizing Sustainable Masonry
Traditional cement bricks form the foundation of much modern construction, yet their high carbon footprint drives the need for greener options. Zero-cement bricks, developed through geopolymer technology, address this challenge by minimizing emissions and enhancing structural qualities. This guide details their mechanics, sustainability advantages, and practical applications for residential and commercial builds.
Key Takeaways
- Cost Breakdown: Zero-cement bricks range from 6 to 9 dollars per square foot, with materials comprising 55 percent, labor 35 percent, and equipment 10 percent of total expenses.
- Compressive Strength: Geopolymer bricks typically reach 4,000 to 6,000 PSI, surpassing standard concrete masonry units for reliable load-bearing performance.
- Curing Time: These bricks achieve full strength in 24 to 72 hours, far shorter than the 28 days required for traditional cement varieties.
- Water Absorption: Rates stay below 10 percent, which bolsters longevity in moist or humid environments.
- Selection Criteria: Consider local material access, curing energy sources, and mortar compatibility to optimize project outcomes.
Planning a Zero-Cement Brick Project
Effective planning accounts for site-specific factors and regulatory demands to ensure seamless integration of zero-cement bricks.
Navigating Permits and Codes
Zero-cement bricks qualify as alternative masonry units in most areas, though approvals demand detailed submissions. Provide manufacturer specifications and independent strength tests to building authorities. For load-bearing applications, obtain certification from a structural engineer to meet safety standards.
Sourcing Materials
Identify reliable providers for geopolymer bricks or raw components suitable for on-site production. Essential ingredients include:
- Fly Ash: A coal combustion byproduct, sourced from power plants or industrial suppliers for its binding properties.
- Ground Granulated Blast Furnace Slag (GGBS): Derived from steel production, this material enhances strength and reduces permeability.
- Alkaline Activators: Solutions like sodium silicate and sodium hydroxide, available in 5-gallon units for manageable project scales.
Evaluating Costs
Upfront expenses may exceed those of conventional bricks, but long-term savings arise from quicker curing, minimal upkeep, and incentives for green builds. Material pricing falls between 0.75 and 1.25 dollars per brick, influenced by formulation and enhancements.
Step-by-Step Guide to Producing and Installing Zero-Cement Bricks
Follow these precise steps to create and lay zero-cement bricks, ensuring quality and efficiency throughout the process.
1. Measure and Mix Ingredients
Precision in ratios guarantees optimal results. Start with a base mix of 60 percent fly ash, 30 percent fine aggregates, and 10 percent alkaline solution by weight, fine-tuning for target density and strength.
- Blend dry components thoroughly before incorporation.
- Introduce the activator gradually during continuous mixing.
- Continue until the mixture achieves a uniform, thick mortar-like consistency.
2. Mold and Compact the Mix
Transfer the prepared blend into forms and apply firm pressure using a press or tamper to eliminate voids. This step secures uniform density, strength, and a smooth exterior finish.
3. Cure in Controlled Environment
Initiate curing at room temperature or with gentle heating to promote reaction. Target temperatures of 120 to 140 degrees Fahrenheit for 24 to 48 hours to maximize strength development. Shield the bricks from intense sun or high moisture to prevent defects.
4. Stack and Stabilize Bricks
Post-curing, arrange bricks on pallets and allow a minimum two-day resting phase. This interval facilitates complete internal reactions and even moisture distribution before handling.
5. Lay with Compatible Mortar
Select geopolymer-based or low-cement lime mortar for joint integrity, as it matches the bricks' expansion characteristics. Avoid standard cement mixes, which risk joint failure from mismatched shrinkage.
Resolving Common Production and Installation Challenges
Anticipate and address these issues to maintain project quality.
- Soft or Crumbly Surfaces: Often due to inadequate activator levels or suboptimal curing; remedy by boosting alkali content or prolonging the curing duration.
- Efflorescence: Results from sodium salts surfacing; clean with a diluted vinegar rinse and refine the mix for better balance.
- Inconsistent Coloring: Stems from variable raw materials; standardize suppliers and pre-mix dry elements for uniformity.
- Weak Mortar Adhesion: Ensure mortar compatibility and lightly moisten bricks prior to placement for stronger bonds.
Choosing Between DIY and Professional Approaches
Ideal Scenarios for DIY
Homeowners with concrete handling experience can tackle small-scale features like garden walls or patios using zero-cement bricks. This method yields 25 to 40 percent savings over professional services, provided attention to mixing accuracy and curing oversight remains consistent.
Benefits of Professional Expertise
For structural walls or expansive developments, consult certified masons and engineers. They handle code adherence, specialized curing setups, and quality assurance. Prior to engagement, confirm licenses, insurance, and project warranties to protect investments.
Implementing Zero-Cement Bricks for Lasting Impact
Adopting zero-cement bricks advances eco-conscious building without sacrificing performance. Begin with modest, non-structural trials to build expertise, then scale to comprehensive applications. This approach not only lowers emissions and expenses but also elevates overall project resilience.