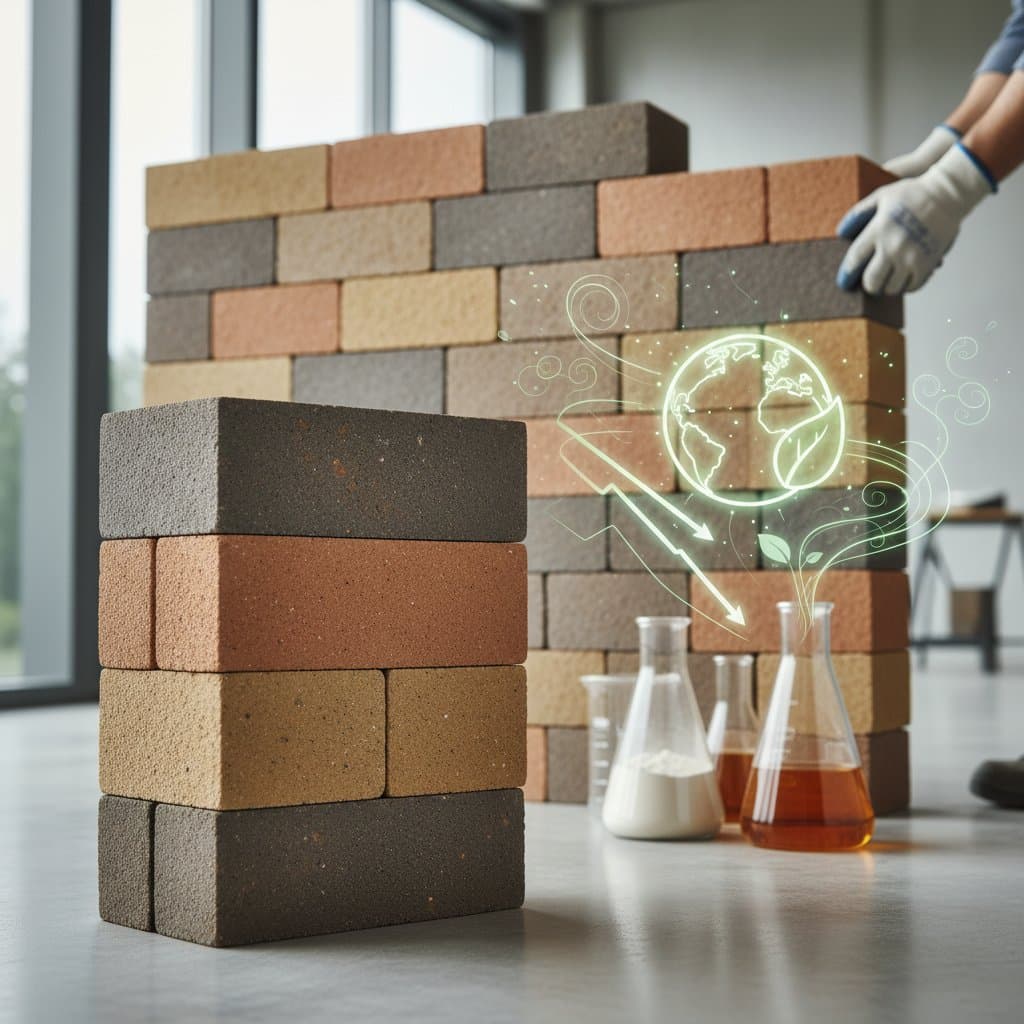
Zero-Cement Bricks Reshaping Modern Masonry
Zero-cement bricks offer a sustainable alternative to traditional building materials. They substitute Portland cement with binders produced from industrial byproducts like fly ash, slag, and natural minerals. This approach minimizes energy use during production and eliminates emissions associated with cement manufacturing, while delivering performance that equals or exceeds standard concrete bricks.
Understanding Zero-Cement Bricks
These bricks rely on geopolymerization, a process that activates aluminosilicate materials with an alkaline solution to create a solid, rock-like matrix. Unlike conventional methods, this eliminates the need for cement clinker, the primary contributor to carbon dioxide in masonry production. The resulting product forms a dense structure ideal for load-bearing applications.
Advantages and Limitations
Advantages
- Drastically reduced carbon emissions due to the absence of cement production
- Compressive strength that meets or surpasses 4,000 psi, comparable to high-quality concrete
- Superior resistance to extreme heat, fire, and corrosive chemicals
- Low water absorption rates under 8 percent, enhancing performance in wet or freezing conditions
- Incorporation of waste materials like fly ash, diverting them from landfills
Limitations
- Availability may be restricted in regions without nearby industrial sources
- Production demands exact proportions and controlled curing environments
- Alkaline activators require careful handling to avoid skin or eye irritation
- Building codes and testing protocols remain in development in some areas
- Variations in color and texture can occur across production batches
Cost Considerations
Raw material prices for zero-cement bricks generally fall between $1.20 and $2.50 per square foot. Installation expenses range from $7 to $12 per square foot, influenced by location, site accessibility, and workforce expertise. Factors such as material sourcing purity, shipping distances, and installer experience drive these costs. In locales with plentiful fly ash or slag, expenses approach those of standard bricks, making them competitive for large projects.
Durability and Upkeep
Well-manufactured geopolymer bricks endure for over 50 years under normal conditions. Their compact composition blocks moisture ingress, reducing risks of efflorescence and deterioration. Routine care involves annual inspections and cleaning with a gentle detergent solution. Joint repointing proves unnecessary in most cases, except in environments with high salt exposure; address any cracks or separations promptly to maintain integrity.
Key Specifications to Verify
Select bricks that meet these benchmarks for reliable performance:
- Compressive strength: Minimum 4,000 psi for structural walls; 8,000 psi for heavy-duty pavers
- Water absorption: Less than 8 percent to ensure suitability for outdoor applications
- Freeze-thaw resistance: Rated Class F or higher to withstand cyclic weather changes
- Fire rating: Fully noncombustible with exceptional thermal endurance
- Size consistency: Variations no greater than 1/16 inch for seamless modular assembly
Request independent lab reports confirming these properties. As regulatory frameworks mature, such documentation supports permit approvals and ensures compliance.
Project Preparation Steps
Approach planning similarly to conventional masonry projects. Prepare a stable, compacted foundation free of debris and vegetation. Incorporate backfill drainage for retaining walls to avoid water accumulation. For pathways, establish a 1-inch slope per 8 feet to facilitate water runoff. Contact utility services prior to digging. These bricks integrate with traditional mortars, though geopolymer variants provide optimal adhesion and aesthetic harmony.
Step-by-Step Installation Guide
- Lay out initial courses without mortar to verify alignment and joint spacing.
- Prepare mortar per supplier guidelines, ensuring proper consistency.
- Apply mortar to brick ends and position units, securing with light taps from a mason's tool.
- Keep joints uniform at 3/8 inch for structural stability.
- Finish joints with a tool to promote water repellency and visual appeal.
- Remove excess mortar immediately to prevent staining.
- Shield the installation from precipitation and low temperatures for a minimum of 48 hours.
For paved surfaces, use a firm subbase topped with sand, akin to interlocking paver methods. Install edge restraints to secure the pattern against movement.
Design Patterns and Variations
Available in modular dimensions and hues akin to clay or concrete options, zero-cement bricks support diverse layouts. Opt for running bond patterns in walls to enhance tensile strength and accommodate minor shifts. Herringbone or basket weave configurations distribute loads effectively in walkways. Select interlocking designs to minimize mortar requirements and simplify assembly.
Handling DIY Projects or Hiring Experts
Amateur builders can tackle modest garden walls or patios with essential tools like trowels and levels, completing a basic layout over a weekend. Professionals excel in load-bearing walls, retaining structures, or expansive pavements, guaranteeing adequate foundation depth, drainage, and engineering precision. Intricate motifs or varied color schemes demand expert cutting and placement for professional results.
Addressing Typical Issues
Cracking: Results from foundation settlement or inadequate compaction; remedy by re-leveling and reinstalling sections.
Efflorescence: Salt deposits from base materials; dissolve with diluted vinegar and enhance site drainage.
Joint Deterioration: Arises from improper curing or environmental stress; repair by repointing with matching geopolymer mortar.
Inconsistent Appearance: Stems from batch differences; mitigate by thoroughly mixing units from multiple pallets prior to use.
Adapting to Local Conditions
Geopolymer bricks excel in frigid areas, where minimal water uptake averts expansion damage from ice. In humid or saline coastal zones, their inert nature combats corrosion. Heavy rain regions benefit from integrated drainage systems and optional permeable sealants. Arid climates leverage the material's thermal inertia to moderate interior temperatures.
Comparable Building Materials
When zero-cement options prove scarce, evaluate these substitutes:
- Fly ash-enhanced concrete blocks: Incorporate reduced cement levels for partial emission savings
- Compressed earth blocks: Rely on regional soils with light stabilization, suited to arid settings
- Recycled aggregate units: Blend reclaimed concrete and glass for robustness, though weight increases handling needs
- Fired clay bricks: Provide timeless endurance but demand energy-intensive kilns
Zero-cement bricks distinguish themselves through unmatched strength-to-emission ratios, particularly in supported supply networks.
Essential Strategies for Optimal Results
- Acquire 5 to 10 percent surplus to account for cuts and waste.
- Store bricks in dry conditions to preserve mortar adhesion.
- Use protective gear during activator mixing or sawing operations.
- Position pallets under shelter to shield from moisture and debris.
- Review municipal regulations for geopolymer acceptance; secure engineering endorsements if mandated.
Building Sustainably with Geopolymer Innovation
Zero-cement bricks transition from niche innovation to standard practice in construction. Builders value their resilience and eco-profile, enabling robust structures without cement's environmental toll. Homeowners gain enduring, low-care features that preserve masonry's classic appeal while advancing greener builds. Through meticulous preparation and execution, these bricks support long-term functionality and reduced ecological impact.