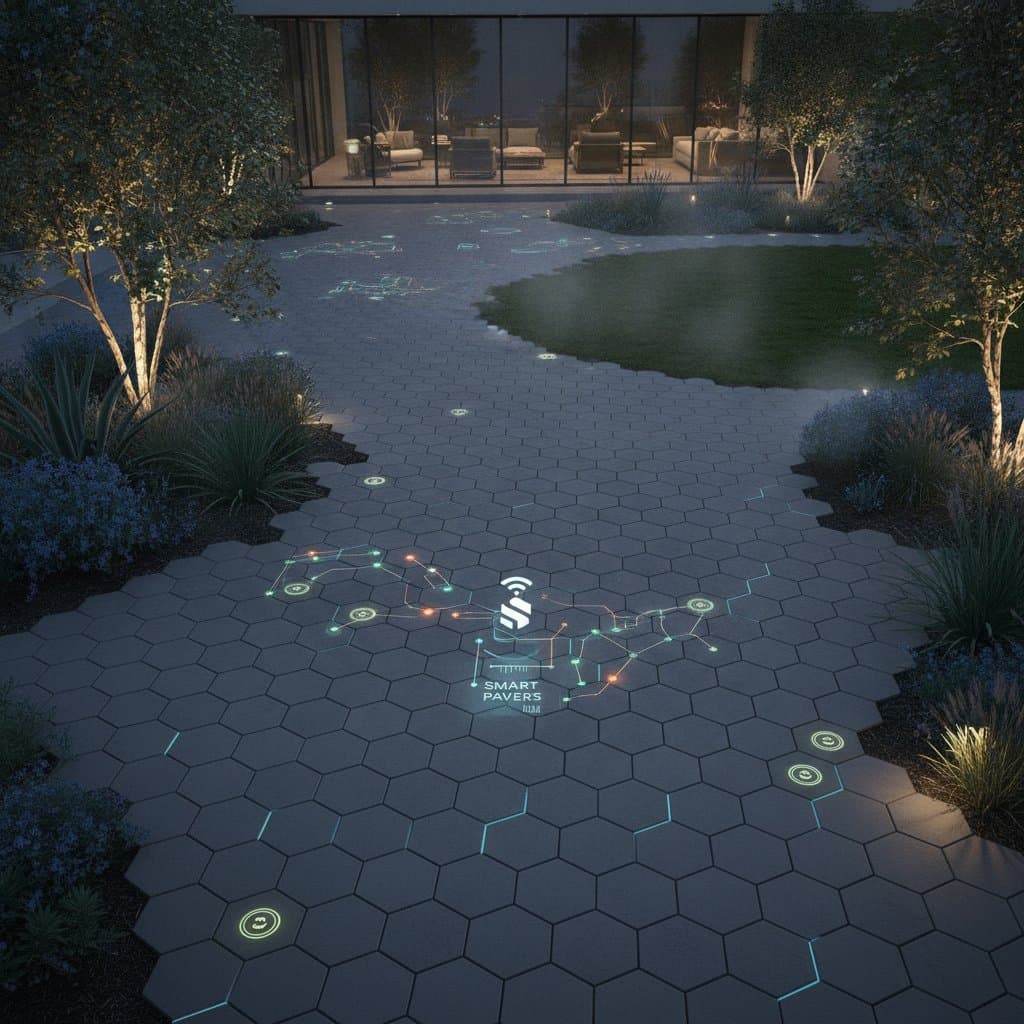
Smart Pavers Monitor Foot Traffic in Modern Landscapes
Smart pavers embed sensors within standard paving stones to capture data on movement, weight, and surrounding conditions. These units appear identical to conventional pavers yet gather information that supports automated outdoor systems. Homeowners apply the resulting insights to refine lighting schedules, adjust irrigation, and strengthen safety along paths and patios.
Advantages and Limitations
Advantages
- Data on usage patterns guides placement of lighting, seating, and plantings.
- Automated responses to detected activity reduce electricity and water consumption.
- Early identification of high-wear zones allows targeted repairs.
- Motion detection improves security in low-light or isolated sections.
- Direct connection to existing home automation platforms simplifies control.
Limitations
- Initial expense exceeds that of ordinary pavers and requires power or network infrastructure.
- Full operation depends on a central hub or companion application.
- Sensor failure can complicate localized repairs.
- Outdoor wireless coverage must remain reliable.
- Periodic battery replacement or cable inspection adds ongoing tasks.
Pricing Overview
Material costs for smart pavers range from 12 to 25 dollars per square foot. Complete installation typically falls between 22 and 45 dollars per square foot. Additional charges arise from intricate designs, extended wiring runs, or ties to lighting and irrigation networks.
Primary price factors include sensor quantity per unit, choice of wired versus wireless connectivity, custom surface finishes, and site access challenges such as slopes or conduit trenching.
Expected Service Life and Upkeep
Properly installed units endure 15 to 25 years on a stable base. Individual sensors generally function for 8 to 12 years before replacement becomes necessary.
Seasonal inspections should check for surface cracks, joint movement, and moisture around sensor housings. Clean surfaces with mild soap and water. Reapply breathable sealers every few years in regions subject to staining or freeze-thaw cycles. Recalibrate or swap sensors when readings grow inconsistent.
Key Specifications
Review these details prior to purchase:
- Load capacity suitable for expected foot or light vehicle traffic.
- Ingress protection rating of IP67 or greater.
- Temperature tolerance matching local climate extremes.
- Wireless standard compatible with the household hub.
- Power requirements and projected battery intervals.
- Integration options with current smart home platforms.
Site Preparation Steps
Treat planning as a standard paving project while accounting for wiring routes and signal reach. Confirm base depth, drainage slope of one inch per eight feet, conduit paths, and hub coverage before ordering materials. Verify local permit needs for low-voltage outdoor work.
Installation Sequence
- Mark layout and note locations for hubs or junction boxes.
- Excavate to required depth for base and paver thickness.
- Compact crushed stone to create a stable foundation.
- Position protective conduits ahead of bedding sand.
- Screed the bedding layer to uniform thickness.
- Place pavers from a straight edge while preserving joint spacing.
- Link sensors according to manufacturer diagrams or pair wireless units.
- Secure edge restraints to limit movement.
- Sweep joint sand into gaps and compact.
- Verify sensor output before final sealing.
Pattern Choices
Standard shapes include rectangles, squares, and interlocking modules. Running bond suits directional paths. Herringbone provides strength under heavier loads. Stack bond delivers a clean appearance for patios. Mixed sizes create visual interest while allowing strategic sensor placement at entries and steps.
Decision Between DIY and Professional Installation
Projects under 200 square feet with battery power and simple layouts suit experienced DIYers. Larger areas, required wiring, drainage concerns, or integration with other systems warrant hiring a professional for warranty and code compliance.
Troubleshooting Common Issues
Signal loss often stems from distance or interference. Relocate the hub or add a repeater. Moisture problems require seal inspection and improved drainage. Uneven surfaces need base recompaction. Nonresponsive sensors call for power verification or battery changes. Data inconsistencies are resolved through app recalibration.
Climate-Specific Guidance
Freeze-thaw regions demand rated materials and sound drainage. Hot areas benefit from lighter colors to limit heat buildup. Coastal sites require corrosion-resistant hardware. Heavy-rain zones favor permeable designs with drainage channels.
Substitute Options
Budget-conscious alternatives include motion-activated edging lights, wall-mounted sensors, nearby moisture probes paired with permeable pavers, or external cameras that analyze traffic patterns.
Practical Recommendations
Order five to ten percent extra material for cuts and breakage. Label all cables during installation. Position the hub in a sheltered yet accessible spot. Review collected data seasonally to refine automation settings. Combine traffic records with weather information to optimize resource use.
Sustaining Performance
Regular gentle cleaning and seasonal seal checks keep surfaces and sensors functional. Consistent data review reveals actual movement patterns, allowing informed adjustments to seating, lighting, and plantings that match real usage.
Smart pavers combine durable paving with responsive technology. When installed correctly and maintained routinely, they deliver a surface that adapts to daily outdoor routines and supports efficient yard management over time.