
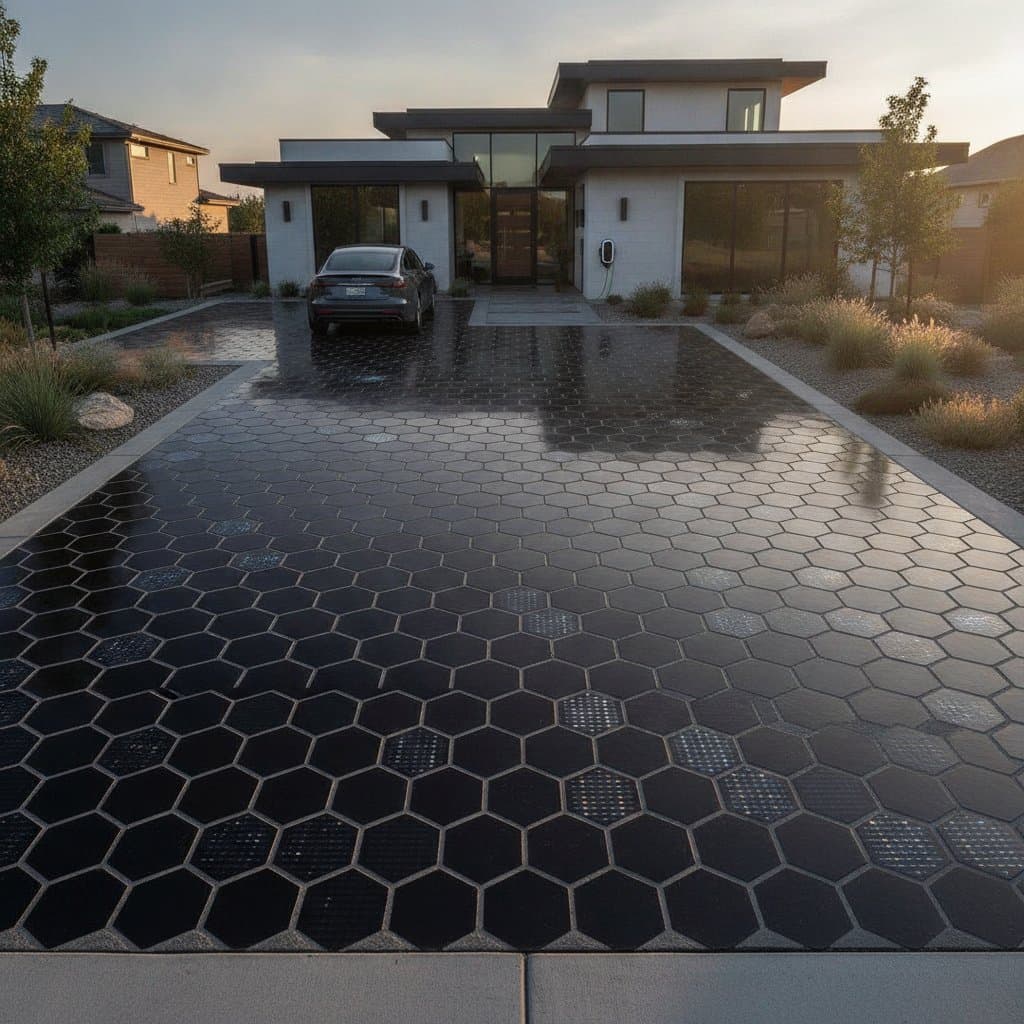
Decision Factors for Solar Paver Projects
Budget, sunlight exposure, slope and drainage, local incentives, and desired energy offset percentage guide every successful installation. These elements determine the scale and design of the system from the start.
Planning the Project
Site evaluation, electrical access, and regulatory requirements come first. Proper preparation prevents costly adjustments later.
Site Assessment
Measure sunlight across the full day. A minimum of five hours of unobstructed exposure supports reliable output. Maintain a surface slope of one to two percent for drainage while preserving optimal panel orientation. Confirm soil compaction reaches 95 percent of maximum density. Soft or expansive soils need extra base material for stability.
Permits and Codes
Most installations require separate permits for electrical connections and structural paving work. Verify compliance with local building and electrical codes. Many areas mandate inspection before system activation.
Budgeting and Cost Breakdown
Materials typically range from 11 to 19 dollars per square foot and cover pavers, wiring, inverters, junction boxes, and connectors. Labor costs fall between 7 and 12 dollars per square foot for excavation, base preparation, installation, and wiring. Equipment and accessories add 2 to 3 dollars per square foot. Tax credits or utility incentives often reduce total project cost by 20 to 30 percent.
Installing the Solar Pavers
Precision maintains both surface alignment and electrical continuity throughout the process.
- Lay the pavers from one corner according to the planned layout. Connect each unit plug in connector as work proceeds while keeping wires straight and secure.
- Check alignment and level with a straightedge and rubber mallet. Keep variations under one eighth of an inch to support appearance and drainage.
- Route wiring through conduit to a junction box near the inverter. Label each string for future reference.
- Have a licensed electrician connect the inverter to the home panel. Test voltage and current output before sealing joints.
- Apply UV resistant sealant to all joints. Clean the surface thoroughly and allow full curing.
A typical driveway project finishes within three days, with electrical testing requiring one additional day.
Troubleshooting Common Challenges
Uneven output often results from partial shading by trees or parked vehicles. Adjust parking habits or trim branches to restore performance. Re seat connectors when voltage fluctuates and inspect for moisture. Replace cracked pavers promptly at 40 to 60 dollars each including labor. Regrade low spots or improve joint sanding and sealing to eliminate water pooling.
Regular performance monitoring catches issues early and protects energy yield.
DIY Versus Professional Installation
When DIY Is Viable
Experience with interlocking paver systems supports small projects such as walkways or patios. Electrical work can remain under separate contract.
When to Hire Professionals
Large driveways with complex wiring, excavation deeper than 12 inches, or uneven grades require professional handling.
Maximizing Long Term Performance
Set energy offset goals before final design. A 400 square foot driveway produces roughly 1200 to 1800 kilowatt hours annually. Pair the system with storage to raise self sufficiency. Install spare conduits for future expansion. Choose light colored surfaces to limit heat buildup. Confirm inverter and paver warranties align for complete coverage.