
Quick Take
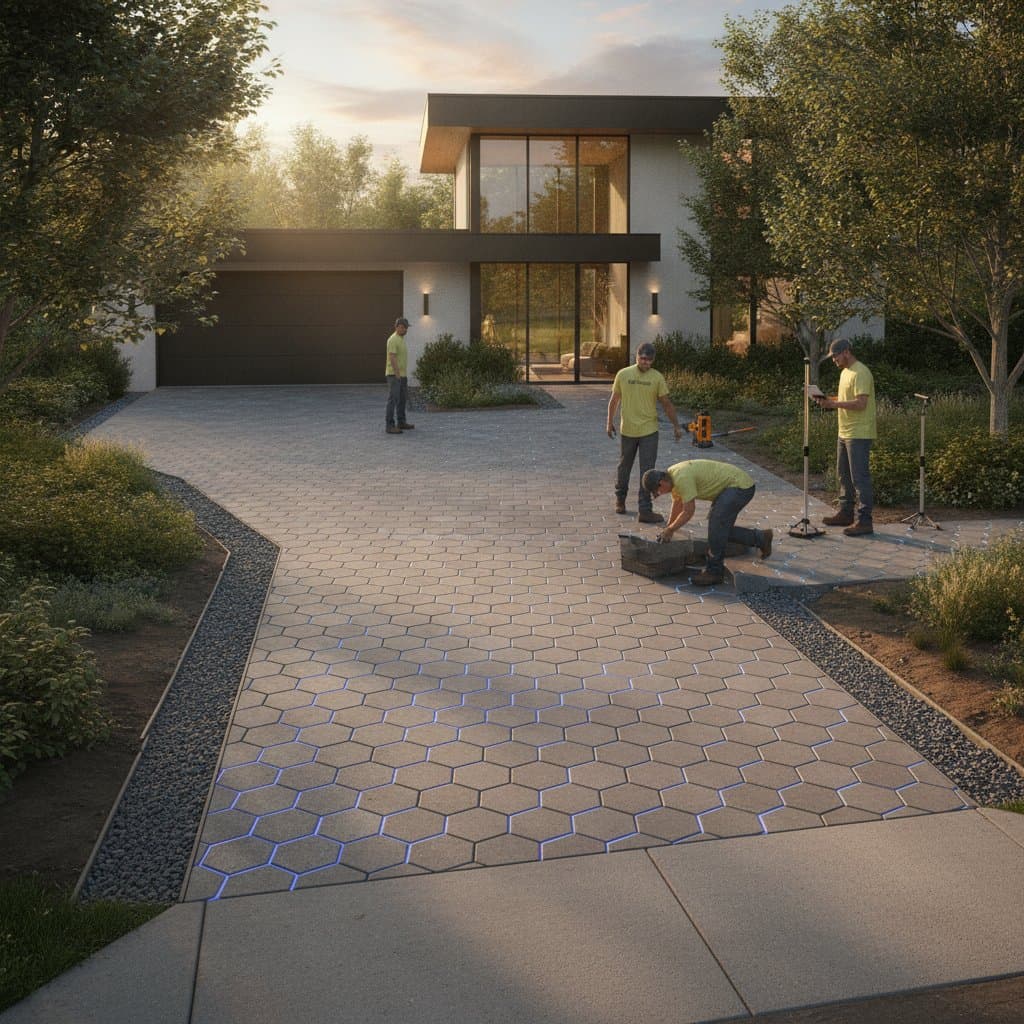
Solar pavers convert driveways, patios, and walkways into energy-generating surfaces. They substitute standard concrete or stone units with modules that embed photovoltaic cells. Primary concerns center on moisture intrusion, wiring integrity, and uneven settlement under vehicle loads. Installation expenses climb sharply during retrofits of existing surfaces. New construction projects integrate the premium more readily.
Site Assessment Steps
Evaluate several conditions prior to engaging an installer.
- Verify that the driveway slopes away from the house to prevent standing water near foundations and electronics.
- Check the existing surface for cracks, heaving, or shifting that could stress embedded connections.
- Assess tree cover for shading that reduces output and roots that may disturb the base over time.
- Locate the electrical service panel to minimize conduit length and associated expenses.
- Note areas exposed to meltwater or deicing salts that accelerate seal and wiring degradation.
Installation Barriers
Several site conditions require correction before work begins. Active structural settlement or frost heave in slabs creates unstable platforms. Chronic ponding or downspout flow across the surface promotes electrical faults. Corroded conduit and unprotected junction boxes near grade invite moisture entry. Loose pavers that move under load signal inadequate subgrade preparation. These problems lead to mechanical or electrical failure within a few seasons if left unaddressed.
Cost Framework and Solutions
Installed solar paver systems range from 50 to 80 dollars per square foot. This figure covers excavation, base preparation, wiring, and inverter connection. Conventional concrete or stone paving costs 10 to 20 dollars per square foot. The difference reflects photovoltaic components and specialized labor.
Retrofit projects add 5 to 10 dollars per square foot for removal and regrading. Poor drainage may necessitate new piping or swales at further expense. Overlay methods that place tiles directly on old concrete trap moisture and cause delamination. Full base reconstruction to proper depth and compaction standards remains essential.
Component Decisions
Replace the driveway surface when active cracking, heave, or inadequate slope appears. Repair only stable structures with minor surface wear. Solar modules require a dry, level platform for warranty compliance.
Discard any existing wiring harness or corroded conduit. Install sealed, UV-rated conductors inside flexible raceways instead. Maintain functional drains and dry wells while replacing undersized or blocked lines. Water must exit the area without restriction.
Connect to the service panel only after confirming modern capacity. Older panels often require upgrades that affect overall budgeting.
Project Coordination
Engage a civil or landscape contractor to evaluate grading and base stability alongside a solar installer experienced with hardscape applications. Include an electrician early to verify panel capacity and conduit paths. Sloped sites that direct water toward the house benefit from drainage specialist input before final design.
Route all conduits, junction boxes, and controls during planning rather than after excavation. A general contractor or project manager can sequence trades and limit miscommunication. Professional oversight typically adds 10 to 20 percent to total cost yet prevents larger overruns.
Execution Sequence
Address high-value items first.
- Finalize slope and drainage design prior to material delivery.
- Define base layer thickness with compaction verification.
- Choose modules rated for anticipated vehicle loads.
- Incorporate monitoring to track output and isolate faults promptly.
Complete core electrical and structural work before adding decorative elements or complex patterns that hinder wiring.
Work Order
Follow this sequence to manage expenses and limit risk.
- Adjust grading and drainage.
- Excavate and compact the stone base.
- Install conduits and confirm consistent slope.
- Place solar pavers and connect harnesses.
- Verify electrical continuity before sealing joints.
- Link the system to the inverter and main panel.
- Seal joints and confirm runoff patterns.
Avoid installation on frozen or saturated ground to prevent subgrade movement that shears connections.
Ongoing Performance Checks
Clean the surface regularly and keep joints free of debris. Inspect after storms for any pooling. Remove salt residue quickly to preserve seals. Test output from each section each season. Generation drops frequently trace to single loose connectors or cracked seals.
Homeowners can perform basic visual reviews. Watch for monitoring display alerts, unusual sounds at junction points, or darkened modules. These signs point to moisture or wiring issues. A technician can then isolate and swap individual units without disturbing the full array.
Long-Term Value
Solar pavers deliver consistent returns when drainage, base stability, and maintenance routines align. The surface offsets energy costs while providing durable access that supports property resilience over decades.