
Cement Free Geopolymer Bricks Transform Modern Masonry
Quick Take
Geopolymer bricks eliminate cement from the production mix. This approach reduces emissions while enhancing durability. Risks arise mainly from inconsistent curing and limited access to raw materials. Costs depend on activators, production oversight, and local supply.
Inspection Steps
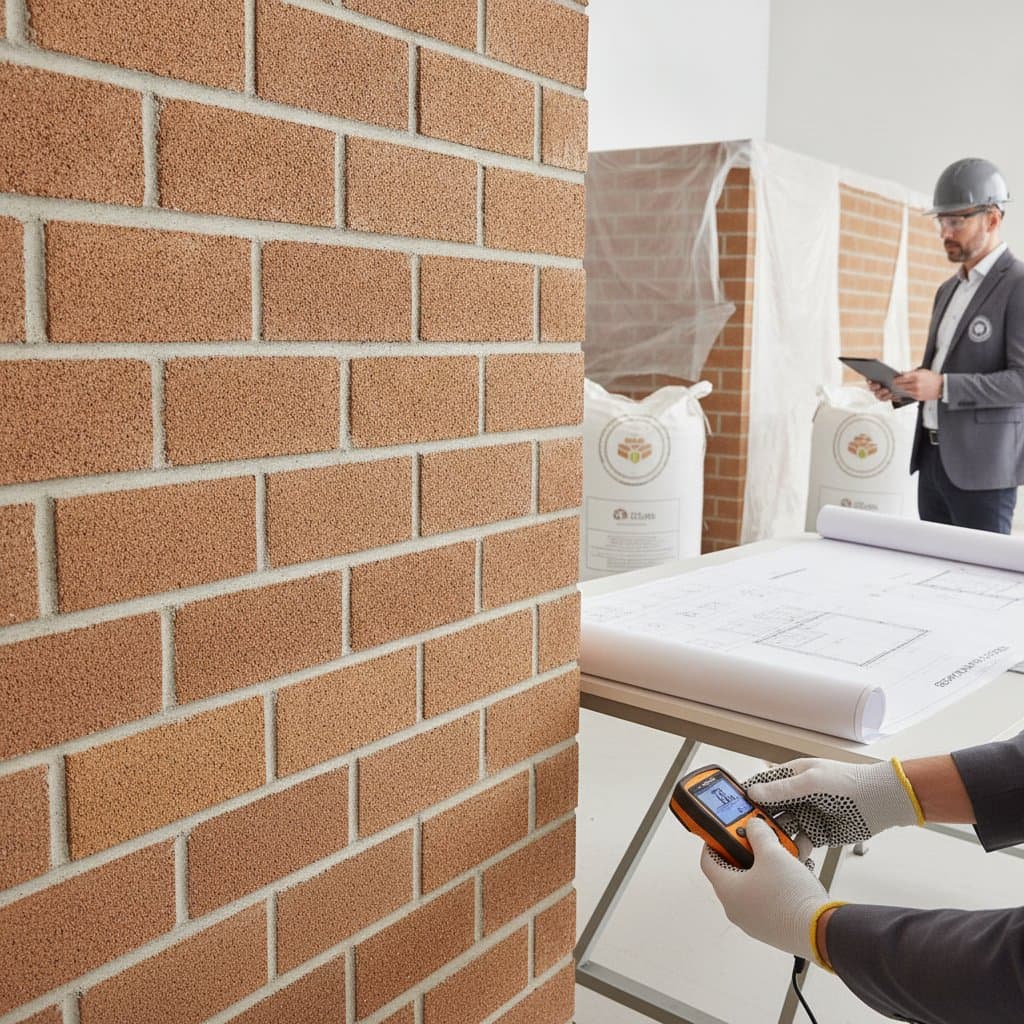
Begin evaluation with direct sensory checks on any wall or project. The surface must appear dense and uniform rather than chalky or streaked. Strike a brick lightly with a hammer handle. A clear ringing tone indicates proper curing. A dull response often signals trapped moisture or weak bonding.
Examine mortar joints for tight, even contact without gaps. Watch for powdering at the surface, which points to an incomplete alkaline reaction. Verify dimensional stability through even edges and square corners. Request the mix data sheet when available. It must list the fly ash, slag, or metakaolin source along with the activator type and curing temperature details.
Inspect the overall wall plane under direct sunlight. Lines should remain straight without bowing. Pay special attention to openings and corners for hairline fissures. Minor cracks may result from normal thermal movement. They still require prompt sealing to prevent moisture entry.
Warning Signs
- Uneven color or surface dusting on bricks
- Hollow response during tapping
- White crystalline deposits near joints
- Mortar gaps exceeding three millimeters
- Joints that crumble under light pressure
- Visible leaning or bulging in the wall
- Absence of source material or activator data
Repair Options and Costs
Surface cracks respond well to breathable silicate coatings. Expect costs between two and four dollars per square foot. Repointing with compatible geopolymer mortar runs fifteen to twenty dollars per linear foot. Deep structural issues may require partial rebuilds at thirty to fifty dollars per square foot based on access needs.
Improve drainage first when moisture discoloration appears. Allow the assembly to dry thoroughly. Never apply dense acrylic paints, as they trap vapor and promote spalling. Remove persistent salt deposits with a mild vinegar solution after leak testing.
Ordinary cement patches fail quickly on geopolymer surfaces. The differing chemistry causes delamination within months. Confirm whether problems are localized before committing to full replacement.
Decision Framework
Retain geopolymer units when the core remains intact. They outperform cement in heat and chemical resistance. Replace bricks only after verifying cure failure or insufficient strength. Match mortar repairs to the original geopolymer binder. Cement based products create bond failure.
Keep the wall plumb and reinforce with tuck pointing plus breathable sealers when possible. Select vapor permeable finishes exclusively. Plasticized layers trap internal moisture and accelerate damage.
Project Execution
Engage a mason experienced with geopolymer systems. Request sample panels and compression test results. Have an engineer review structural loads for alternative binders. Architects confirm compatibility with adjacent stone or clay elements. Contractors should price both materials and any required curing equipment.
Compare supplier quotes across regions. Fly ash, slag, and calcined clay each perform differently under local conditions. Professional oversight adds ten to twenty percent to the budget yet prevents material mismatches and delays. These systems require tighter process control than cement.
Execution Order
- Secure raw material supply and complete test batches before ordering.
- Confirm the curing method, whether steam, ambient, or chamber controlled.
- Install drainage and flashing at wall bases.
- Verify mortar compatibility and vapor permeability.
- Apply breathable coatings only after moisture readings stabilize.
Reduce thermal bridging and seal openings early. Defer decorative cladding until durability is confirmed. Skip basement locations where constant dampness disrupts binder performance.
Work Sequence
Address water management first. Grade soil away from walls and direct downspouts clear of the foundation. Test plumb and alignment next. Inspect mortar and joints before routing electrical or plumbing lines. Add insulation where the design permits. Apply interior finishes last.
This order prevents rework caused by trapped moisture. Store matching bricks from the original batch for future repairs.
Ongoing Care
Rinse surfaces gently twice each year to remove salts. Avoid high pressure washing that erodes the binder. Apply breathable coatings when color fades. Monitor cracks wider than a credit card. Seal small fissures immediately to limit freeze damage.
Seasonal drainage checks and vegetation control maintain performance. Homeowners gain extended service life and reduced staining risk compared with traditional masonry. The material resists fire without lime leaching.