Sustainable masonry shifts to zero-cement geopolymer bricks
The movement toward sustainable construction has accelerated as builders and homeowners seek alternatives to traditional Portland cement. Geopolymer bricks use industrial by-products such as fly ash or slag in place of cement. These bricks reduce carbon emissions, conserve natural resources, and deliver strong durability.
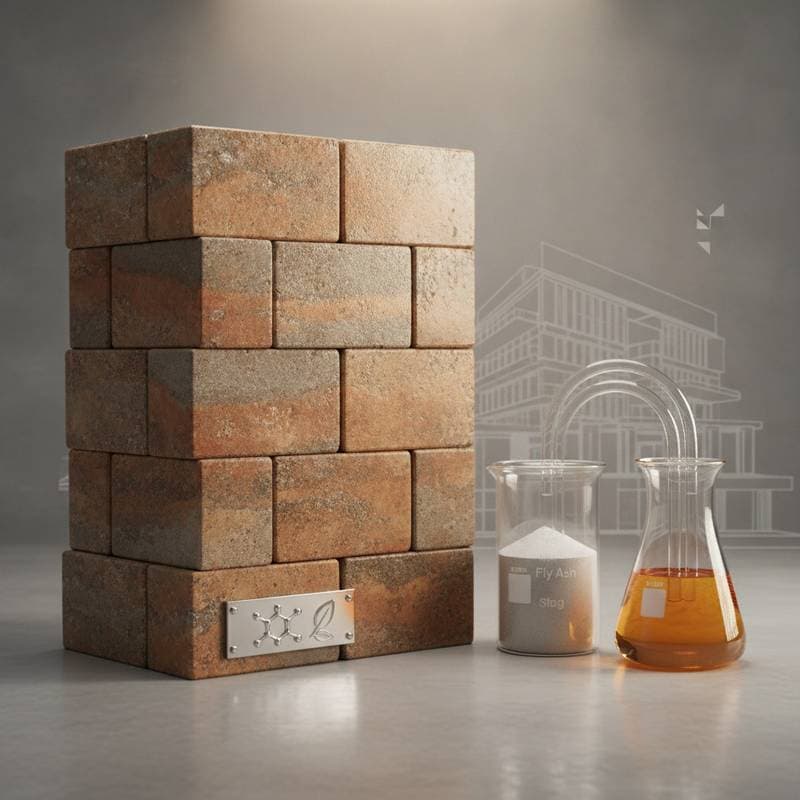
This guide explains how geopolymer bricks function. It covers what users need to know before adoption. It also shows how these units are changing masonry practices.
Key considerations before adoption
- Cost range: Geopolymer bricks typically cost 10 to 25 percent more per unit than conventional clay bricks. Total wall system savings can reach 15 to 30 percent because of reduced mortar use and curing expenses. Material costs represent 60 to 70 percent of the total, while labor accounts for 30 to 40 percent.
- Technical properties: Compressive strengths range from 5,000 to 10,000 PSI depending on mix design. Water absorption stays below 10 percent. Dimensional accuracy falls within plus or minus 1 millimeter.
- Curing timeframe: Ambient curing requires 24 to 48 hours. Heat curing at 140 to 180 degrees Fahrenheit accelerates strength gain within 6 to 8 hours.
- Sustainability benefits: These bricks reduce embodied carbon by 70 to 90 percent compared with cement-based products. They utilize waste materials that would otherwise enter landfills.
- Major decision factors: Availability of fly ash or slag, local building code acceptance, curing facilities, and builder familiarity all influence adoption.
Planning requirements for zero-cement masonry
Permits and code considerations
Check local building codes before starting to confirm acceptance of geopolymer masonry. Some jurisdictions classify these units under alternative materials. This classification requires structural testing reports or manufacturer certifications. Seek documentation that verifies compressive strength, water absorption, and fire rating. Engineers may need to stamp drawings to confirm compliance with structural load requirements.
Material sourcing and logistics
Reliable supply of fly ash or slag remains essential. These materials come from coal-fired power plants and steel mills. Where availability is limited, metakaolin or calcined clays can serve as substitutes. Verify chemical composition to ensure reactive aluminosilicate content above 40 percent. Alkaline activators such as sodium hydroxide and sodium silicate require careful handling and storage in corrosion-resistant containers.
Transport distance affects overall sustainability. Source raw materials within 100 miles of the production site to limit emissions from trucking.
Cost planning
A typical geopolymer brick measures 9 by 4.5 by 3 inches. It costs between 0.80 and 1.20 dollars per unit. Standard burnt clay bricks cost 0.60 to 0.90 dollars per unit. Unit prices sit slightly higher, yet savings appear through reduced mortar joints and faster installation. Expect overall wall construction costs of 6.50 to 8.50 dollars per square foot, including labor and materials.
Step-by-step process for producing geopolymer bricks
1. Prepare the raw materials
Measure fly ash, aggregates, and activator solution accurately. Keep moisture content of aggregates at or below 5 percent to prevent dilution of the activator.
2. Mix to uniform consistency
Use a pan mixer or planetary mixer for even distribution. A mixing time of 5 to 8 minutes ensures reaction initiation and a consistent paste. Avoid overmixing, which can cause premature setting.
3. Mold and press
Transfer the mixture into molds. Apply uniform pressure of 3,000 to 5,000 PSI using a hydraulic press. This pressure range yields optimal density and minimizes porosity.
4. Curing process
Two curing options exist. Ambient curing involves stacking bricks under shade and covering them with plastic sheets for 48 hours. Maintain temperature above 70 degrees Fahrenheit and humidity above 60 percent. Heat curing places bricks in a controlled chamber at 140 to 180 degrees Fahrenheit for 6 to 8 hours. This method accelerates strength gain and allows earlier demolding.
5. Quality testing
After curing, perform compressive strength tests on random samples. Acceptable results fall between 5,000 and 10,000 PSI depending on the mix. Check for dimensional tolerance within plus or minus 1 millimeter and water absorption below 10 percent.
Troubleshooting common challenges
Uneven surface or cracks
Rapid drying or insufficient compaction usually causes this issue. Vibrate molds properly and maintain stable curing conditions. Keep uniform moisture during the first 24 hours.
Low strength development
If compressive strength falls below 5,000 PSI, check activator concentration. A low ratio of sodium silicate to sodium hydroxide reduces polymerization. Recalibrate the mixture to maintain an activator-to-fly ash ratio of 0.4 to 0.5 by weight.
Excessive efflorescence
White salt deposits appear when excess alkali leaches to the surface. Reduce water content and ensure proper curing. Washing the bricks with dilute acetic acid removes surface deposits without harming structure.
Delayed setting time
Cold ambient conditions slow chemical reactions. Increase curing temperature slightly or add accelerators such as calcium hydroxide. Always measure temperature and humidity during production.
DIY versus professional application
When DIY is viable
Small garden walls, boundary fences, or decorative structures can be built by skilled DIY enthusiasts. Basic masonry tools such as trowels, levels, and a small concrete mixer suffice. Cost savings of 20 to 30 percent result from eliminating labor charges. Set aside extra time for mix preparation and curing control.
When professional help is essential
For load-bearing walls, multi-story buildings, or structural retrofits, hire licensed contractors experienced in alternative masonry systems. Professionals ensure compliance with codes, accurate mix ratios, and uniform curing. Errors in mix proportions or curing can compromise strength and void structural warranties.
Choosing a contractor
Select builders with documented experience in geopolymer or sustainable masonry. Verify that they hold valid insurance and bonding. Request performance data from prior projects, including compressive strength tests and durability reports. Reliable contractors provide this information without hesitation.
Integrating geopolymer bricks into projects
Adopting zero-cement geopolymer bricks delivers practical performance benefits for builders, homeowners, and the environment. Careful attention to sourcing, production, and quality requirements supports confident integration into upcoming work. The approach yields lower carbon emissions, reduced maintenance needs, and long-term durability.