3D-Printed Concrete Homes Reshape Suburban Landscapes by 2026
Large automated machines layer concrete to form the walls and core structures of 3D-printed concrete homes. These systems eliminate the need for manual framing and pouring by moving along rails or robotic arms to deposit material with exact precision. The outcome includes quicker assembly, less waste, and expanded opportunities for innovative housing designs in suburban settings.
Understanding 3D-Printed Homes
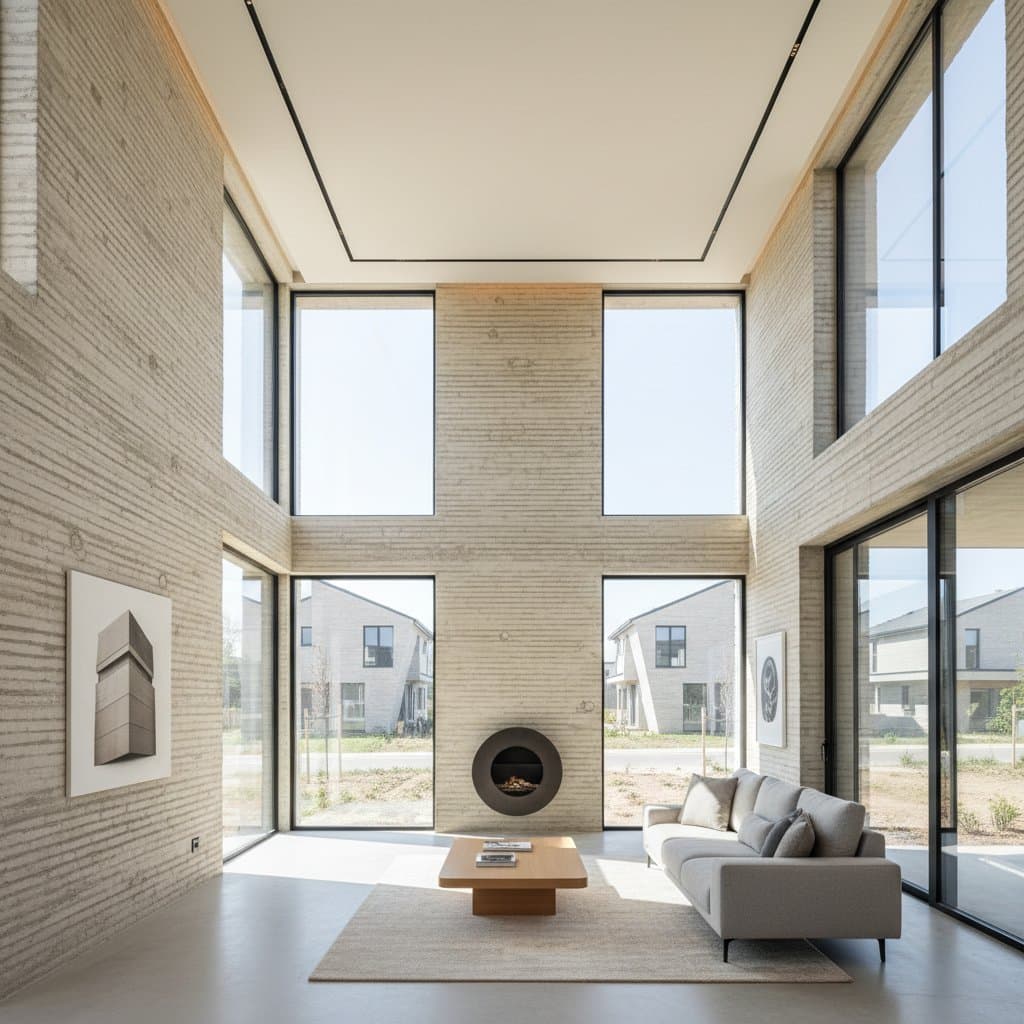
Builders create a 3D-printed concrete home by extruding a specialized cement mixture through a nozzle guided by a digital blueprint. The process stacks layers to construct walls incrementally. Spaces for doors, windows, and utility integrations remain open for subsequent fitting. While roofs typically rely on traditional framing or prefabricated panels, advanced setups can print roof elements directly.
Advantages and Challenges
Advantages
- Construction of the basic shell completes in days rather than weeks.
- Decreased reliance on labor addresses shortages of skilled workers.
- Precise control over wall alignment and thickness ensures uniformity.
- Minimal material waste accompanies consistent structural quality.
- Custom geometries, such as curves, incur negligible additional expense.
Challenges
- Compatibility limits options to specific concrete formulations suitable for extrusion.
- Deployment demands expensive specialized equipment and skilled personnel.
- Availability of experienced contractors remains limited.
- Regional variations affect permit approvals and building code compliance.
- Raw surfaces require finishing or coatings to achieve a smooth appearance.
Cost Analysis
The printed concrete shell typically costs between 25 and 40 dollars per square foot in materials. Full completion, including utilities, roofing, windows, and interior elements, elevates the total to 150 through 250 dollars per square foot.
Factors like increased wall thickness, unique mixtures, or intricate multi-level designs drive expenses higher. Economies emerge in clustered projects, where the printer remains stationary, distributing setup efforts across multiple units.
Durability and Upkeep
Expect printed concrete walls to endure 50 to 100 years with routine structural care. The material resists decay, insects, and flames effectively. Professionals recommend inspecting exterior coatings and sealants biennially for signs of damage or discoloration. Maintain cleanliness using a gentle detergent and low-pressure rinse. Reapply protective layers to vulnerable areas as necessary to preserve weather resistance.
Key Specifications to Evaluate
When assessing a printed home or contractor bid, verify the following:
- Compressive strength of the concrete blend, generally ranging from 3,000 to 6,000 psi.
- Approach to reinforcement, whether through fibers or embedded rebar.
- Thermal performance metrics of the complete wall assembly.
- Suitability for freeze-thaw cycles in cooler environments.
- Fire resistance qualifications to meet regulatory standards.
Site Preparation Essentials
Select a site that is level and compacted, with adequate drainage provisions. Ensure access routes accommodate the printer's dimensions and concrete delivery infrastructure. Allow the foundational slab or base to cure completely and achieve perfect alignment prior to printing commencement. Review municipal regulations regarding property setbacks and secure necessary permits. Engage utility marking services before undertaking any ground disturbance.
Step-by-Step Construction Process
- Finalize and level the foundation or slab.
- Upload the digital model to the printer's operational software.
- Assemble the printer's rail system or robotic platform.
- Prepare and deliver the concrete mixture to the extrusion mechanism.
- Layer the walls upward to the specified elevation, incorporating voids for doors and windows.
- Integrate reinforcements or fixtures at designated intervals.
- After curing, dismantle the printer and proceed with interior framing, electrical, and plumbing installations.
- Implement surface treatments, roofing, and external waterproofing.
The printing phase spans one to two days, yet subsequent finishing demands standard craftsmanship timelines.
Design Flexibility and Patterns
These homes accommodate conventional rectangular forms or incorporate fluid curves, undulating surfaces, and protrusions that prove expensive in traditional concrete work. In multi-unit developments, shared elements like arcing partitions or integrated outdoor features enhance communal spaces. Adjust wall thicknesses strategically to boost insulation or add aesthetic ridges, all without proportional labor increases.
Professional Involvement Required
Individuals cannot undertake this as a do-it-yourself endeavor. Industrial-scale printers demand investments exceeding hundreds of thousands of dollars, alongside expert operation. Owners contribute meaningfully by selecting aesthetic details, material finishes, and layout configurations, but certified professionals must oversee the printing execution. Choose builders versed in regional approvals and integrity assessments.
Addressing Potential Issues
Layer adhesion failures, irregular curing, or extrusion blockages represent frequent printing complications, manifesting as fragile joints or superficial fissures. Address these by abrading imperfections and applying polymer-enhanced mortar repairs. Deeper structural flaws often stem from formulation inaccuracies or equipment misalignment, necessitating expert evaluation.
Infiltration at penetrations arises from omitted flashing or inadequate sealing; remedy through joint resealing and verifying secure window embeddings. Combat surface erosion or pigment loss with durable acrylic protectants.
Climate-Specific Considerations
In arid, high-temperature zones, implement controlled hydration during curing to prevent fissures. For frigid locales, validate the mixture's resilience to freeze-thaw stresses and incorporate air-entraining agents. Coastal installations benefit from anti-corrosive reinforcements and salt-tolerant sealants. In areas prone to strong winds, opt for reinforced thicknesses or anchorage integrations.
Viable Alternatives
Where on-site printing expertise proves elusive, explore insulated concrete forms or precast panels. These deliver resilient enclosures and superior energy efficiency via proven techniques. Structural insulated panels or evolved timber framing serve as additional pathways to streamlined, performant builds when concrete extrusion lags locally.
Transforming Suburban Development
Advancements in printer portability and design algorithms enable on-site fabrication of diverse neighborhood clusters. Fluid street contours, collective green areas, and optimized energy profiles simplify realization. Diminished labor requirements stabilize pricing amid acute supply constraints, fostering accessible housing solutions.
Steps to Secure Your Printed Home
Direct your efforts toward customizing aesthetics, selecting durable finishes, and orchestrating site logistics, leaving technical printing to specialists. Through meticulous planning and vetted partnerships, realize a resilient, efficient residence that accelerates timelines, curbs environmental impact, and distinguishes itself within the community fabric.