Understanding solar pavers
Building a driveway that produces clean electricity has become practical with current technology. Solar pavers integrate photovoltaic cells into durable paving units that withstand vehicle traffic. Sunlight striking the surface generates electricity routed to your home system or storage batteries.
This guide covers operational principles, material selection, and installation procedures. Readers will evaluate project costs, complexity, and whether the work suits advanced DIY efforts or requires licensed contractors.
Skill level: Advanced DIY or professional installation
Physical demand: High, with heavy lifting and precise alignment
Helper needed: Yes, at least one additional person
Why solar pavers matter
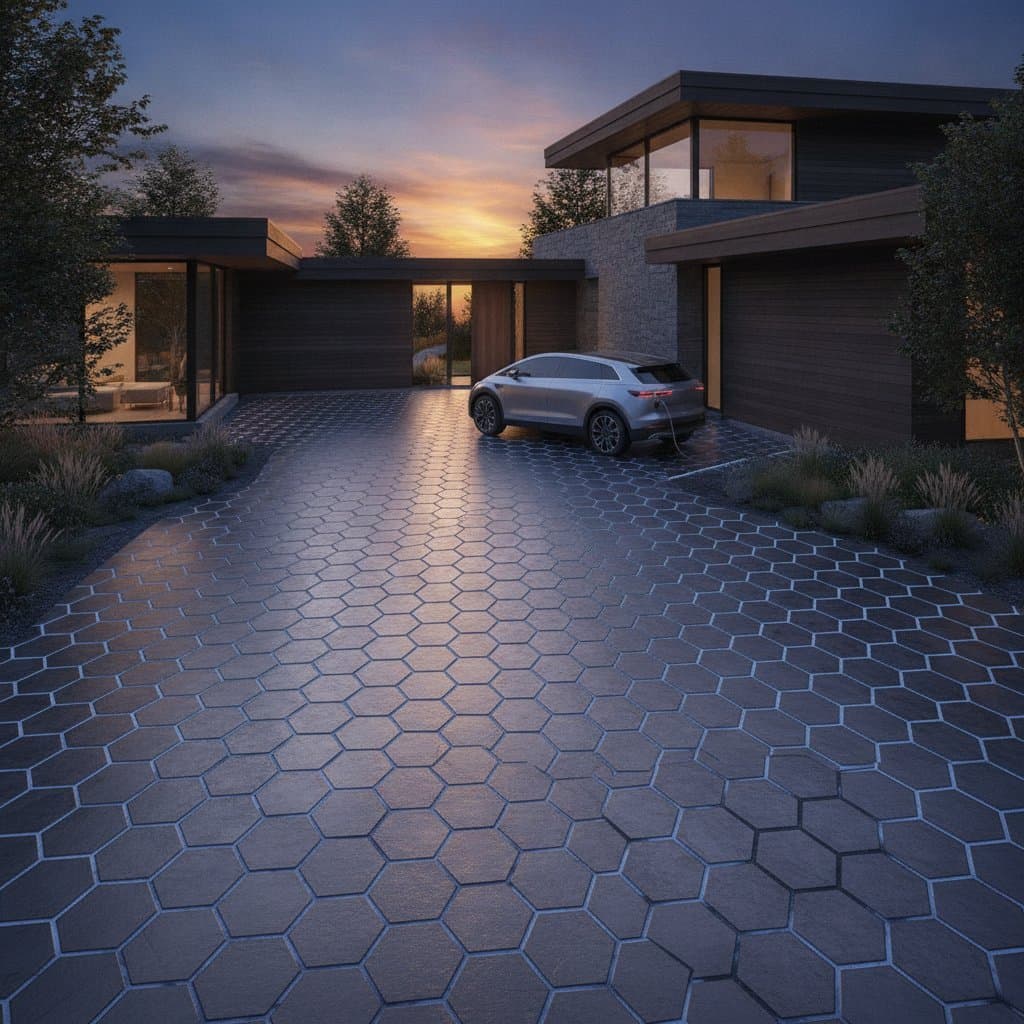
Standard rooftop panels occupy limited space and may clash with architectural styles. Solar pavers place generation capacity directly on the ground plane. Homeowners gain a functional surface that offsets electricity consumption without altering rooflines. The approach works well on shaded properties or those with unsuitable roof angles.
How they work
Each unit houses photovoltaic cells beneath a protective layer of tempered glass or textured resin. Internal wiring links adjacent pavers into series or parallel circuits. Current travels through buried conduit to an inverter that produces usable household power. Excess output can charge batteries or feed the grid under net metering agreements.
When to call a professional
Electrical connections demand code compliance and waterproofing expertise. Homeowners experienced with low voltage wiring may handle preliminary runs, yet final tie ins to the service panel require a licensed electrician. Excavation and base preparation remain feasible for capable DIY teams.
Choosing materials
Three primary designs address different priorities in efficiency, traction, and appearance.
Glass topped solar pavers
Transparent tempered glass maximizes light transmission to the cells.
Pros:
- Highest output per square foot
- Clean modern surface
- Simple maintenance through washing
Cons:
- Highest purchase price
- Reduced traction when wet
- Risk of cracking under impact
Cost: Premium range
Skill level: Advanced
Maintenance: Periodic washing and crack inspection
Best use: Sunny driveways with minimal foot traffic
Resin coated solar pavers
A textured resin layer improves grip while protecting the cells.
Pros:
- Better wet weather traction
- Moderate pricing
- Solid durability
Cons:
- Slightly reduced output
- Potential long term discoloration
Cost: Mid range
Skill level: Intermediate
Maintenance: Mild detergent cleaning
Best use: Driveways serving both vehicles and pedestrians
Concrete integrated solar pavers
Thin modules sit inside standard precast concrete blocks.
Pros:
- Traditional concrete appearance
- High load bearing capacity
- Lower initial cost
Cons:
- Lower light capture
- Greater weight during handling
- Reduced efficiency
Cost: Affordable range
Skill level: Intermediate
Maintenance: Occasional resealing
Best use: Large driveways where visual continuity with concrete matters
Step by step instructions
1. Prepare the base
Excavate to a depth of eight inches. Compact the subgrade, then add and compact six inches of crushed gravel. The finished base must resist movement under load.
Purpose: Prevent settling that could crack pavers.
Quality check: Surface feels firm with no soft areas.
2. Install the conduit
Place waterproof conduit along one edge before spreading bedding sand. Maintain a slight slope toward the junction box. All fittings must carry an underground rating.
Purpose: Shield wiring from moisture and physical damage.
Quality check: Joints remain tight and continuous.
3. Add bedding sand
Spread one inch of coarse sand and screed it level. Avoid walking on the prepared surface.
Purpose: Create a uniform cushion for adjustment.
Quality check: Thickness stays consistent throughout.
4. Lay the solar pavers
Begin at one corner and proceed outward. Seat each unit with a rubber mallet while maintaining one eighth inch gaps. Connect wiring terminals during placement.
Purpose: Achieve flush alignment and reliable circuits.
Quality check: Units sit level and connections test secure.
5. Connect the system
Route conductors through conduit to the inverter. Engage a licensed electrician for the final connection to household circuits or battery storage.
Safety warning: High voltage terminations require proper certification.
6. Compact and finish
Sweep joint sand into gaps, then compact with a padded plate compactor. Repeat until joints lock firmly.
Purpose: Stabilize the entire field.
Quality check: No movement occurs under foot pressure.
Finishing and maintenance
Install standard pavers or edging along the perimeter to shield solar units from tire contact. Add low profile path lights for visibility after dark. Inspect connections and clean surfaces seasonally to sustain output.