
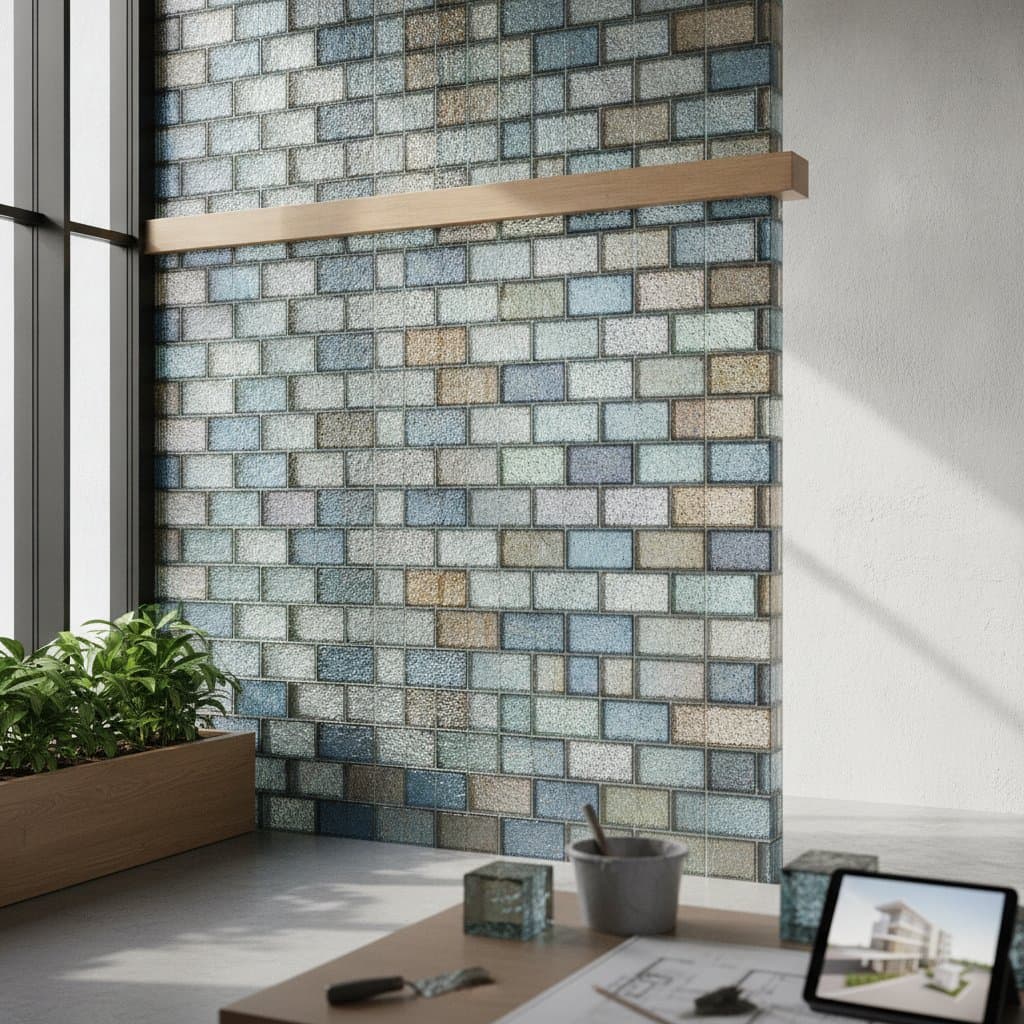
Understanding Recycled Glass Bricks
Recycled glass bricks represent an innovative option in sustainable masonry. Manufacturers melt discarded glass, mold it into shape, and temper the units to achieve structural integrity. The finished product transmits light while diverting waste from landfills and reducing demand for virgin raw materials.
These units appear in three primary forms. Fully transparent bricks maximize daylight for interior partitions and facades. Frosted or textured versions balance privacy with diffused illumination. Composite bricks combine crushed glass with cement or resin binders to create denser, stone-like blocks suited to heavier applications.
Architects employ the material for both decorative and load-bearing walls when proper reinforcement is in place. The bricks resist moisture and temperature fluctuations, making them appropriate for humid regions and contemporary designs that emphasize natural light. Projects that carry structural loads require review by a licensed engineer. Accent walls, screens, and low garden features remain suitable for experienced do-it-yourself builders.
Planning Your Recycled Glass Brick Project
Successful installation begins with careful assessment of the site, selection of appropriate materials, and assembly of the correct tools. Consider how sunlight enters the space, how the wall will appear from nearby rooms, and whether the finished surface must provide privacy. A glass brick partition can separate a bathroom, entryway, or kitchen without making the area feel enclosed.
Site Assessment
Examine the intended location for level ground, stable footing, and adequate drainage. Areas prone to standing water increase the risk of freeze-thaw damage. Interior surfaces must support the combined weight of bricks and mortar.
Review nearby electrical, plumbing, and heating systems before excavation or drilling. Outdoor installations should include a cap or coping that sheds water away from the joints. In an interior setting, confirm that the proposed wall does not obstruct doors, ventilation, or required access routes. Measuring the layout carefully also reduces cutting and helps maintain a balanced pattern around corners and openings.
Material Options
Solid recycled glass bricks deliver maximum light transmission and a modern appearance. They carry a premium price and require precise handling. Crushed-glass composite bricks cost less, accept cutting more readily, and suit beginners, though they transmit less light. Frosted or patterned bricks add visual interest and conceal minor imperfections while limiting structural applications.
Acquire roughly ten percent additional units to cover breakage and trimming. Before purchasing, compare samples under natural and artificial light. Color can vary between production batches, and a subtle tint may become more noticeable across a large wall. Select compatible mortar and sealant from the same product recommendations whenever possible, since unsuitable compounds can stain glass or expand at different rates.
Required Tools and Supplies
Hand tools include a brick trowel, spirit level, rubber mallet, and jointing tool. Power equipment consists of a wet saw fitted with a diamond blade and a drill with masonry bits. Mortar mixing paddles and scaffolding may be rented for larger walls. Non-shrink mortar formulated for glass, together with compatible sealant, completes the material list.
Wear gloves, eye protection, and hearing protection when cutting or drilling. A straightedge, measuring tape, spacers, buckets, and clean water also improve accuracy. Protect finished flooring with drop cloths, and keep cut edges away from high-contact areas unless they receive an appropriate trim.
Step-by-Step Installation
- Verify that the base is level and solid before any bricks are placed.
- Mix mortar according to manufacturer temperature and consistency guidelines.
- Spread a thin, even bed of mortar for the first course.
- Set each brick gently, tap it into alignment with the mallet, and confirm front-to-back level.
- Stagger subsequent courses to increase wall strength while maintaining uniform joint spacing.
- Re-check plumb and straightness every two courses.
- Remove excess mortar from joints before it hardens.
- Allow the assembly to cure fully, then apply sealant or grout to finished joints.
Keep a damp sponge available throughout the process to wipe away residue before it bonds to the glass surface. Use spacers when uniform joints are essential, particularly in a broad feature wall. Avoid forcing a brick into place, since concentrated pressure can create chips or internal fractures. When a cut is necessary, cool the blade continuously and smooth the exposed edge before installation.
For large openings or freestanding partitions, include reinforcement and expansion provisions specified by the project engineer. A professional installer should handle walls exposed to wind, soil pressure, or significant structural loads.
Design Ideas for Every Room
Recycled glass bricks can serve as a compact backsplash, a shower screen, or a light-filled stairwell wall. In kitchens, translucent units soften views between cooking and dining areas while preserving separation. In bathrooms, frosted surfaces provide privacy without blocking borrowed light. A narrow vertical panel beside an entry door can brighten a hallway and create an inviting focal point.
Outdoor applications include garden borders, seating walls, and illuminated pathways. Pair cool glass tones with warm wood, natural stone, or matte metal to prevent the design from feeling overly industrial. Repeating one accent color in nearby tile, textiles, or planting creates visual cohesion.
Long-Term Care and Enhancements
Minimal framing and neutral surroundings allow the light-transmitting qualities of the bricks to remain prominent. Annual joint inspection and prompt resealing protect against moisture intrusion. Mild detergent suffices for routine cleaning. Integrated LED backlighting, metal trim, or adjacent planters further refine the completed installation while preserving its sustainable character.
Keep abrasive cleaners, harsh solvents, and stiff metal brushes away from the surface. Inspect outdoor joints after severe weather, and replace damaged sealant before water reaches the backing structure.