
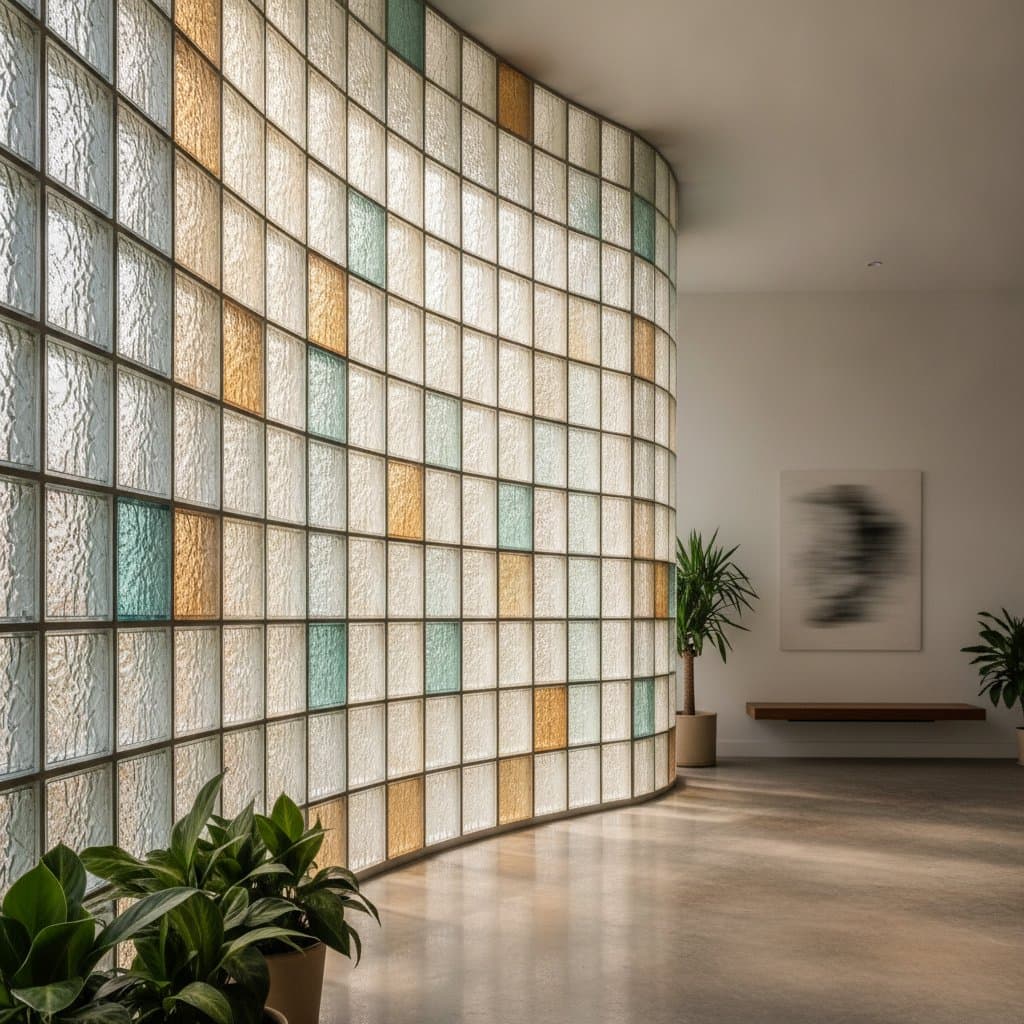
Recycled Glass Masonry for Translucent Walls
Building with recycled glass masonry creates luminous surfaces that diffuse daylight while diverting waste from landfills. These blocks suit interior partitions or exterior accents and deliver durability alongside visual interest. A typical project spans several weekends based on wall size.
Skill level matches an experienced DIYer who handles mortar mixing and level courses. Physical demands increase with wall height, so enlist a helper for lifting and alignment.
Decide Between DIY and Professional Help
Small interior partitions or half-height walls fit skilled DIYers who maintain precise layout. Full-height exterior walls, load-bearing sections, or installations in freeze-thaw zones require a professional mason familiar with glass materials.
Call a professional when the design includes structural framing integration or complex curves. These situations demand engineering to avoid cracking or moisture issues.
Select the Right Material
Material choice influences appearance, weight, and installation demands.
Solid Recycled Glass Blocks
Dense units transmit light brightly and resist wear. They suit exterior accents yet require a reinforced base because of their weight. Cost sits at the premium level.
Hollow Recycled Glass Blocks
Lightweight blocks with an air cavity offer easier handling and moderate insulation. They work well for interior partitions and cost less than solid options. Careful sealing prevents moisture entry.
Cast Recycled Glass Panels
Large panels reduce joint lines for a sleek finish. Custom colors are available, yet handling fragility often calls for professional mounting. These panels fit backlit architectural features.
Install the Wall
Prepare the Base
Verify that the foundation or sill is level and strong enough to support the full wall weight. Remove debris and spread a half-inch mortar bed to anchor the first course.
Place the First Course
Set the initial block at one corner and check level in both directions. Insert spacers to maintain uniform joints. Errors at this stage propagate upward, so correct alignment immediately.
Continue Upward
Apply mortar to each block top and set the next course while staggering joints. Check level after every block. Plan roughly one hour per square foot for accurate placement.
Add Reinforcement
Embed steel rods or mesh in mortar joints every second course on exterior or tall walls. This step counters movement from temperature changes.
Finish Edges and Top
Cap the wall with a solid block or metal channel. Fill vertical joints smoothly and protect the upper edge from water intrusion.
Clean and Cure
Wipe excess mortar with a damp sponge right away. Allow several days of curing before applying sealant.
Follow Safety Practices
Wear gloves and safety glasses during handling. Use a respirator when cutting blocks. Employ stable scaffolding instead of overreaching from ladders. Limit outdoor walls taller than five feet to professionals unless you possess masonry experience.
Apply Finishing Details
After curing, seal mortar joints to block moisture and stains. Run silicone along edges for clean transitions. Backlighting or recessed floor lights accentuate texture on interior walls. Neutral trim paint keeps the glass as the focal point. Frosted blocks provide privacy without added screens.
Maintain the Installation
Clean surfaces with mild soap and water. Inspect sealant lines yearly and reapply as needed. Exterior walls need resealing every few seasons. Replace a damaged block by removing surrounding mortar, setting a matching unit, and regrouting for a seamless repair.
Integrate the Wall into Your Space
Position the wall to separate zones while allowing light flow. Combine it with neutral flooring to emphasize the glow. These choices turn a functional partition into a lasting design element that reduces material waste.