
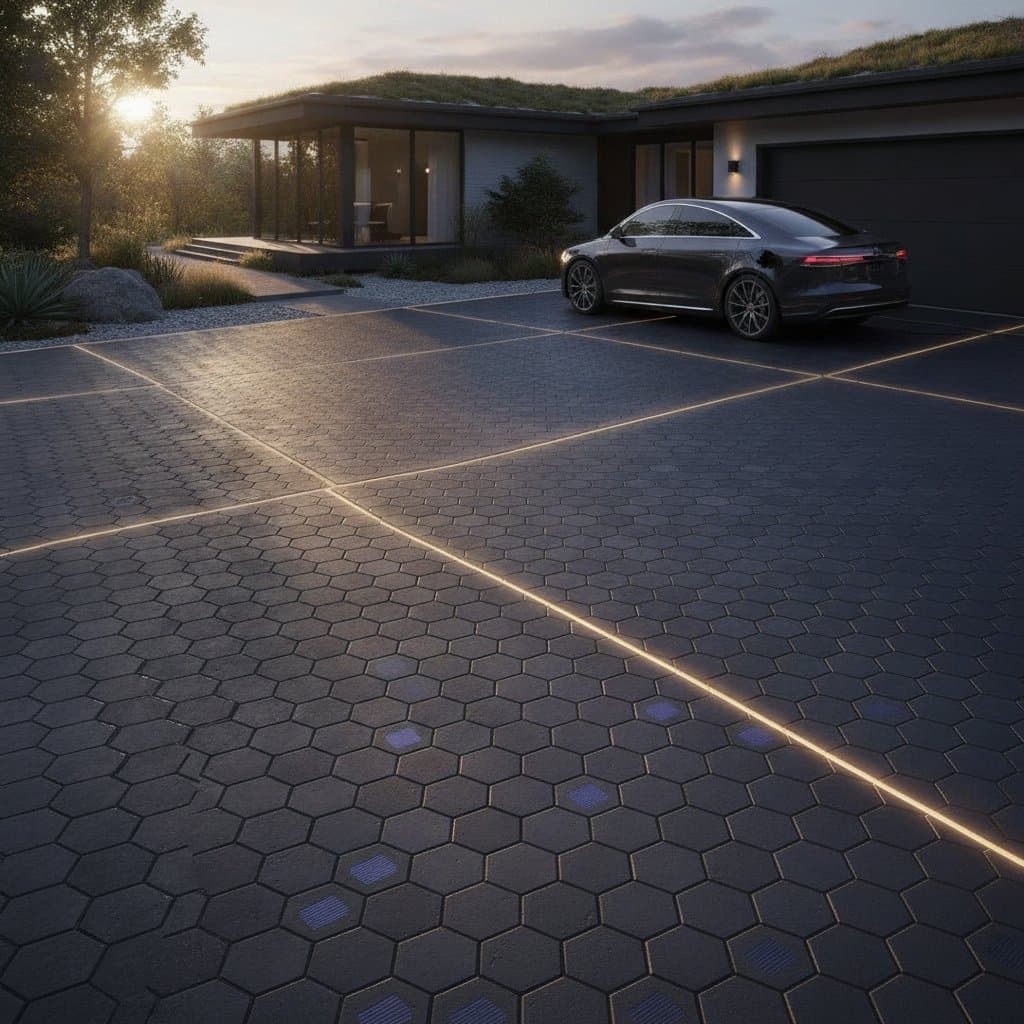
Solar Pavers Turn Driveways Into Power Sources
Understanding Solar Paver Driveways
Skill level: Advanced DIY with professional electrical support
Building a driveway that generates electricity combines modern technology with sustainable design. The project merges hardscape durability with energy production. It turns an everyday surface into a functional power source that offsets household energy costs.
This project requires landscape and electrical planning. The paver installation suits experienced DIYers, but electrical connections demand a licensed electrician. Plan for at least one helper due to the moderate to heavy physical labor.
What Solar Pavers Are and How They Work
Solar pavers are modular units containing photovoltaic cells within a protective surface. Each paver converts sunlight into electricity collected through underlying wiring. The energy feeds into a battery system or connects to the home grid via an inverter.
The paver surface uses textured glass or resin to support vehicle weight and protect the cells. A structural base lies beneath, similar to traditional pavers.
Why Solar Pavers Matter
Solar pavers convert an underused surface into a productive one. They reduce grid reliance and provide renewable energy on site. These systems can power driveway lighting or electric vehicle chargers while enhancing smart landscaping.
Critical Decision Point: DIY Versus Professional Installation
Laying pavers and preparing the base works for skilled DIYers with hardscape experience. Electrical wiring, grid connection, or battery integration requires a certified electrician. Attempting the wiring yourself risks fire hazards and code violations.
Planning Your Solar Paver Driveway
Thorough planning prevents costly adjustments after installation. Solar pavers cost more than standard materials and prove difficult to modify once placed.
Assessing the Site
Evaluate driveway orientation and shading. South-facing areas receive the most consistent sunlight. Avoid tree cover or structures that cast shadows.
Check the existing base for stability. Soft subgrades lead to cracking or connection failure. In freeze-thaw regions, ensure proper drainage to prevent heaving.
Measurements to Take
- Total driveway length and width
- Slope and grade for water runoff
- Depth of excavation, typically 8 to 12 inches
- Cable path to the inverter location
Create a scaled drawing showing paver layout, junction boxes, and conduit routes. This drawing guides material orders and electrician work.
Environmental Factors to Consider
Solar pavers perform best in sunny, dry climates but function in cloudy regions too. Plan for easy cleaning access since dirt reduces efficiency. In snowy zones, select models rated for freeze resistance and traction.
Obstacles to Expect
Underground utilities or irrigation lines require adjustments. Call 811 before digging to mark buried lines. Steep slopes may need terracing or retaining edges for stability.
Choosing Materials
Your main decision involves the type of solar paver system.
Option 1: Integrated Solar Concrete Pavers
Concrete blocks with embedded solar cells sealed under tempered glass offer high durability and good load capacity. They allow customizable finishes but weigh more during installation. These units fall in the premium cost range and require advanced hardscape experience.
Option 2: Modular Resin-Top Pavers
Lightweight units with resin-coated solar surfaces install and replace more easily. They transmit light efficiently yet offer slightly lower weight capacity. Costs range from moderate to high, suiting intermediate to advanced skill levels.
Option 3: Hybrid Surface Panels
Larger panels combine multiple solar cells in paver-like patterns for faster installation. Fewer electrical joints result, though design flexibility decreases. These premium options often need professional or supervised DIY installation.
Gathering Tools and Materials
Hand tools include a spade, shovel, level, straightedge, rubber mallet, tape measure, and chalk line.
Power tools consist of a plate compactor, circular saw with diamond blade, and drill with masonry bits.
Rental equipment covers a mini skid steer for excavation and a compactor if needed.
Materials include solar pavers with 10 percent extra, crushed gravel base, bedding sand, conduit, junction boxes, edge restraints, and geotextile fabric.
Step-by-Step Installation
- Excavate the site to the required depth while maintaining a uniform slope for drainage.
- Install geotextile fabric to separate soil from the gravel base.
- Compact the gravel base in 3-inch layers until firm and level.
- Add and screed one inch of bedding sand without walking on it afterward.
- Lay the pavers starting from one corner and work outward with tight joints.
- Have a licensed electrician run conduit and connection wiring with weatherproof seals.
- Secure edge restraints along the perimeter.
- Brush fine sand into joints and compact gently.
- Connect wiring to the inverter and test voltage output.
Quality checkpoints include checking each row for level, confirming flush surfaces, and verifying no pinched cables.
Finishing Touches and Performance
Maintenance and Care
Inspect joints and borders annually for settling. Rinse dust from surfaces to maintain efficiency. Schedule an electrician safety check after major weather events.
Common Mistakes to Avoid
Skipping compaction causes uneven surfaces and wiring damage. Ignoring slope direction leads to water pooling and safety issues. Mixing paver brands creates inconsistent connections.
Long-Term Value Enhancements
Regular monitoring and professional electrical reviews maximize system output over time. Proper care ensures sustained performance and energy savings.