
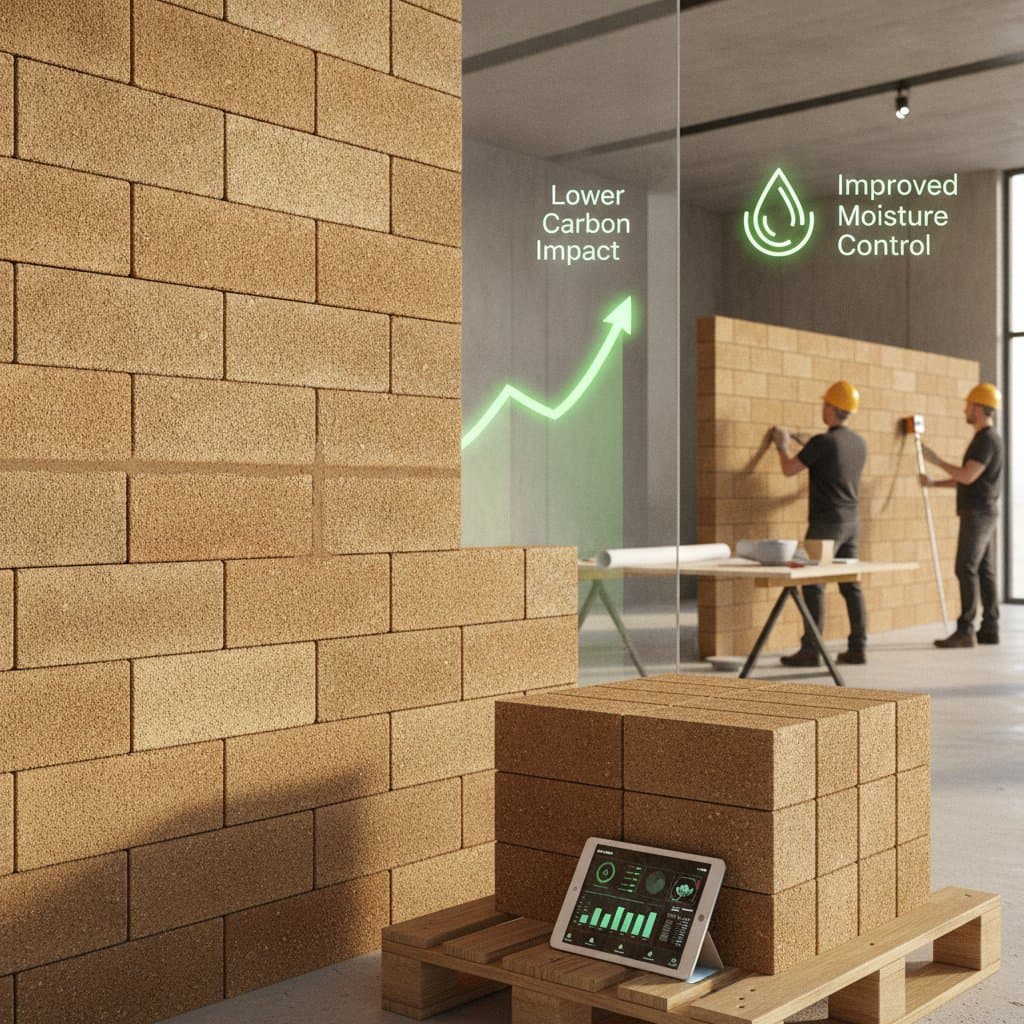
Sustainable Masonry with Zero-Cement Geopolymer Bricks
Quick Take
Old masonry has always served as a test of patience and physics. Bricks and mortar must work with weather, not against it. Traditional cement brings strength but also stiffness, heat, and carbon cost. Zero-cement geopolymer bricks are changing that math.
They promise lower emissions and better durability. They also bring new unknowns in mixing, curing, and supply. The main cost drivers are material sourcing, skilled installation, and the learning curve of new binders.
What To Check
Start with basic observation before considering a change in material. Look at what you already have and how it performs.
- Sightlines of existing walls. Any lean or bow signals movement or moisture.
- Mortar joints. Powdery or missing joints point to poor drainage or incompatible mixes.
- Efflorescence. White crust means salts are moving with water.
- Roof and gutter discharge. Concentrated runoff shortens the life of any wall.
- Surface temperature of walls. Cement-heavy walls often stay hot or cold long after air temperature changes.
- Cracked corners near openings. These often trace to rigid mortar or poor bond between brick and joint.
These checks tell you whether your current wall is failing from design or material. That distinction shapes whether geopolymer makes sense.
Red Flags
A few conditions make any masonry job risky, regardless of material choice. Deep cracks that widen through multiple courses create immediate concerns. Brick faces flaking or spalling under thin paint or sealer indicate deeper problems. Chronic wet patches on the interior side of exterior walls require attention before any material switch.
Hollow sounds when tapping masonry show delamination. Previous patching with hard cement on soft historic brick creates conflicts. Efflorescence returning after cleaning signals ongoing moisture movement. Each of these conditions can raise costs sharply if not addressed before switching materials.
Likely Fixes and Rough Costs
Most masonry repair falls into predictable categories. Repointing with compatible mortar for older brick runs from 15 to 30 dollars per square foot when using lime or geopolymer-based options. Cement mortar may cost less but can trap moisture.
Brick replacement in small areas costs 30 to 50 dollars per square foot depending on match quality. Wall rebuilding or structural stitching rises above 100 dollars per square foot when structural steel or anchors enter the picture. Geopolymer brick installation carries material costs 20 to 40 percent higher than standard clay brick, though savings appear through reduced cement use and lower curing energy.
Labor remains similar but requires masons familiar with handling non-cement binders. Cheap fixes with sealers or surface coatings often hide problems. They block evaporation and push moisture deeper into the wall. True repair costs more upfront but prevents repeated failure.
Repair vs Replace
Keep existing bricks when they remain sound and show no scaling. Repoint with a moisture-compatible binder. Replace units only when brick faces crumble or cores lose shape. Repair mortar joints when they stay mostly intact and only the outer layer shows erosion.
Replace the full joint when depth loss exceeds half an inch or when incompatible cement has locked in moisture. Replace wall sections only when wall bulge or rotation shows structural movement. Strengthening from within using grout or anchors often costs less and preserves character.
Repair drainage and flashing first if moisture wicks up from grade. Replacement without solving that path wastes effort. Avoid sealing geopolymer or lime masonry with dense coatings. These systems rely on vapor exchange.
Why Geopolymer Bricks Matter
Conventional cement releases large amounts of carbon dioxide during manufacturing. Geopolymer binders use waste materials like fly ash or slag, activated by alkaline solutions, to create a stone-like structure without cement. The chemical reaction forms a stable matrix that resists heat and chemical attack. It also shrinks less and breathes better than many Portland mixes.
For small projects the main advantage lies in moisture tolerance. Geopolymer walls dry faster and resist salt migration. For large walls, reduced curing time and lower embodied energy improve both schedule and sustainability ratings. The challenge remains quality control. Mix ratios must stay precise and the curing environment must remain within a tight range. Improper handling can yield brittle or powdery bricks.
Team and Process
A successful geopolymer job depends on coordination more than novelty. Choose an inspector who has seen alternative masonry systems. They can identify where cement-based repairs might conflict with new materials. Bring an architect in early to confirm wall thickness, bond patterns, and code compliance.
Geopolymer units may differ slightly in size or compressive strength. A general contractor tracks lead times for materials and ensures proper curing space on site. An experienced mason who has handled non-cement mortars will catch early signs of mixing or setting trouble. Compare at least two suppliers for geopolymer units. Ask for test data on strength, absorption, and freeze-thaw cycles. Professional management adds roughly 10 to 20 percent to job cost but often prevents sequencing errors that can double rework later.
Scope Priorities
Sequence work by performance, not appearance. Always fix water paths first by redirecting roof and ground flow away from walls. Repair cracks, bulges, and loose joints before introducing new materials. Match new geopolymer units with appropriate mortar and avoid mixing rigid and soft systems in the same wall.
Add air sealing and attic insulation before wall finishes. Masonry mass helps only when managed within a balanced envelope. Choose breathable coatings or limewash. Avoid dense paint systems that trap vapor. Skip low-return moves like decorative brick veneers on damp foundations or full-wall replacement where drainage alone would fix the issue.
Budget and Sequencing
Proper order keeps cost under control. Regrade soil, clean gutters, and extend downspouts first. This step prevents 80 percent of future masonry issues. Shore up any leaning walls and tie back bulges before repointing. Repoint with geopolymer or lime mortar suited to brick hardness. Swap only failed bricks, not entire sections. Apply breathable finish only after moisture readings stabilize.
A typical sequence for a small building might take several weeks of active work spread over dry weather windows. Rushing curing or layering coatings before full drying often leads to trapped moisture and surface scaling.
Maintaining Your Investment
Walk the perimeter after every heavy rain. Look for wet streaks or discolored joints. Keep vegetation trimmed back to allow airflow. Check that downspout discharges stay at least several feet from walls. Avoid pressure washing. Use low-pressure rinsing and soft brushes instead. Record moisture readings at problem areas every few months to track change.
Next Actions
If existing masonry shows recurring dampness or flaking, start with moisture tracing before any material change. Document where water enters and how it travels. Bring in a mason who understands both lime and geopolymer systems to compare repair options. Request small test panels before committing to full replacement. Monitor how they cure and how they absorb and release moisture. The right mix, installed under controlled conditions, can last for generations with minimal maintenance.