
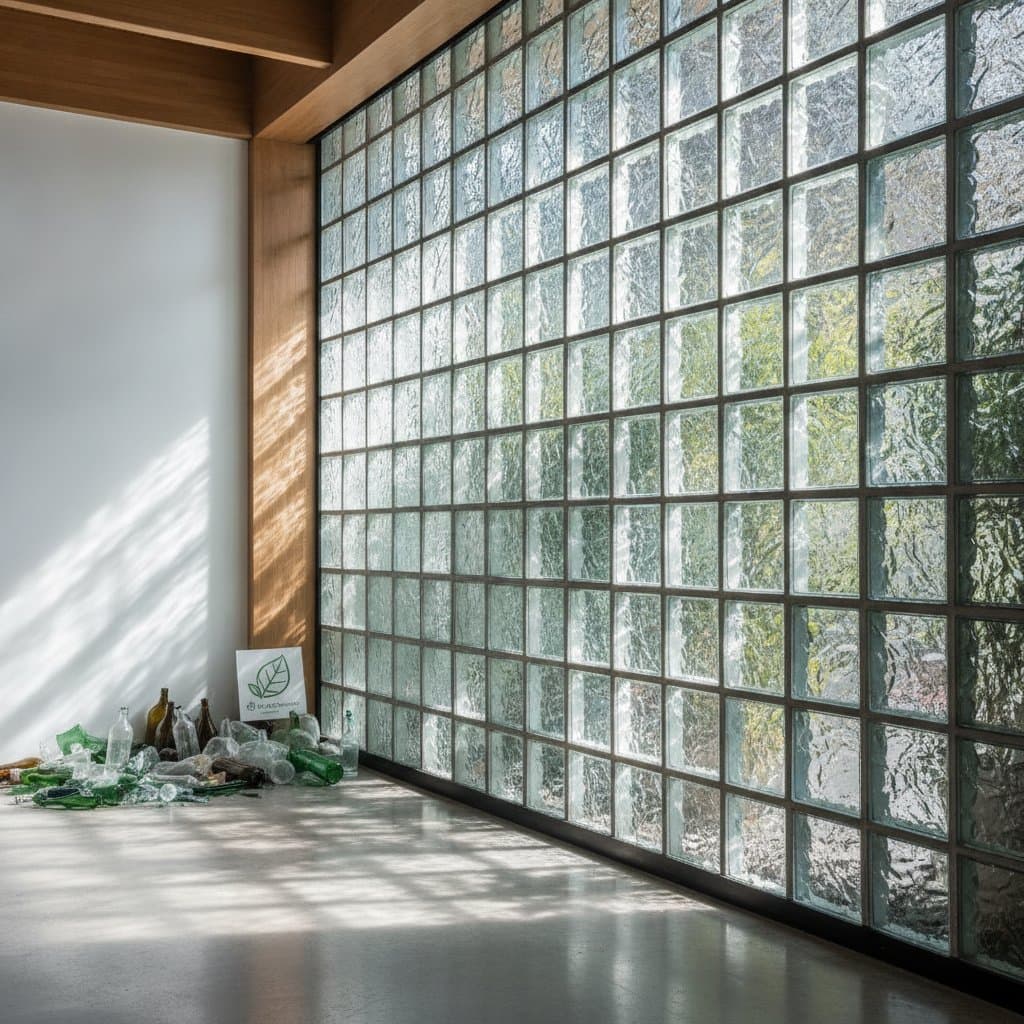
Recycled Glass Bricks: The Future of Eco Masonry
Building materials shape the sustainability and performance of every structure. Among the most promising innovations in modern construction, recycled glass bricks stand out as a powerful example of how waste materials can become durable, beautiful, and environmentally beneficial building components. This guide explores what recycled glass bricks are, how they are made, and why they are quickly becoming a cornerstone of sustainable masonry. Readers will learn what it takes to plan, build, and maintain structures with this eco-friendly material.
Key takeaways
- Cost range: Recycled glass bricks cost between 8 and 15 dollars per square foot, with materials accounting for about 60 percent, labor about 30 percent, and equipment about 10 percent of total cost.
- Technical specifications: Typical brick dimensions are 8 by 4 by 2 inches, with compressive strengths ranging from 3,000 to 5,000 PSI.
- Installation timeframe: A standard wall section of 100 square feet can be completed in 2 to 3 days, including curing time.
- Environmental benefits: Each square foot of glass brick diverts approximately 5 pounds of glass waste from landfills.
- Major decision factors: Cost, structural load requirements, local building codes, and desired visual transparency.
Planning your recycled glass brick project
Permits and code compliance
Before ordering materials, verify whether your municipality allows glass masonry in load-bearing applications. Some regions classify recycled glass bricks as non-structural, meaning they require a supporting frame or reinforced mortar joints. Check local energy and fire safety codes, particularly if the bricks contribute to exterior walls or partitions near heat sources.
Cost and sourcing
Recycled glass bricks are typically more expensive than concrete masonry units but offer long-term energy and maintenance savings. Expect to spend 20 to 40 percent more upfront for materials. The cost difference narrows when reduced painting, sealing, and moisture protection expenses enter the calculation. Many regional suppliers now produce these bricks locally, cutting transportation costs and carbon emissions.
Climate and site considerations
Glass bricks perform best in moderate or dry climates. In very cold regions, thermal expansion and contraction must be managed with flexible mortar joints or expansion gaps. For coastal or humid environments, their nonporous nature offers superior performance compared to porous masonry that absorbs salt and moisture.
Step-by-step installation process
1. Laying the first course
Apply a thin mortar bed along the foundation line. Set the first row of bricks using spacers to maintain even joints. Check alignment frequently with a level since this course determines the accuracy of the entire wall.
2. Building upward
Apply mortar to the top of each row and press the next course into place. Stagger vertical joints by half a brick for better stability. Reinforcement mesh can be embedded every third course to improve load distribution.
3. Managing joints and curing
Use a jointing tool to smooth mortar lines and remove excess material. Allow a curing period of 24 to 48 hours before applying any load or finishing treatments. Avoid direct sunlight during curing, which can cause rapid drying and cracking.
4. Finishing surfaces
Clean the surface with a damp sponge before the mortar fully hardens. Once cured, apply a clear silicone sealant to protect edges and maintain transparency. For exterior installations, consider a UV-resistant coating to prevent discoloration.
Ensuring quality and performance
Inspection and testing
Inspect for uniform joint width, alignment, and color consistency. Tap bricks lightly with a plastic mallet. A solid ring indicates proper bonding. Weak or hollow sounds suggest inadequate mortar coverage. Structural inspections may be required for walls exceeding 8 feet in height.
Common mistakes to avoid
- Using standard concrete mortar instead of flexible glass-compatible mixes.
- Skipping reinforcement mesh on larger panels.
- Overfilling joints, which can cause pressure cracks during thermal expansion.
- Ignoring curing conditions, leading to weak adhesion.
Troubleshooting common issues
Cracking
Cracks often occur due to rigid mortar or insufficient expansion joints. Use control joints every 10 to 12 feet on large walls and apply flexible sealant at boundaries to absorb movement.
Cloudiness or discoloration
Excess mortar residue can create a cloudy appearance. Clean surfaces immediately after installation using mild detergent and non-abrasive cloths. Avoid acids or harsh cleaners that etch the glass.
Moisture retention
Although glass bricks resist water absorption, moisture can accumulate in mortar joints. Ensure proper weep holes or drainage planes when building exterior walls to relieve trapped water.
Maintaining your glass brick structures
Routine maintenance keeps recycled glass masonry looking pristine for decades. Wipe down surfaces every few months with mild soap and water. Inspect joints annually for hairline cracks wider than 1/16 inch and reseal if necessary. Well-installed glass bricks can last 50 years or more with minimal upkeep.
For outdoor installations, inspect UV coatings and replace them every 5 to 7 years to maintain clarity. Interior partitions rarely need resealing unless subjected to heavy moisture, such as in bathrooms or kitchens.
DIY or professional installation
When DIY is reasonable
A small privacy wall, garden feature, or interior partition is manageable for experienced DIYers with basic masonry skills. Expect material savings of 25 to 40 percent compared to hiring a contractor. The main costs will be tools and time.
When to hire professionals
Professional installation is recommended for large structural walls, load-bearing applications, or complex patterns involving lighting integrations. Contractors with experience in glass masonry understand joint movement, curing control, and code compliance.
Pro tips for success
- Store bricks in shaded areas before installation to reduce temperature differences.
- Mix mortar in small batches to prevent premature setting.
- Use backlighting or LED strips behind translucent walls for dramatic effects.
- Plan expansion joints carefully in exterior structures.
- Keep protective film on polished surfaces until final cleaning.
Creating durable sustainable structures
Recycled glass bricks combine environmental responsibility with creative design freedom. Builders can craft spaces that are both efficient and visually striking. Whether transforming a bathroom wall, designing a commercial facade, or experimenting with new materials, these bricks deliver durability and elegance while reducing waste.