
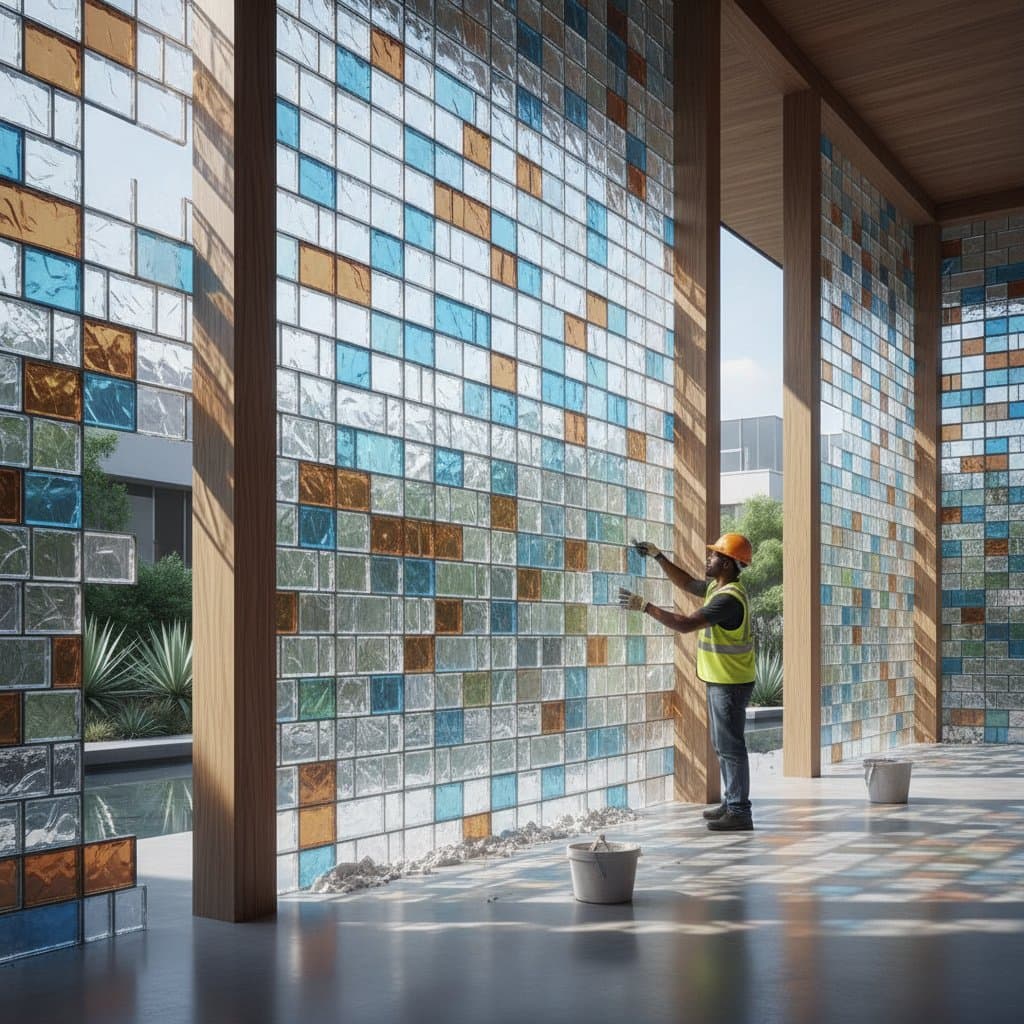
Understanding Recycled Glass Masonry
Recycled glass masonry converts discarded glass into durable bricks or blocks. Builders combine sustainability with design flexibility when they use this material. The process crushes post-consumer glass, blends it with binders, and forms uniform units under heat or pressure. Light plays across the finished surfaces to produce a subtle gleam that standard masonry does not offer.
This technique supports circular construction by diverting glass from landfills. It lowers raw-material demand and manufacturing energy. The finished product meets environmental targets while enabling distinctive architectural details.
Assessing Your Skill Level and Project Scope
Intermediate builders who already handle mortar, leveling, and layout alignment can manage small recycled-glass projects. Each unit weighs more than a typical clay brick, so one helper is useful for lifting and mixing. Structural walls or load-bearing spans require professional installation. Suitable DIY applications include low retaining walls, garden borders, decorative facades, and interior accent panels.
Performance Advantages
Recycled glass masonry resists weathering, stains, and fading more effectively than many conventional materials. Its reflective surfaces increase natural light and can reduce the need for artificial illumination. Compressive strength often exceeds that of standard masonry, and low moisture absorption improves long-term durability. Production requires less firing energy than clay products, which further reduces environmental impact.
Planning the Project
Accurate layout planning ensures clean light reflections and consistent mortar joints. The surface can chip under metal tools, so careful handling matters from the start.
Site Assessment
- Select firm soil with good drainage because the dense units need stable support.
- Keep slopes gradual for decorative walls to prevent uneven settling.
- Avoid zones prone to heavy impact or frost heave.
- Call 811 to locate underground utilities before excavation.
Material Options
Full glass bricks provide high strength and maximum light reflection yet cost more and require careful cutting. Glass-aggregate blocks weigh less and cost less while remaining suitable for most garden walls. Veneer panels mount quickly on backing boards and work well for interior surfaces where structural strength is not required.
Tools and Supplies
Gather a trowel, level, plumb line, rubber mallet, and mason brush for hand work. A wet saw with a diamond blade handles cuts safely. Rent a mortar mixer for larger jobs and scaffolding when work exceeds shoulder height. Order ten percent extra material to cover breakage and future repairs.
Step-by-Step Construction
- Excavate to at least six inches, add compacted gravel, and top with leveling sand.
- Spread mortar for the first course and check level in both directions; this course sets the accuracy for the entire wall.
- Stagger subsequent joints by half a brick and maintain uniform mortar thickness between three-eighths and one-half inch.
- Verify alignment with a level every few rows and correct deviations immediately.
- Cut bricks slowly on the wet saw while supporting both ends to avoid cracks.
- Tool joints once the mortar firms and remove excess before it hardens.
- Wipe the surface clean and apply a glass-rated sealer for added water resistance.
Finishing and Upkeep
Outdoor walls benefit from low landscape lighting that accentuates reflections after dark. Indoor installations gain depth from backlighting. Choose a mortar formulated for non-porous surfaces to ensure lasting bonds. Inspect joints annually and reapply sealer every two to three years in exposed locations.
Long-Term Value
Recycled glass masonry reduces landfill contributions while delivering a distinctive appearance that ages well. Proper installation yields structures that require minimal upkeep and continue to perform for decades.