- Major decision factors: Climate suitability, driveway incline, compatibility with existing materials, and preferred illumination patterns.
Understanding Solar Pavers and Their Purpose
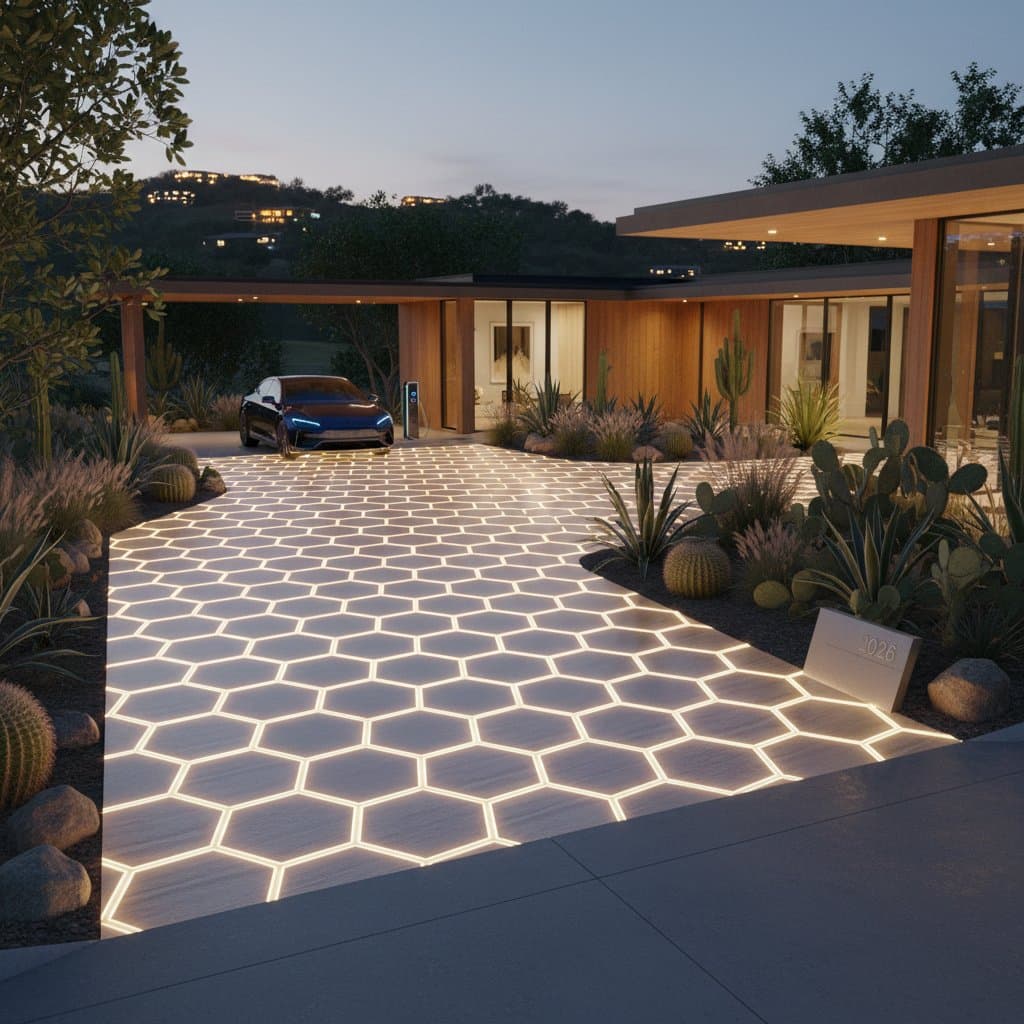
Solar pavers consist of interlocking bricks that incorporate photovoltaic cells and LED lights. These units absorb solar energy throughout the day and store it in built-in micro-batteries. At dusk, the accumulated power activates the embedded LEDs to light the driveway surface evenly.
Three primary types of solar pavers exist to meet diverse needs:
- Integrated solar glass pavers: Complete assemblies featuring solar panels and lights, ideal for fresh installations where uniformity matters most.
- Modular inserts: LED components that fit into conventional concrete or stone pavers, perfect for upgrading existing surfaces without full replacement.
- Edge or accent pavers: Specialized units for borders, effective for creating defined lighting outlines and subtle patterns.
These pavers serve key functions such as enhancing visibility at night, promoting self-sufficient energy use, and elevating design without the need for buried wires or extensive digging.
Planning and Design Considerations
Effective planning aligns site specifics with performance objectives. This approach guarantees reliable illumination, optimal solar intake, and sustained resilience.
Assessing Sunlight Exposure
Solar pavers demand unfiltered sunlight for a minimum of four to six hours daily. Steer clear of zones overshadowed by foliage or buildings. Employ a solar pathfinder device to map high-exposure areas precisely, ensuring each paver receives adequate charging.
Determining Lighting Layout
Select configurations that match functional and visual priorities. Install continuous edge strips to guide vehicle paths safely, or opt for scattered patterns to accentuate surface contours. On driveways exceeding 50 feet, integrate perimeter and central lights to achieve comprehensive coverage without dark spots.
Permits and Local Codes
Authorities often classify solar pavers as low-voltage outdoor systems. Verify adherence to regional electrical standards and construction regulations nonetheless. When the driveway adjoins public walkways, schedule inspections to address any integration concerns.
Materials and Equipment Checklist
- Solar pavers: Select models certified for 20,000 or more hours of LED operation and IP67-rated waterproofing to withstand weather exposure.
- Base material: Prepare 4 to 6 inches of compacted crushed gravel or sand to support weight and facilitate drainage.
- Leveling sand: Apply a 1-inch layer of fine, washed sand for precise alignment.
- Compactor: Utilize a plate or hand tamper to achieve a solid, even foundation.
- Edge restraints: Install plastic or metal barriers to secure pavers against shifting.
- Safety gear: Equip with heavy-duty gloves, safety goggles, and padded knee protection for comfort during labor.
Site Preparation and Installation Steps
1. Excavate and Prepare the Base
Clear the area to an 8-inch depth, removing grass, soil, or old pavement. Compact the underlying soil firmly, then layer in 4 to 6 inches of gravel. Recompact in lifts of 2 inches each time to promote stability and prevent settling over years.
2. Lay the Leveling Layer
Distribute 1 inch of fine sand across the base, smoothing it with a straight-edged board. Maintain a slight looseness in the sand to allow natural adjustment as pavers lock into place.
3. Position Solar Pavers
Begin placement at a straight edge or corner, progressing systematically. Follow the predetermined design, ensuring solar faces point skyward and gaps between units measure no more than 1/8 inch. Tap each paver gently into the sand bed for secure seating.
4. Connect Lighting Modules
Integrated models require no external links, as circuits operate internally. For modular setups, route waterproof cables under the pavers and snap connectors together per the guidelines. Bury connections at least 2 inches deep and seal against moisture ingress.
5. Compact and Finish
After full layout, pass a compactor over the surface using a rubber mat to avoid scratching. Sweep polymeric sand into joints, mist lightly to set, and verify lighting activation post-sunset to confirm operational integrity.
Quality Assurance and Performance Testing
Conduct a comprehensive test immediately following setup. Monitor light uniformity, solar recharge rates, and positional accuracy under evening conditions. Expect 8 to 10 hours of steady glow from a full charge; address variances by inspecting panel cleanliness or connection points.
Troubleshooting Common Issues
- Uneven brightness: Scrub solar panels with a soft brush and soapy water, then eliminate nearby shading sources like overgrown branches.
- Water pooling: Adjust the slope by adding gravel fill or redirecting runoff channels to maintain a 1-2 percent grade away from structures.
- Loose pavers: Redistribute and compact the sand base, then reinforce with additional edge restraints for firmer hold.
- Short lighting duration: Swap out depleted batteries in affected units or relocate pavers to sunnier positions for improved daily charging.
Maintenance and Long-Term Care
These installations demand little ongoing effort, yet regular checks preserve efficiency.
- Monthly cleaning: Gently clean solar surfaces using a solution of mild soap and lukewarm water to remove dust and pollen accumulation.
- Quarterly inspection: Examine joint sand for erosion or weeds, refilling as necessary to block invasive growth.
- Annual performance check: Test LED output and solar conversion rates; replace any underperforming components promptly to sustain brightness.
DIY or Professional Installation
Homeowners with paver-laying experience can manage installation independently, potentially reducing expenses by 25 to 35 percent. This route suits smaller projects where precision aligns with personal skill levels. Professionals, versed in hardscaping and solar systems, deliver assured compliance, flawless leveling, and maximized energy capture for complex sites.
Pro Tips for Success
- Map out all connections and patterns on paper prior to breaking ground to avoid rework.
- Install a test section of 10 square feet to evaluate glow intensity and adjust designs accordingly.
- Prioritize pavers with user-replaceable LED and battery compartments to simplify future repairs.
- Maintain a stock of 5-10 percent extra pavers for immediate swaps after vehicle impacts or weather damage.
- Routinely sweep away automotive fluids like oil, as residues can impair photovoltaic performance over time.
Realizing the Full Benefits of Solar Pavers
Solar pavers transform a standard driveway into a secure, attractive, and sustainable element of your property. They deliver reliable nighttime guidance, reduce reliance on traditional power sources, and increase overall home value through innovative design. With proper setup and care, this investment yields years of effortless, eco-conscious illumination.