
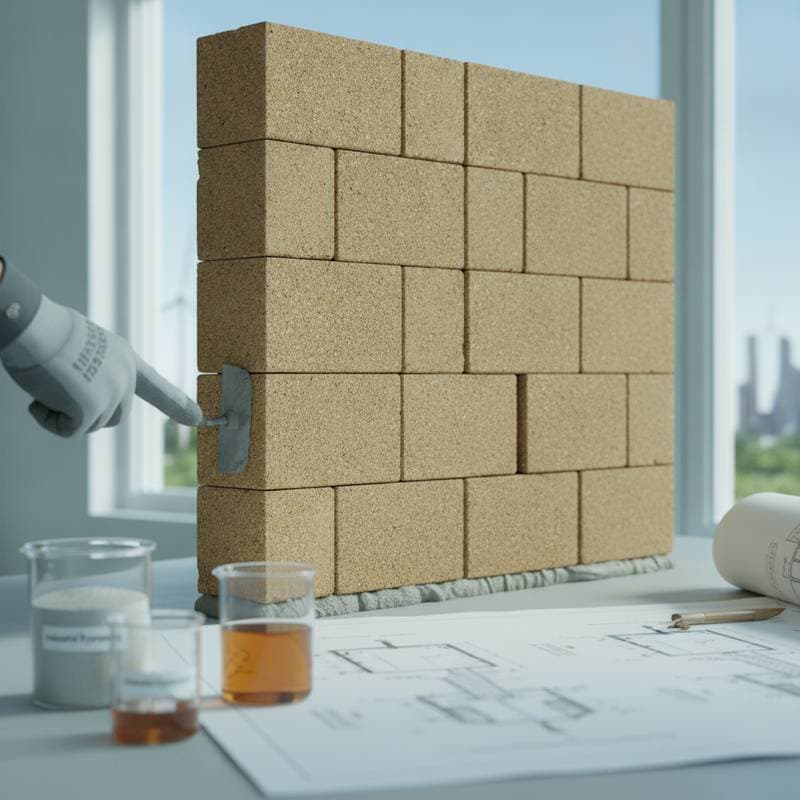
Understanding Geopolymer Bricks
Geopolymer bricks replace ordinary Portland cement with aluminosilicate materials such as processed clay, fly ash, or ground slag. Alkaline activators trigger a chemical reaction that hardens the mixture and binds sand and aggregate into durable masonry units. The finished bricks deliver consistent dimensions, controlled strength, and a clean appearance suitable for visible work.
This approach can reduce embodied carbon and divert industrial byproducts from landfills. Mining, processing, transport, and chemical handling still influence the overall environmental profile, so certified products remain essential. Geopolymer bricks suit garden walls, partitions, paving, and selected load-bearing applications when local codes accept the tested performance data.
Project Overview and Reality Check
A geopolymer brick project begins with site assessment, material selection, and foundation preparation. The work demands physical effort and precise layout, so plan for a helper during unloading, mixing, and placement. Small nonstructural walls can be completed by capable DIYers over several sessions, while structural walls require licensed contractors and engineering review.
Water management mistakes or inadequate footings can damage property or cause collapse. Contact a structural designer before building retaining walls, foundations, tall structures, or any wall exposed to soil pressure or unusual wind loads. Certified installation data from the supplier guides proper mortar selection, curing times, and exposure limits.
Planning Your Geopolymer Brick Project
Assessing the Site
Examine soil type, drainage patterns, slope, and nearby structures before excavation. Clay soils expand and contract with moisture changes, while loose fill settles over time. Wet ground weakens bearing capacity, and sloped sites may need stepped footings or professional grading.
Keep masonry clear of uncontrolled roof runoff and design drainage paths that direct water away from the wall base. Never use a masonry wall to retain soil unless footings, reinforcement, drainage, and structural calculations receive professional approval. Call 811 before digging, then verify local building codes, permit requirements, conservation restrictions, and HOA rules that govern frost depth, footing width, wall height, and product testing.
Taking Measurements
Measure wall length, planned height, unit dimensions, and intended mortar joint thickness. Calculate the approximate unit count by dividing wall area by the face area of one unit, then add at least ten percent for cuts, breakage, and future repairs. Estimate mortar quantities from manufacturer instructions and apply the same allowance.
Footings for small nonstructural walls typically extend four inches beyond each face, though local soil conditions and frost depth may require greater width or depth. Record all measurements before ordering materials to avoid shortages during construction.
Choosing Materials
Certified geopolymer bricks offer consistent sizing, documented strength ratings, and controlled absorption. They cost more than basic concrete units and may have limited regional availability, yet they provide the appearance and performance data required for code compliance. Request the manufacturer's strength rating, absorption values, compatible mortar specifications, curing guidance, and exposure limitations before purchase.
Geopolymer concrete blocks cover larger areas with fewer joints and suit utility walls where appearance is secondary. Conventional fired brick or concrete masonry units remain widely available with familiar mortar systems, though their cement content and environmental profile differ. Select materials based on documented performance rather than assumptions about compatibility.
Gathering Tools and Materials
Hand tools include a tape measure, mason's line, level, framing square, trowel, jointer, shovel, hoe, bucket, wheelbarrow, rubber mallet, chisel, and brick hammer. Power tools comprise a masonry saw with the correct blade, a drill with masonry bits, and dust extraction equipment for indoor or occupied-area cutting. Rent specialized saws for occasional projects rather than purchasing equipment used infrequently.
Materials consist of certified geopolymer units, manufacturer-approved mortar, clean sand if required, compactable granular base, concrete or specified footing mix, drainage stone and pipe, geotextile fabric, water, curing covers, and any approved sealer. Wear gloves, eye protection, hearing protection, and a respirator during dry cutting or chemical handling. Alkaline activators can cause severe burns, so follow safety data sheets and manufacturer instructions at every step.
Building the Masonry
Mark the wall footprint with stakes at the front corners, stretch a line between them, and verify squareness with diagonal measurements. Excavate to the required depth after removing organic soil and loose material, keeping trench sides stable and avoiding waterlogged conditions. Place granular base material in compacted lifts no thicker than four inches, checking level in both directions before installing the footing.
Allow the footing to cure as directed, then dry-lay the first course without mortar to confirm pattern, corners, cuts, and joint spacing. Apply approved mortar, set each unit, and tap gently into position while checking level, line, and face alignment after every placement. The first course determines the appearance and stability of all subsequent work.
Stagger vertical joints according to the specified bond pattern as you build successive courses. Maintain plumb with a level and keep the line consistent across the front face. Remove squeezed mortar before it stains or hardens, then tool joints when the mortar reaches the recommended firmness. Brush away crumbs without smearing the face and cover fresh masonry from rain, rapid drying, freezing, or direct heat according to manufacturer guidance.
Finishing, Protection, and Ongoing Care
Protect completed sections with curing covers until the mortar achieves full strength. Inspect the wall periodically for drainage issues, settlement, or joint deterioration, and address problems promptly to prevent water intrusion. Apply sealer only when the manufacturer specifies it and the masonry has cured completely.
Store extra units and mortar mix information for future repairs, noting batch numbers and product specifications. Schedule annual inspections of drainage systems, weep holes, and any reinforcement to maintain long-term performance. Proper initial construction and routine maintenance preserve both structural integrity and appearance throughout the service life of the installation.