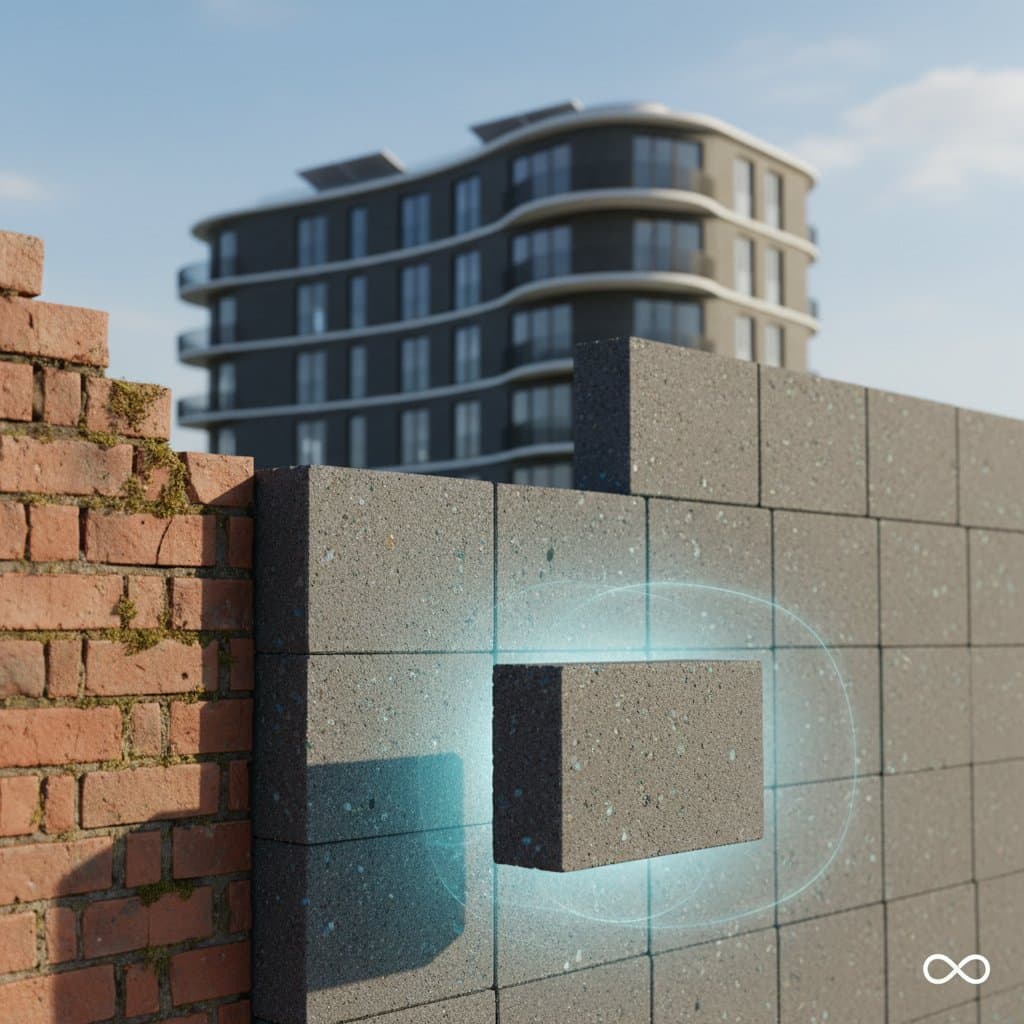
Geopolymer Bricks: Up to 200% Stronger Than Traditional Masonry
Geopolymer bricks consist of masonry units produced from industrial byproducts and alkaline activators, rather than conventional cement and clay. These bricks solidify via a chemical reaction that creates a compact, stone-like matrix. The outcome yields a material that achieves up to twice the strength of typical clay or concrete blocks, while generating substantially fewer carbon emissions in the manufacturing process.
Advantages and Disadvantages
Advantages
- Exceptional compressive strength, frequently two to three times greater than that of clay or concrete equivalents
- Minimal shrinkage and water absorption, which minimize cracking and efflorescence
- Strong resistance to fire, freeze-thaw cycles, and chemical exposure
- Incorporation of fly ash or slag repurposes landfill waste and lowers the carbon footprint
- Consistent color and texture with little risk of fading over time
Disadvantages
- Limited availability from local suppliers and restricted color choices in certain areas
- Necessity for exact mixing and curing to maintain uniform quality
- Potential hazards from alkali activators if not managed with protective gear
- Higher per-unit costs in smaller projects due to economies of scale in production
- Scarce long-term performance data in specific climates
Cost Considerations
The material price for geopolymer bricks generally spans 1.50 to 3.50 dollars per brick, varying by dimensions, surface finish, and raw material sources. When factoring in mortar, labor, and handling, the installed cost ranges from 9 to 15 dollars per square foot of wall surface.
Factors Influencing Costs
- Specialized colors or textures elevate the price
- Sourcing activator chemicals from imports increases material expenses
- Intricate patterns or precise tolerances extend labor duration
- Proximity to fly ash or slag sources can decrease overall costs
In contrast, conventional clay bricks typically cost 0.75 to 1.50 dollars per brick and install at 6 to 10 dollars per square foot. However, they often require more regular repointing or sealing to sustain appearance and integrity.
Durability and Upkeep
A properly constructed wall of geopolymer bricks endures 75 years or more with basic maintenance. The robust internal structure better withstands weathering and salt intrusion compared to clay bricks or concrete blocks.
Recommended Maintenance Practices
- Examine mortar joints periodically for signs of cracking or shifting
- Clean surfaces using a mild detergent and soft brush, steering clear of acid-based cleaners
- Apply sealant only in cases of significant exposure to pollution or salt
- Replace individual damaged bricks with conventional masonry implements
The non-porous nature of geopolymer bricks reduces the need for frequent sealing and inhibits mold development. Since color integrates directly into the material, fading occurs infrequently.
Essential Specifications to Verify
Prior to purchasing geopolymer bricks, verify these critical attributes:
- Compressive strength: Minimum 50 MPa for structural walls; opt for higher values in load-bearing or high-rise scenarios
- Water absorption: Less than 10 percent by weight for outdoor applications
- Density: Between 2000 and 2400 kg per cubic meter, influenced by aggregate selection
- Freeze-thaw durability: Certification suited to the local climate
- Dimensional accuracy: Tolerance within 1.5 millimeters to ensure even mortar joints
- Alkali resistance: Evaluation for efflorescence and discoloration prevention
Seek certification from accredited testing organizations. Select brick variants appropriate for the exposure environment, such as interior, exterior, or marine settings.
Preparation and Site Assessment
Evaluate site conditions thoroughly before commencing work:
- Foundation: Ensure it remains level, well-compacted, and devoid of organic debris
- Drainage: Direct slopes away from walls to prevent water accumulation
- Frost depth: Extend footings below this level in colder areas
- Access and staging: Accommodate delivery of heavy pallets and equipment
- Mortar compatibility: Employ geopolymer-specific mortar or verify Type S mortar for adhesion strength
Effective moisture management proves essential. Incorporate a damp-proof course and flashing at ground level. For retaining or garden walls, integrate weep holes or backfill with drainage gravel.
Installation Guidelines
The process for laying geopolymer bricks mirrors that of clay or concrete masonry, though material properties demand slight adjustments.
- Layout the wall on a stable foundation. Use chalk lines to mark corners and openings.
- Prepare mortar per manufacturer guidelines. Limit added water to preserve bond integrity.
- Lay the initial course on a leveled bed, verifying alignment at regular intervals.
- Build upward with staggered bricks in a running bond or alternative pattern, maintaining consistent joint thickness.
- Finish joints post-initial setting to densify mortar and promote water runoff.
- Remove excess mortar using a damp sponge prior to hardening.
- Protect during curing with shade or sheeting for several days to avoid swift evaporation.
Refrain from high-pressure washing or acidic cleaners on fresh masonry, as they may compromise the alkaline binder.
Design Patterns and Variations
Geopolymer bricks match standard masonry dimensions, supporting traditional layouts:
- Running bond for everyday walls
- Stack bond for contemporary designs, ideal for non-load-bearing elements
- Flemish bond to evoke classic facades
- Herringbone for pathways or decorative panels
Select reinforced or interlocking bricks for retaining walls or pavements. Certain providers supply prefabricated panels that merge geopolymer bricks with lightweight supports for expedited assembly.
DIY Projects Versus Professional Installation
Individuals experienced in masonry can manage modest decorative walls or edging with geopolymer bricks. The technique aligns closely with routine bricklaying, yet demands vigilance on proportions and curing.
Suitable for DIY When
- Wall height stays below 4 feet
- Site access proves unobstructed with a solid base
- Essential tools like a masonry saw and level are available or rentable
Best Left to Professionals When
- The build bears structural loads or connects to existing architecture
- Engineering addresses drainage or frost safeguards
- Features incorporate arches, stairs, or contours
- Coordination with current masonry standards is necessary
Professionals possess equipment for efficient cutting, leveling, and curing of extensive surfaces. They also ensure adherence to regional building regulations.
Identifying and Resolving Issues
Durable materials still falter under improper use. Address these potential problems:
- Efflorescence: Salt residues from moisture entrapment. Enhance drainage and apply a diluted vinegar wash for removal.
- Cracking: Typically due to settling or inadequate joints. Repoint affected areas or add expansion joints at 20-foot intervals.
- Poor adhesion: Results from overly wet mortar or unclean brick surfaces. Clean faces thoroughly and adjust mortar consistency.
- Color inconsistencies: Stem from variable curing or source materials. Segregate batches to avoid visible mismatches.
Geopolymer structures seldom spall, but incorporating movement joints accommodates thermal shifts effectively.
Performance Across Regions and Climates
Geopolymer bricks adapt to diverse environments, though formulations may vary by location.
- Freeze-thaw areas: Specify bricks enduring at least 50 cycles. Compact joints fully to exclude water.
- Hot, dry regions: Shield curing zones from sun to avert surface fissures. Lighter hues mitigate heat buildup.
- Coastal zones: Prioritize low-permeability formulations against salt corrosion. Periodic rinsing clears accumulations.
- High-precipitation locales: Install flashing and edges to channel water from joints.
In humid settings, a vapor-permeable coating regulates moisture without full enclosure.
Comparable Materials
Should geopolymer bricks prove unavailable or inappropriate, consider these substitutes:
- Fly ash concrete blocks: Offer comparable eco-benefits with reduced strength
- Calcium silicate bricks: Provide sleek surfaces and lower carbon than clay
- Fired clay bricks: Deliver reliable longevity and diverse colors at higher energy cost
- Compressed earth blocks: Achieve minimal emissions, suited to arid, low-scale builds
Choices balance robustness, expense, and ecological effects. Geopolymer bricks excel in merging low emissions with superior endurance.
Sustainability and Ecological Benefits
Production of geopolymer bricks slashes carbon emissions by up to 80 percent relative to fired clay or Portland cement alternatives. They repurpose byproducts such as power plant fly ash or furnace slag into enduring building components.
The process eliminates energy-intensive kiln firing, conserving resources and curbing pollution. Room-temperature alkaline activation forges resilient aluminosilicate frameworks, emulating geological processes for a compact, robust form.
Integrating geopolymer masonry into green building initiatives often involves recycled aggregates and low-emission finishes. This approach yields structures that excel in function, aesthetics, and minimal environmental burden.
Understanding Strength Mechanics
Compressive strength indicates the load a brick sustains before failure. Standard clay bricks achieve 15 to 25 MPa, and concrete blocks reach 20 to 35 MPa. Geopolymer variants attain 50 to 80 MPa or beyond, contingent on formulation and curing.
This superiority arises from a crosslinked aluminosilicate lattice formed during reaction. The resulting density confers resistance to wear, corrosives, and elevated temperatures. In applications like retaining walls or columns, thinner profiles reduce material demands.
Quantity Estimation and Waste Management
For walls using 8 by 4 by 2.5 inch bricks:
- One brick accounts for approximately 0.22 square feet with mortar allowances
- Calculate bricks by multiplying wall area by 4.5
- Include 5 to 10 percent extra for cuts and breakage
- Procure surplus from identical batches for uniform appearance
Freestanding walls require a minimum 4-inch compacted gravel base beneath footings. Paving demands 6 to 8 inches of base, adjusted for soil conditions.
Safety Protocols and Material Handling
Don protective gloves and eyewear when managing alkali activators or wet mortar, as they irritate skin and eyes. Employ dust masks during cutting or dry mixing. Dispose of slurry responsibly to avoid pH-related damage to plumbing or plants.
Contact utility services prior to digging. Shallow excavations for minor walls may intersect underground lines. For substantial or load-bearing work, verify permit requirements.
Expert Recommendations for Optimal Results
- Shield activator solutions and powders from sunlight exposure
- Prepare modest mortar batches, given the accelerated setting time
- Lightly moisten bricks before placement to enhance adhesion
- Profile joints precisely to repel water ingress
- Permit complete curing prior to any surface treatments
Building with Confidence
Geopolymer bricks enable constructors to achieve resilient, eco-conscious outcomes without sacrificing performance. By selecting verified products and following precise installation methods, projects gain longevity and efficiency. Embrace these innovative materials to elevate structures that withstand time and elements while honoring sustainability principles.