
Understanding Code-Approved Geopolymer Bricks
Building with geopolymer bricks reduces cement consumption while delivering durable and moisture-resistant masonry. These bricks form through reactions between aluminosilicate materials and alkaline activators that create a stone-like matrix. Homeowners and builders adopt them to achieve lower embodied carbon without loss of structural performance.
Skill level requires advanced DIY experience or professional oversight. Physical demands range from moderate to high because mixing and forming call for strength and protective equipment. At least one helper is necessary for safe handling during mixing and pouring.
Distinctions from Traditional Binders
A geopolymer binder combines an aluminosilicate source such as fly ash, slag, or metakaolin with an alkaline solution of sodium hydroxide and sodium silicate. The resulting three-dimensional network cures by polymerization rather than hydration. This process yields dense material with high compressive strength, strong fire resistance, and lower greenhouse gas emissions because limestone calcination is avoided.
Importance of Code Compliance
Local building codes govern allowable materials for structural masonry. Approved geopolymer bricks satisfy requirements for compressive strength, freeze-thaw resistance, and dimensional tolerances. Manufacturers supply test reports that confirm compliance. Verification against regional standards must occur before any construction begins.
Suitable Applications
Geopolymer bricks perform well in non-load-bearing walls, garden structures, outdoor paving, and restoration work that needs a compatible non-cement binder. They suit structural masonry only when certified and placed under professional supervision. Regions with scarce raw materials or restrictive regulations on alternative binders offer fewer opportunities for use.
DIY builders may proceed with small non-structural projects. Structural applications or those needing engineering certification require consultation with a licensed engineer or mason experienced in geopolymer technology.
Material Selection
Material choice affects strength, appearance, and long-term behavior. Evaluation should consider local availability, cost, and project demands.
Fly Ash-Based Mixes
Fly ash from coal combustion serves as the aluminosilicate source. These mixes provide high strength and smooth texture at low cost when supply is reliable. Quality can vary by source, so testing remains essential. They suit walls, garden structures, and paving blocks.
Slag-Based Mixes
Ground granulated blast furnace slag delivers rapid strength gain and excellent chemical resistance. Temperature control during curing is critical, and costs are moderate to premium. The mixes excel in structural masonry and marine environments.
Metakaolin-Based Mixes
Calcined kaolin clay yields consistent quality and fine surface finishes. Higher cost and limited suppliers are the main drawbacks. These mixes work best for architectural facades and decorative walls where appearance matters.
Construction Sequence
Workspace Preparation
Clear the work area and protect surfaces with tarps. Arrange molds and tools in advance. Perform mixing in a ventilated space away from children and pets. Eye and skin protection must be worn before handling activator containers.
Activator Preparation
Dissolve sodium hydroxide pellets in water, then allow the solution to cool before adding sodium silicate. Follow exact manufacturer ratios. The strongly alkaline liquid requires careful handling throughout.
Dry Ingredient Blending
Combine the aluminosilicate material and sand in a clean mixer until uniform. Even distribution prevents color variation and weak spots in the finished bricks.
Activator Addition
Pour the cooled activator into the dry mix while stirring. The paste thickens rapidly. Add small amounts of water only as needed to reach a workable consistency that holds shape yet flows into molds.
Mold Filling
Apply release agent to molds. Fill each mold halfway, then vibrate to release trapped air. Complete filling, level the surface, and smooth the top.
Curing Phase
Cover molds with plastic to retain moisture. Maintain stable temperature for at least twenty-four hours before demolding. Avoid direct heat sources that can induce cracking. Insulated covers help sustain uniform conditions.
Demolding and Final Curing
Remove bricks gently and inspect for defects. Sand minor chips if necessary. Continue curing in a shaded, ventilated location for several additional days before installation.
Brick Laying
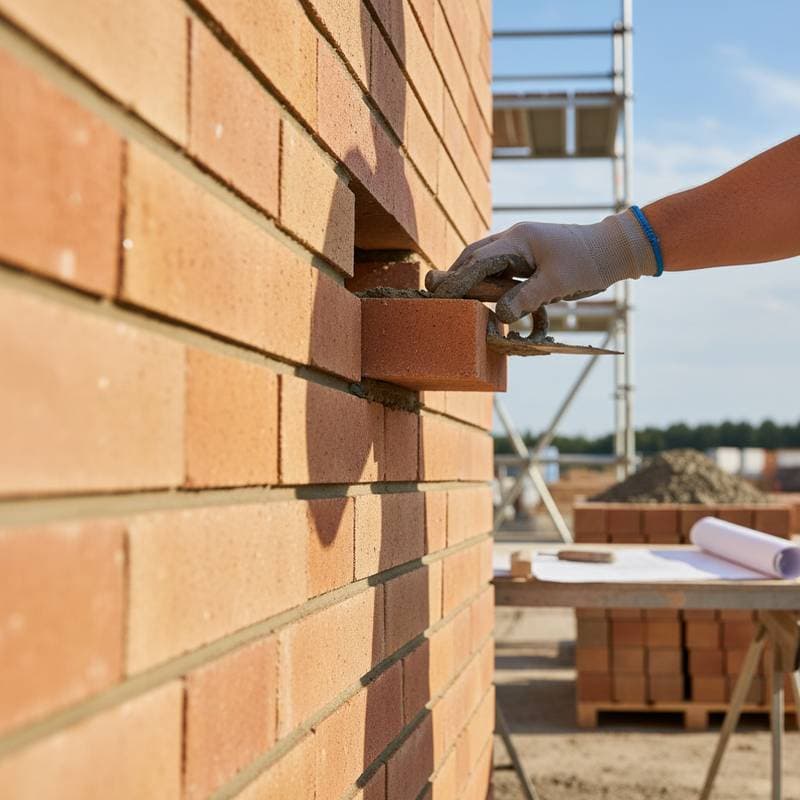
Place bricks on a stable foundation with geopolymer or lime-based mortar. Keep joints at three-eighths of an inch and check level and plumb every few courses.
Surface Finishing
Brush joints after laying to achieve a clean appearance. Apply breathable sealers only when exposure conditions require them. Thick coatings that trap moisture should be avoided. Pigments or surface stains can enhance decorative projects while the natural stone texture often needs little additional treatment.
Design Enhancements
Integrate lighting or planters into garden walls. Pair the bricks with natural stone edging for contrast. Patterned layouts such as herringbone add visual interest to paving. Seating or storage elements increase the utility of outdoor structures.
Professional Involvement
Engage a structural engineer or certified mason for load-bearing walls, multi-story construction, retaining walls under soil pressure, foundation integration, or projects that require permits and inspections.
Sustainable Masonry Outcomes
Geopolymer bricks deliver reliable performance with reduced environmental impact. Careful material selection and controlled execution produce masonry that meets code requirements and supports long-term durability.