- Decision factors: Sustainability objectives, load-bearing needs, regional material availability, and design aesthetics guide the choice of recycled glass pavers.
Planning Your Project
Thorough planning lays the foundation for a successful recycled glass paver installation that complies with regulations and fits your vision.
Permits and Local Standards
Paver projects seldom demand comprehensive structural permits, yet local authorities often require assessments for drainage or stormwater control. For areas larger than 200 square feet or those linking to public paths, contact the building department. In zones prone to flooding or near coastlines, confirm that the pavers satisfy standards for slip resistance and water runoff.
Budget and Cost Breakdown
Project expenses vary based on scale, layout complexity, and terrain challenges. Typical costs include:
- Materials: $7 to $13 per square foot
- Labor: $4 to $8 per square foot
- Equipment rental and disposal: $1 to $3 per square foot
Opting for custom color mixes or unique textures adds up to 25 percent to material prices. Intricate designs like herringbone or basket weave elevate labor by 15 to 20 percent.
Design and Layout Considerations
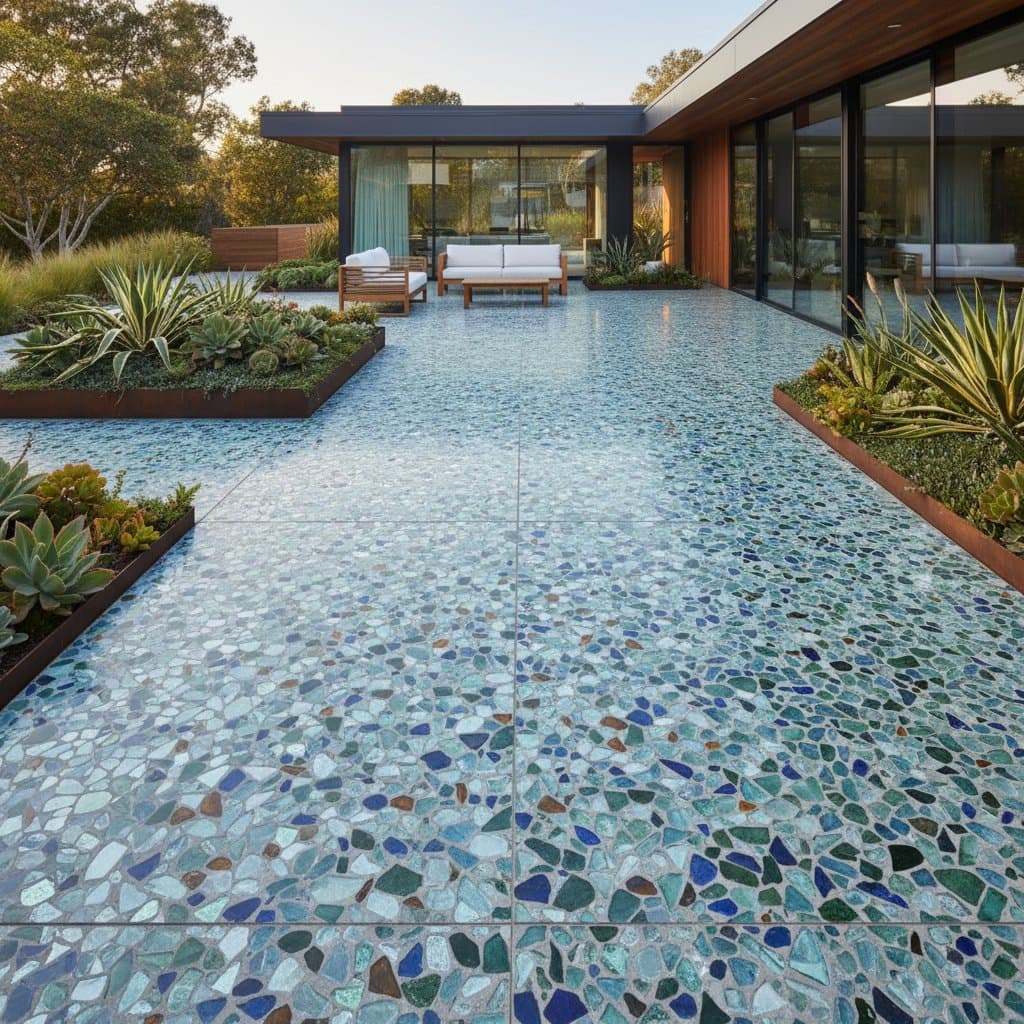
Available in translucent and opaque varieties, recycled glass pavers suit illuminated patios, winding garden trails, or sleek driveways. Key planning elements involve:
- Selecting lighter shades to amplify ambient light.
- Blending opaque and transparent pieces for layered visual interest.
- Keeping joint spacing uniform to distribute weight evenly.
- Installing edging restraints to secure the perimeter against shifting.
Site Preparation and Base Construction
A solid base ensures the pavers withstand time and traffic without settling.
Excavation and Grading
Outline the installation zone and dig to a depth that includes paver height plus 4 to 8 inches for aggregate base and 1 inch for sand bedding. Grade the subgrade to slope 2 percent away from buildings, or about 1/4 inch per foot, facilitating water flow.
Sub-Base Installation
Layer crushed stone in 2-inch increments, compacting each with a plate compactor to achieve 95 percent density. Base thickness adjusts to soil conditions:
- Clay or swelling soils: 6 to 8 inches
- Sandy or permeable soils: 4 to 6 inches
Check levels and pitch accuracy prior to advancing.
Bedding Layer
Distribute 1 inch of clean, washed sand over the firm sub-base. Employ screed boards to level the layer precisely. Leave the sand uncompacted initially to allow paver placement and adjustments.
Installing the Pavers
With preparation complete, lay the pavers methodically to achieve a stable, attractive surface.
Laying the Pavers
Start from a straight edge, such as a fixed border or string line, placing pavers in your chosen pattern. Tap each into the sand bed using a rubber mallet, maintaining even joints of 1/8 to 1/4 inch. Work outward systematically, checking alignment frequently with a straightedge.
Cutting and Fitting
Measure and cut pavers as needed for edges or obstacles using a wet saw with a diamond blade. Wear protective gear during cutting to handle glass fragments safely. Fit pieces snugly without forcing, ensuring no gaps exceed joint specifications.
Joint Filling and Compaction
Once laid, sweep polymeric sand into joints and compact the entire surface with a plate compactor fitted with a protective mat. Mist lightly to activate the sand, repeating sweeps as necessary for full coverage. This locks pavers in place while permitting minor drainage.
Quality Assurance and Finishing Checks
Examine the completed installation for consistent joint dimensions, proper gradient, and firm seating. Test by walking the surface to identify any loose or uneven pavers; adjust or replace them promptly. Confirm drainage by pouring water to observe flow without stagnation.
Restrict heavy foot traffic for 48 hours and vehicular use for 7 days post-compaction. During curing, limit watering to prevent joint sand displacement.
Maintenance and Long-Term Care
These pavers demand little ongoing effort, yet periodic attention sustains their luster and integrity.
Routine Cleaning
Clear loose dirt weekly with a broom to avert surface abrasion. Clean using a gentle soap solution and soft brush, rinsing thoroughly. Steer clear of harsh chemicals or scrubbers that could etch the glass.
Seasonal Maintenance
Examine joints biannually, replenishing sand in openings broader than 1/8 inch. In winter regions, clear snow with plastic tools to spare the finish from scratches.
Resealing Schedule
For sealed surfaces, refresh the coating every 3 to 5 years based on usage and weather exposure. Prepare by cleaning fully, then apply evenly with a roller or sprayer.
Lifespan Expectations
When installed correctly, recycled glass pavers endure 30 to 50 years. Their robust makeup defies color loss, fractures, and elemental wear, delivering enduring value and ecological merit.
Environmental and Aesthetic Advantages
Sustainability Benefits
Using recycled glass diverts landfill waste and conserves energy, as remelting demands less heat than virgin production, thereby lowering carbon output. At project end, the pavers recycle anew, fostering a closed-loop system.
Design Versatility
The varied glass inclusions yield one-of-a-kind shimmer and patterns. Integrate hues to harmonize with elements like timber accents, metal borders, or local rock, crafting spaces that fuse contemporary style with green principles.
Compatibility with Permeable Systems
Certain permeable variants enable water passage through enlarged joints over open-graded bases. Such setups minimize erosion and align with green infrastructure for homes and businesses alike.
Essential Strategies for Lasting Results
- Source pavers from certified suppliers to guarantee recycled content and quality standards.
- Test a small area for color and light effects before full commitment.
- Consult geotechnical experts for challenging soils to optimize base design.
- Pair with solar lighting to highlight the pavers' natural glow at night.
- Document the installation process for warranty claims and future reference.