Key Factors Influencing Solar Paver Projects
Before selecting solar pavers, consider climate patterns, available budget, driveway incline, and desired reduction in energy bills. These elements shape the project's viability and return on investment. Addressing them early ensures a system that aligns with your property's conditions and sustainability aims.
Planning a Solar Paver Installation
Evaluate project feasibility, secure necessary permits, and define energy goals during the initial planning stage. This preparation confirms the solar driveway will operate reliably and meet regulatory standards.
Conducting a Site Assessment
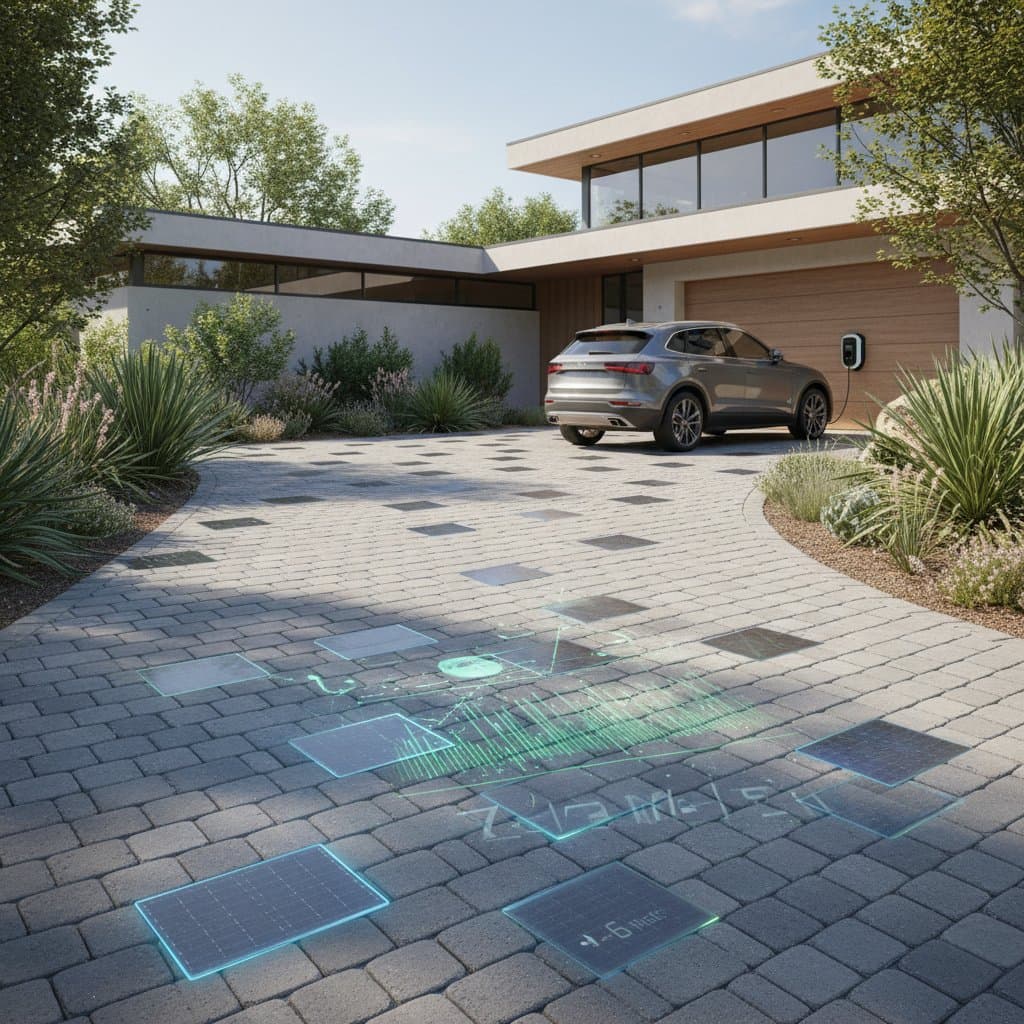
Start by measuring daily sunlight hours and noting potential shade from nearby trees, buildings, or frequent vehicle parking. Aim for at least six hours of direct sun to maximize output. Assess the terrain for a gentle 1 to 2 percent slope that promotes water drainage and avoids standing puddles.
Test soil composition to ensure stability; loamy or well-compacted earth forms a reliable foundation, while clay-heavy ground often demands deeper digging or added stabilizing layers. In regions with freezing winters, extend the base below the local frost line, typically 36 to 48 inches, to avoid shifting from freeze-thaw cycles.
Navigating Permits and Building Codes
Solar paver projects require approvals for both structural changes and electrical integrations. Obtain a building permit to cover site excavation, foundation laying, and overall driveway assembly.
Secure an electrical permit for wiring, inverter placement, and system inspections. If connecting to the utility grid to export surplus energy, complete an interconnection agreement with your provider.
Consult local authorities, as rules vary; some areas mandate reinforced designs for vehicle traffic or certified professionals for all wiring tasks.
Estimating Costs and Preparing a Budget
Costs for solar pavers depend on brand, layout intricacy, and geographic location. Allocate approximately 55 percent of the budget to materials such as the pavers themselves, cabling, inverters, and mounting fittings.
Dedicate 35 percent to labor, which includes digging, soil compaction, paver positioning, and electrical setup. Reserve 10 percent for tools like protective conduits, connection enclosures, and emergency shutoffs.
For a standard 400-square-foot driveway, expect total expenses between $28,000 and $48,000. Apply for federal tax credits or state rebates, which can lower initial outlays by 20 to 30 percent based on your area's programs.
Step-by-Step Guide to Installing Solar Pavers
With the foundation prepared, proceed through a coordinated sequence that blends paving techniques with electrical assembly.
Step 1: Marking the Layout
Use stakes and string to outline the driveway pattern, ensuring it aligns with the electrical schematic and inverter position. Position access points for wiring inspections, such as liftable edge pavers or built-in panels.
Step 2: Preparing the Wiring
Install conduits for low-voltage lines across the site, routing them to avoid future disruptions from vehicle paths. Provide 6 to 8 inches of extra cable length at junctions for easy modifications, and apply color codes plus labels to indicate positive and negative terminals.
Step 3: Placing the Pavers
Position each solar paver on a 1-inch layer of coarse sand, using 1/8-inch spacers for uniform gaps. Verify flatness and straight lines after every third row with a level tool.
Attach positive and negative connectors using sealed, weatherproof fittings as you go. Test voltage periodically during placement to detect wiring errors early, and refrain from walking on unset modules to prevent surface damage.
Step 4: Securing Edges and Compacting
Place plastic or metal restraints along the borders to hold the pavers firmly against shifting. Apply a plate compactor with rubber padding to settle the units evenly, applying light pressure to safeguard the solar cells from fractures.
Step 5: Final Electrical Integration
Link the cable array to a central inverter or individual microinverters on each paver. Secure the inverter in a shaded, ventilated spot near the home's power panel or inside the garage.
Engage a licensed electrician for the tie-in to your household system, ensuring compliance with safety protocols.
Step 6: Testing and Official Inspection
Perform checks on voltage levels, current flow, and electrical insulation once assembly completes. Invite local inspectors or utility officials to review the setup prior to energizing the array.
Addressing Common Solar Paver Challenges
Proactive identification of issues maintains system performance and avoids expensive fixes.
Managing Shading Effects
Monitor for sudden drops in energy production, which may stem from encroaching branches or habitual car placements. Partial shadows can cut efficiency by up to 30 percent, so prune foliage seasonally and designate off-peak parking zones.
Repairing Structural Damage
Thermal expansion or heavy loads may loosen pavers or cause cracks over time. Inspect annually and swap out affected pieces immediately to shield internal electronics from water intrusion.
Diagnosing Inverter Problems
Flashing alerts or diminished output signal potential inverter malfunctions. Inspect cable ties, replace blown fuses, and confirm breakers are engaged. Summon a qualified service provider for advanced troubleshooting if basic steps fail.
Deciding Between DIY and Professional Installation
Solar paver projects demand skills in construction and electricity. Seasoned homeowners might tackle groundwork, but code adherence requires caution.
Scenarios for DIY Approach
Handle digging, surface leveling, and border setup if you possess experience with paver projects or landscaping. This method trims expenses by 25 to 40 percent through self-labor.
Reasons to Engage Experts
Delegate to professionals for grid connections, complex drainage on uneven ground, or links to home automation and storage batteries.
Choose contractors with verified electrical and construction licenses, plus insurance. Review portfolios of similar renewable hardscape installations and confirm warranties spanning at least 10 years on power components.
Maximizing Returns from Your Solar Driveway
A well-executed solar paver system not only generates 4 to 6 watts per square foot but also enhances property resilience against rising energy costs. Regular monitoring and minor adjustments sustain peak performance year-round. Integrate these features into broader home efficiency plans for lasting environmental and financial gains.